Embroidery Thread Organizer DIY Ideas: Brilliant Solutions for Your Creative Haven

For embroidery enthusiasts, tangled threads are more than just a minor annoyance—they’re creativity killers that can turn a joyful crafting session into a frustrating ordeal. Having a well-organized embroidery thread collection isn’t just about neatness; it’s about preserving your creative flow, protecting your investment in quality threads, and making your crafting time more productive and enjoyable. When your threads are scattered across drawers or knotted together in a plastic bag, you spend precious creative energy searching for the right color instead of focusing on your beautiful needlework. This is why finding the perfect embroidery thread organizer system becomes essential for anyone serious about their craft. The beauty of DIY solutions is that they can be customized to fit your specific needs, space constraints, and aesthetic preferences. Whether you have a small apartment corner dedicated to crafting or an entire room as your creative studio, there are embroidery thread organizer diy ideas that can transform how you work. This guide will explore practical, budget-friendly solutions that not only organize your threads but also inspire your next project. From simple repurposed household items to more elaborate custom-built systems, we’ll help you find the perfect way to keep your embroidery supplies in perfect order. Remember, an organized craft space reflects an organized mind ready to create something beautiful.
Simple Embroidery Thread Organizer DIY Ideas Using Household Items
You don't need expensive craft storage systems to create an effective embroidery thread organizer. Some of the best solutions are already in your home waiting to be repurposed. Mason jars are a classic choice—they're clear, stackable, and perfect for organizing threads by color family or project. Line them up on a shelf or attach them to a wooden board for a rustic display. Spice racks, especially the tiered kind, make excellent embroidery thread organizers when you add small hooks or pegs to the shelves. The angled design allows you to see all your threads at once while keeping them neatly separated. Another clever idea involves using a simple pegboard with hooks. This versatile system lets you arrange your embroidery floss skeins in any pattern you like, and you can easily move them around as your collection grows. For those with limited space, consider repurposing a hanging shoe organizer. The clear plastic pockets are perfect for holding embroidery thread bundles, and you can see exactly what you have without rummaging through drawers. If you prefer keeping your threads in their original packaging, a simple binder with baseball card sleeves works wonders. Each sleeve holds multiple skeins, and you can organize them by color number or brand. These household solutions prove that creating an embroidery thread organizer doesn't require special tools or materials—just a little creativity and the willingness to see everyday objects in new ways.
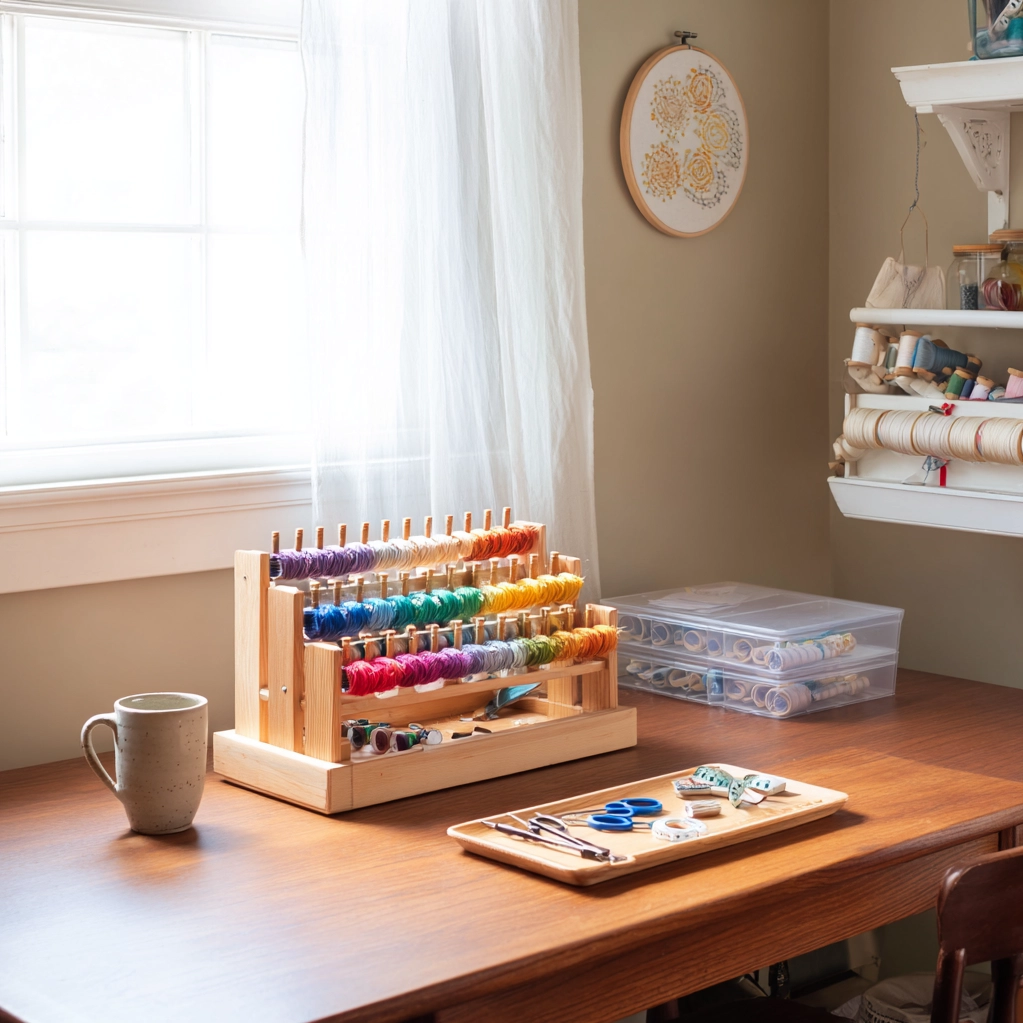
Creative Embroidery Thread Organizer DIY Ideas for Advanced Crafters
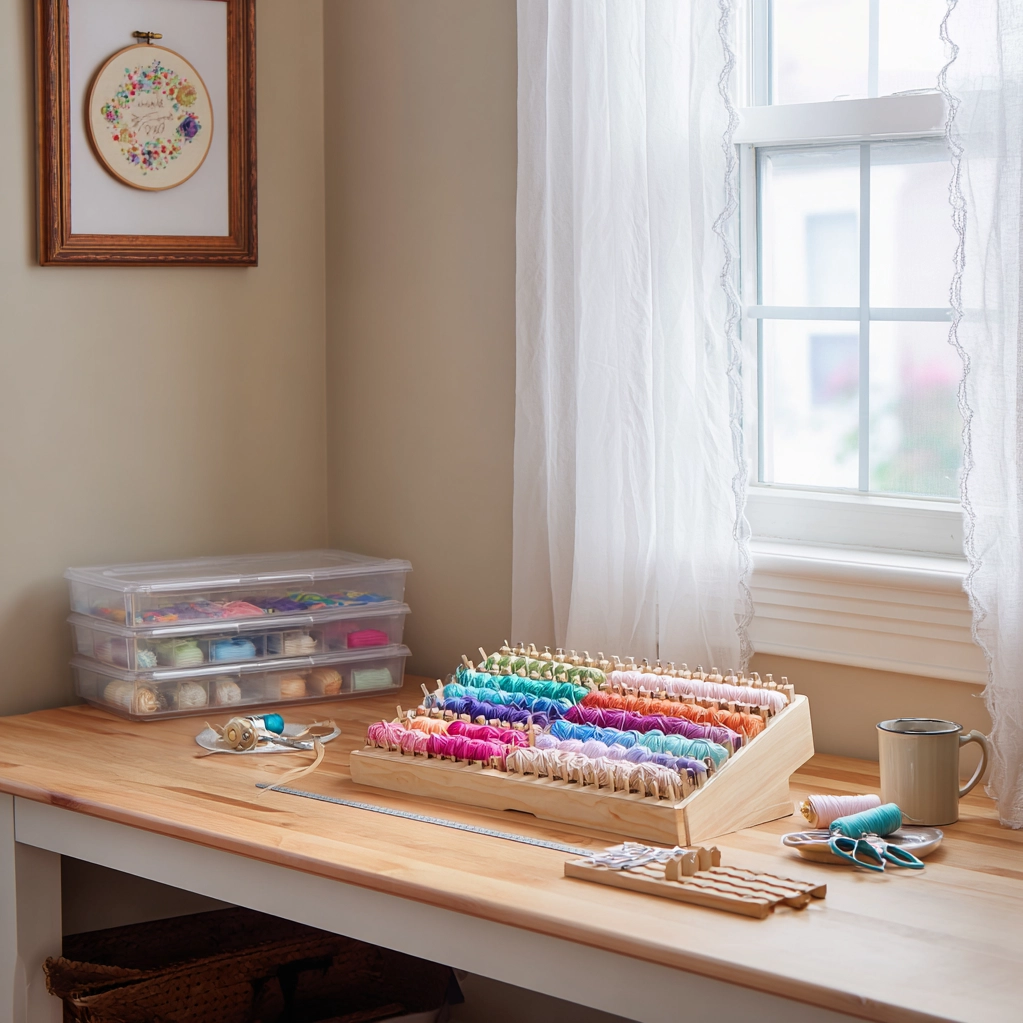
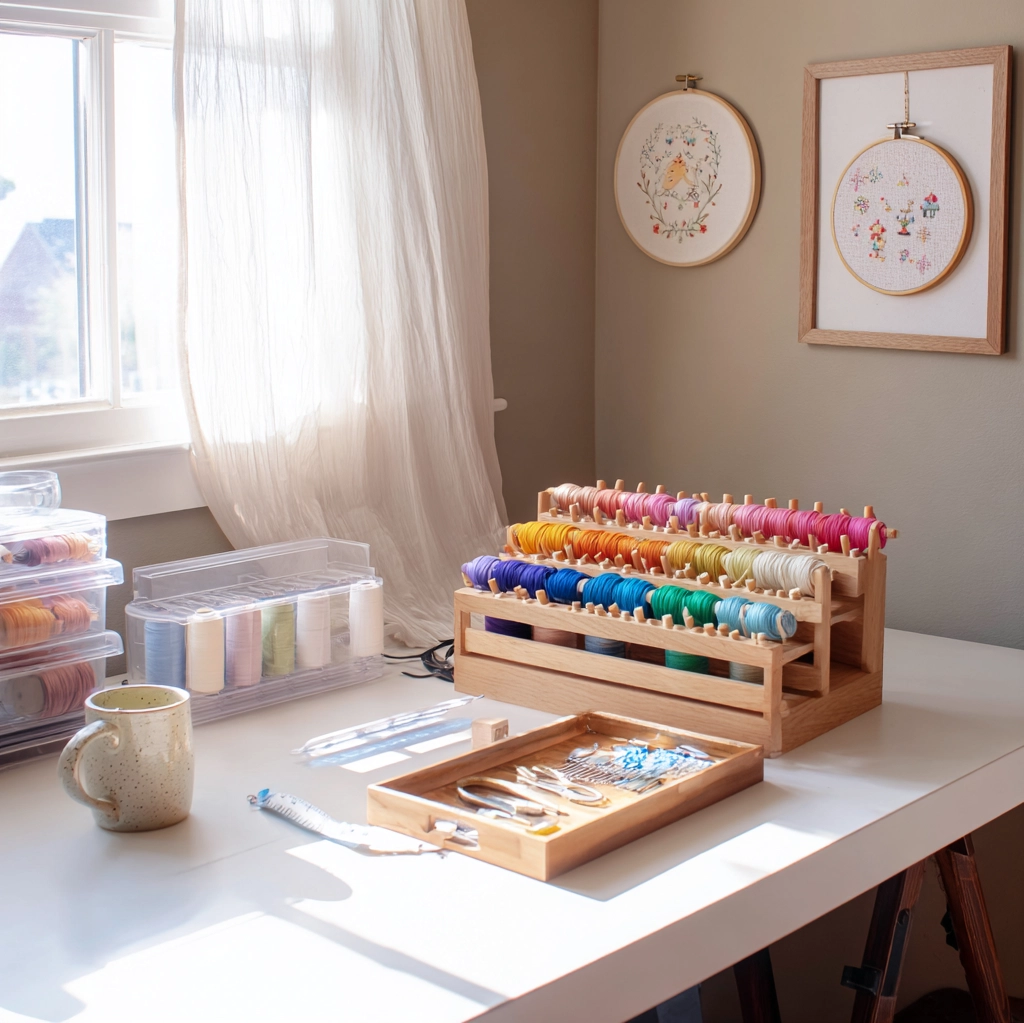
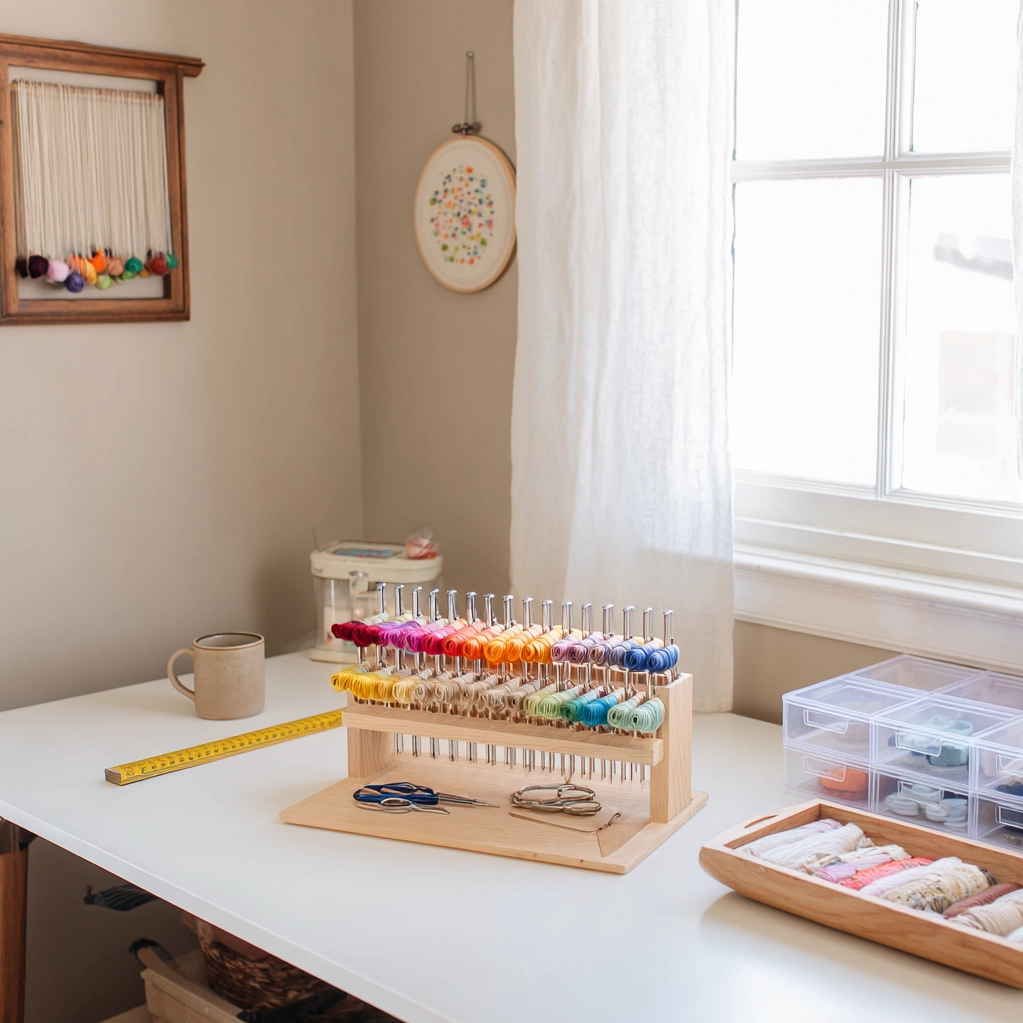
For those ready to invest more time and effort into their embroidery thread storage, several advanced DIY ideas offer both functionality and beauty. A custom wooden thread rack is perhaps the most satisfying project for serious embroiderers. You can design it with specific dimensions to fit your space, add dividers for different thread types, and even include a bottom tray for scissors and needles. Using dowels or pegs, you can hang hundreds of skeins in rainbow order, creating both an organizational system and a stunning visual display in your craft room. Another sophisticated option is a wall-mounted embroidery thread organizer with rotating components. This design allows you to access threads from multiple angles and makes the most of vertical space. Consider building a cabinet-style organizer with clear acrylic doors—this protects your threads from dust while keeping them visible and accessible. For those who work with multiple thread types (like pearl cotton, stranded cotton, and metallic threads), a tiered system with labeled compartments ensures everything has its proper place. You might create separate sections for different weights or brands, making project planning much easier. Don't forget about lighting—adding LED strips to your custom embroidery thread organizer can help you see true colors, especially when working in the evening. These advanced solutions require basic woodworking skills or willingness to learn, but the result is a professional-quality storage system tailored precisely to your embroidery needs.
Portable Embroidery Thread Organizer DIY Ideas for Crafters on the Go
Not all embroidery happens at a dedicated craft table—many enthusiasts stitch during commutes, in waiting rooms, or while traveling. Portable embroidery thread organizers are essential for keeping your supplies neat and accessible wherever creativity strikes. A simple yet effective solution is converting an aluminum lunch box into a travel-friendly embroidery kit. Line the interior with foam and insert plastic bobbins wound with your most-used threads. The compact size fits perfectly in bags, and the rigid exterior protects your threads from getting crushed. Another excellent portable option is a customized fishing tackle box. These containers come with multiple adjustable compartments perfect for organizing embroidery threads by color or project. Look for models with clear lids so you can see your supplies at a glance. For minimalists, consider creating a travel embroidery thread organizer from a leather or fabric wrap with elastic loops. This roll-up design secures bobbins in place while taking up minimal space in your bag. If you prefer working with full skeins rather than bobbins, a small plastic container with dividers (like those used for bead storage) works wonderfully. Label each section with the thread number for easy identification. Don't forget to include pockets or small containers for needles, scissors, and thimbles in your portable setup. The key to successful portable embroidery thread organizers is balancing capacity with compactness—you want enough variety for creative flexibility without carrying your entire collection. These DIY solutions ensure your embroidery projects can travel with you gracefully and organized.
Conclusion
Organizing your embroidery threads doesn't have to be a chore—it can be a creative project in itself that enhances your entire crafting experience. Whether you choose simple household repurposing, build an elaborate custom system, or create portable solutions for stitching on the go, the right embroidery thread organizer diy ideas can transform how you approach your needlework. An organized thread collection saves you time searching for colors, protects your investment in quality materials, and reduces the frustration of tangled skeins. More importantly, it creates a visually pleasing environment that inspires creativity every time you sit down to stitch. As you implement these ideas, remember that the best system is one that works for your specific needs and space. Don't be afraid to combine elements from different approaches or modify them as your collection grows. The future of craft organization is moving toward more personalized, multifunctional solutions that reflect individual creative processes. Consider how digital tools might complement your physical organization—perhaps photographing your arranged threads for quick reference or using apps to track color inventories. Ultimately, the time you invest in creating the perfect embroidery thread organizer will pay dividends in countless hours of joyful, uninterrupted stitching. Your organized threads await your next beautiful creation.
Frequently Asked Questions
Q: What are the most important factors to consider when choosing an embroidery thread organizer diy idea?
When selecting an embroidery thread organizer diy idea, consider your available space, thread collection size, and how you prefer to work. First, measure your craft area to ensure your organizer will fit comfortably. Next, assess whether you need to store full skeins or prefer working from bobbins—this affects the compartment size needed. Consider visibility: clear containers or open systems help you quickly find colors. Also think about accessibility—will you need to reach threads frequently? Portability matters if you stitch in multiple locations. Finally, match the organizer's aesthetic to your space; a beautiful system enhances your creative environment. Start with a simple solution and expand as your needs evolve.
Q: How can I organize my embroidery threads by color effectively?
Effective color organization begins with choosing a system that works for your visual preferences. Many crafters use the classic rainbow order (red, orange, yellow, green, blue, purple) followed by neutrals. Within each color family, arrange threads from lightest to darkest shades. For DMC or other numbered threads, you might organize strictly by number sequence, which helps when following patterns. Consider creating separate sections for variegated or specialty threads. Labeling is crucial—use removable labels on containers or create a master color chart. Digital tools can complement physical organization: photograph your arranged threads or use spreadsheet apps to track what you own. Remember that no system is permanent; reorganize as your collection grows.
Q: What household items work best for DIY embroidery thread organizers?
Numerous household items make excellent embroidery thread organizers with minimal modification. Mason jars are perfect for storing threads by color family—their clear glass allows easy viewing. Spice racks, especially tiered versions, provide angled storage that maximizes visibility. Pegboards with hooks offer flexible, customizable arrangements. Binders with plastic card sleeves hold bobbins neatly and portably. Hanging shoe organizers with clear pockets work well for larger collections. Even simple cardboard boxes with dividers can be transformed with decorative paper. Kitchen utensil organizers with compartments adapt nicely for thread storage. The key is choosing items with the right compartment sizes for your threads and modifying them for easy access. Always clean repurposed items thoroughly before use.