
Cheesy Taco Sticks: Incredibly Delicious Finger Food Everyone Adores
Hey there! If you’re anything like me, you’re always on the hunt for a snack that’s easy to make, impossible to mess up, and guaranteed to disappear in minutes. Well, let me introduce you to my latest obsession: cheesy taco sticks. I stumbled upon this idea last Tuesday when my kids were begging for something ‘fun’ to eat, and let me tell you—these little sticks are a total game-changer.
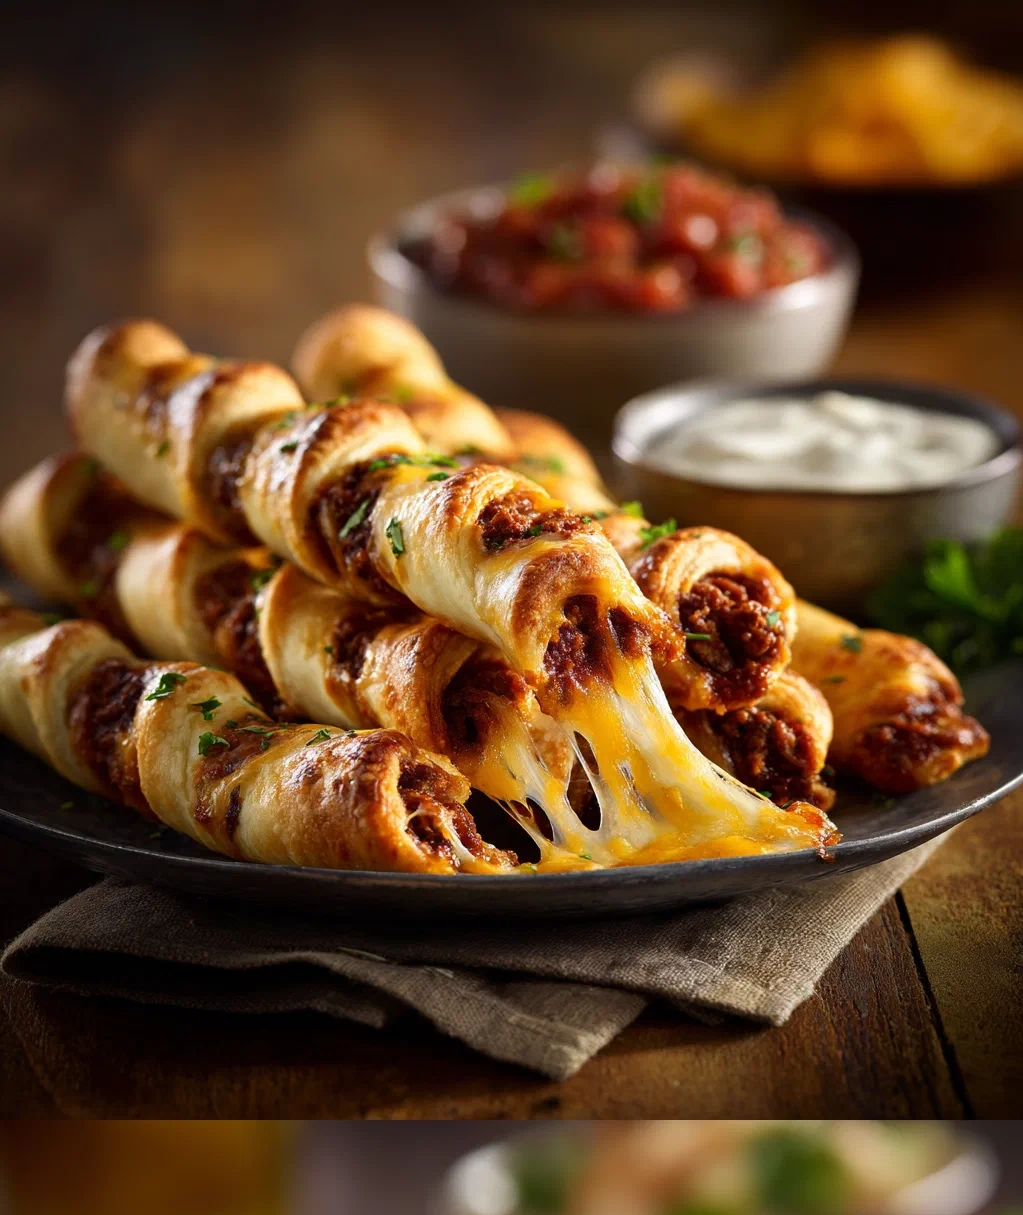
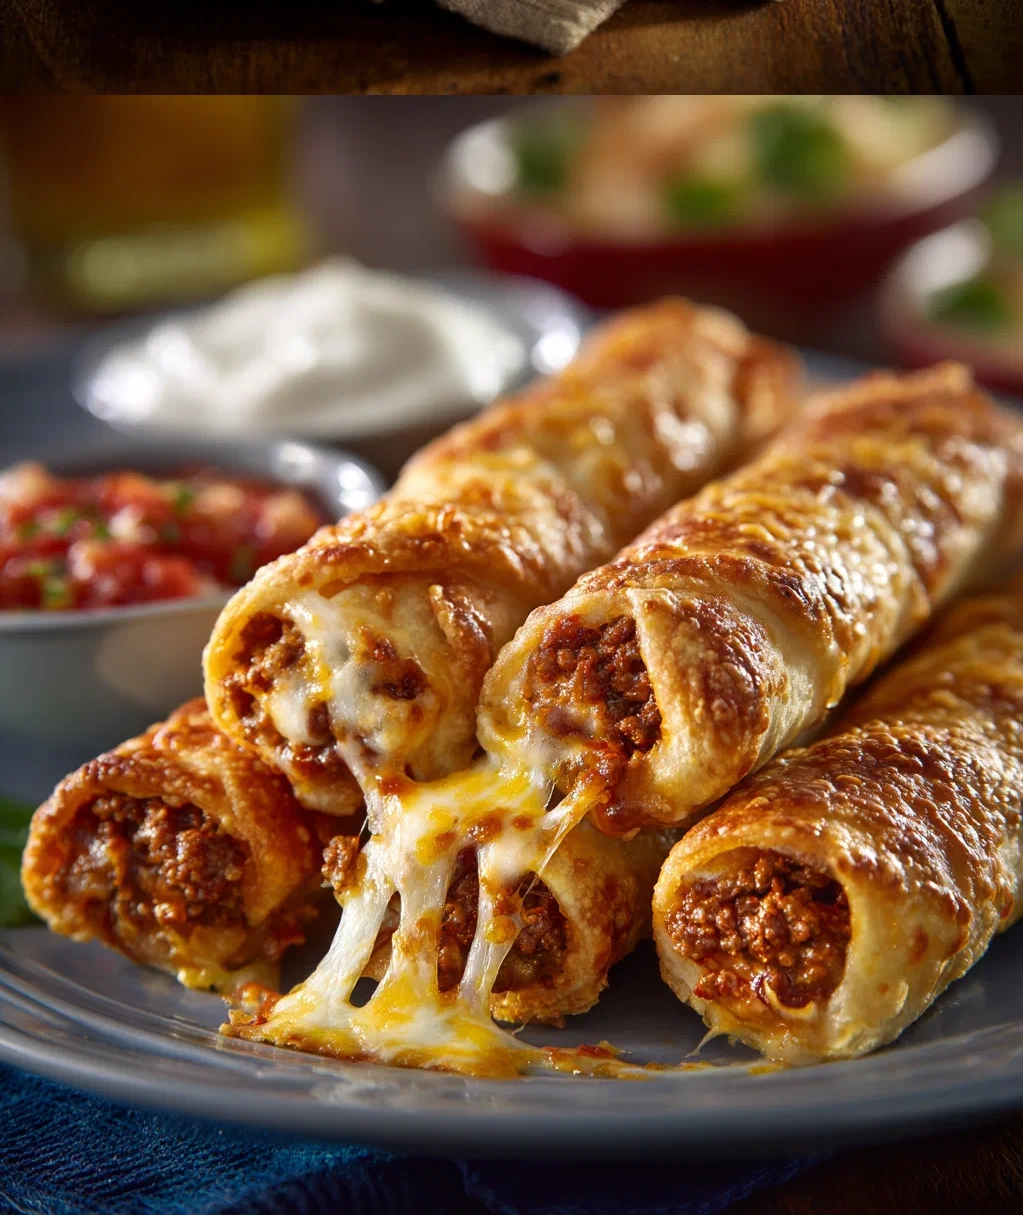
Picture this: warm, melty cheese wrapped in a crispy tortilla, seasoned with all those classic taco flavors we love. They’re perfect for game day, movie nights, or just when you need a quick bite that feels special. I love how versatile they are—you can tweak the spices to your taste, add some extra fillings if you’re feeling fancy, or keep them simple for those busy evenings. Trust me, once you try these cheesy taco sticks, you’ll understand why they’ve become a regular in my kitchen.
What I appreciate most is how they bring everyone together. My husband swears they’re the best thing since sliced bread, and my picky eater actually asks for seconds! So, if you’re ready to whip up something that’s both comforting and exciting, let’s dive right in. I promise it’s easier than you think, and the results are absolutely worth it.
Why You'll Love These Cheesy Taco Sticks
Let me tell you why these cheesy taco sticks have earned a permanent spot in my recipe rotation. First off, they’re incredibly easy to make. I’m talking about 20 minutes from start to finish, and that includes prep time. You don’t need any fancy equipment—just a baking sheet and some basic ingredients you probably already have.
Here are a few more reasons why I think you’ll adore them:
- They’re versatile: Serve them as an appetizer, snack, or even a light meal. I’ve paired them with a simple salad for lunch, and it was perfect.
- Kid-friendly: My little ones love helping me roll the sticks, and they always eat them up without a fuss.
- Customizable: Not a fan of too much spice? Tone it down. Want extra cheese? Go for it! You can make these cheesy taco sticks exactly how you like them.
- Crowd-pleaser: Every time I bring these to a gathering, they vanish. The combination of crispy tortilla and gooey cheese is just irresistible.
Oh, and did I mention they’re budget-friendly? You can make a big batch without breaking the bank, which is a huge win in my book.
Ingredients for Perfect Cheesy Taco Sticks
Gathering your ingredients is the first step to making these amazing cheesy taco sticks. I like to lay everything out on my counter before I start—it makes the process so much smoother. Here’s what you’ll need:
- 4 large flour tortillas: The burrito-sized ones work best because they’re easier to roll.
- 1 cup shredded cheddar cheese: I prefer sharp cheddar for that bold flavor, but you can use Monterey Jack or a Mexican blend if you like.
- 1 cup shredded mozzarella cheese: This adds that perfect stretchy, melty texture we all crave.
- 1 tablespoon taco seasoning: Store-bought is fine, but if you have a homemade blend, even better!
- 2 tablespoons melted butter or olive oil: For brushing the tortillas to get them nice and crispy.
- Optional extras: Feel free to add ¼ cup cooked ground beef, black beans, or diced bell peppers if you want some extra filling. I sometimes toss in a bit of chopped cilantro for freshness.
A quick tip: Make sure your cheese is freshly shredded. Pre-shredded cheese often has anti-caking agents that can affect the melt. Trust me, it’s worth the extra minute to grate it yourself!
How to Make Cheesy Taco Sticks Step-by-Step
Ready to get cooking? Follow these simple steps, and you’ll have delicious cheesy taco sticks in no time. I’ve made these so many times that I could probably do it with my eyes closed, but don’t worry—I’ll walk you through every detail.
- Preheat and prep: Start by preheating your oven to 400°F (200°C). Line a baking sheet with parchment paper—this prevents sticking and makes cleanup a breeze.
- Mix the filling: In a medium bowl, combine the shredded cheddar, mozzarella, and taco seasoning. Stir until everything is evenly coated. If you’re adding any extras like ground beef or beans, mix them in now.
- Assemble the sticks: Lay a tortilla flat on your work surface. Spread about ¼ cup of the cheese mixture along one edge, leaving a small border. Roll it up tightly, starting from the cheese-filled edge. Place it seam-side down on the baking sheet. Repeat with the remaining tortillas.
- Brush and bake: Lightly brush each rolled tortilla with melted butter or olive oil. This helps them turn golden and crispy. Bake for 12-15 minutes, or until they’re beautifully golden and the cheese is bubbling.
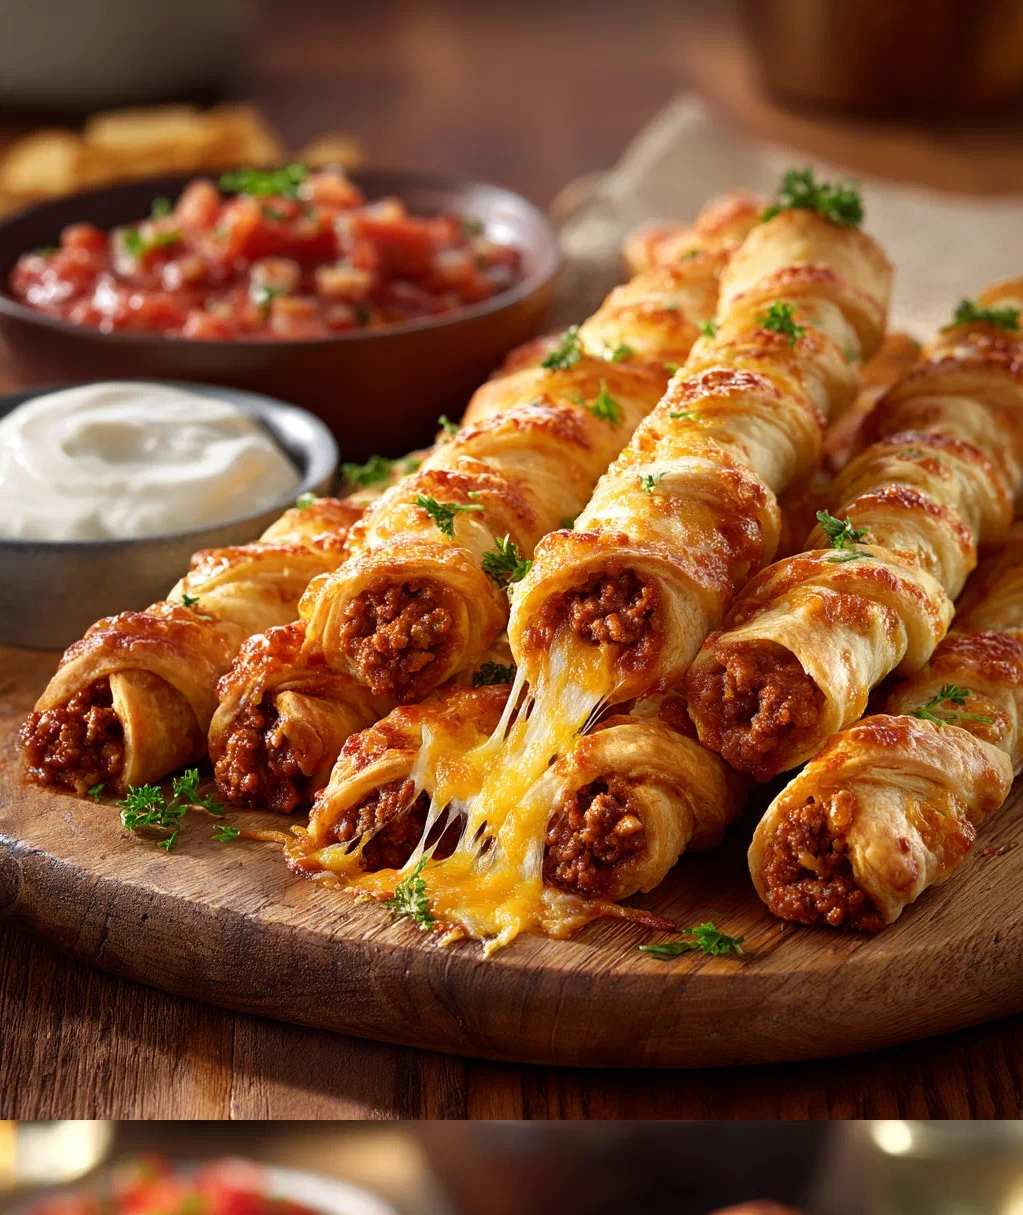
- Slice and serve: Let the cheesy taco sticks cool for a minute or two—they’ll be piping hot! Then, use a sharp knife to slice each roll into 1-inch sticks. Serve immediately while they’re warm and gooey.
My favorite part is that moment when you pull them out of the oven and the cheese is just begging to be eaten. The aroma alone is enough to make your mouth water!
Serving Suggestions and Variations
Now that your cheesy taco sticks are ready, let’s talk about how to serve them. I love setting out a few dipping sauces—it makes the whole experience more fun. My go-to options are:
- Sour cream: Classic and creamy, it balances the spices perfectly.
- Salsa: Whether it’s mild or spicy, a fresh salsa adds a nice tang.
- Guacamole: If I have ripe avocados on hand, I’ll whip up a quick batch. It’s a match made in heaven!
For a full spread, pair these cheesy taco sticks with a simple side like a corn salad or some tortilla chips. They’re also great on their own as a quick snack.
Want to mix things up? Here are a few variations I’ve tried and loved:
- Spicy version: Add a teaspoon of chili powder or a few slices of jalapeño to the cheese mixture.
- Breakfast twist: Swap the taco seasoning for cooked crumbled sausage and a sprinkle of scrambled eggs. It’s a fantastic way to start the day.
- Vegetarian delight: Load them up with black beans, corn, and diced tomatoes for extra color and nutrition.
Don’t be afraid to get creative! The beauty of these cheesy taco sticks is that they adapt to whatever you’re craving.

Storage and Reheating Tips
If you somehow have leftovers (it’s rare in my house!), here’s how to keep your cheesy taco sticks tasting fresh. Let them cool completely, then store them in an airtight container in the fridge. They’ll stay good for up to 3 days.
When you’re ready to enjoy them again, reheating is key to bringing back that crispy texture. My favorite method is using the oven or toaster oven:
- Preheat to 350°F (175°C).
- Place the sticks on a baking sheet in a single layer.
- Heat for 5-8 minutes, or until warmed through and crispy.
Avoid using the microwave if you can—it tends to make them soggy. If you’re in a hurry, a quick zap is okay, but they won’t be as crisp.
You can also freeze these cheesy taco sticks for longer storage. After baking, let them cool, then wrap them tightly in plastic wrap or aluminum foil before placing them in a freezer-safe bag. They’ll keep for up to 2 months. To reheat from frozen, bake at 375°F (190°C) for 10-12 minutes. It’s like having a ready-made snack whenever you want!
Conclusion
Well, there you have it—my absolute favorite way to make cheesy taco sticks. I hope you’re as excited to try them as I was when I first discovered this recipe. They’ve brought so much joy to my kitchen, from those lazy Sunday afternoons to last-minute get-togethers with friends. What I love most is how they remind me that good food doesn’t have to be complicated. Sometimes, the simplest ideas are the ones that stick around.
So, next time you’re staring into the fridge wondering what to make, give these a shot. Whip up a batch, pour yourself a drink, and enjoy the smiles they bring. I promise you won’t regret it. And if you do try them, I’d love to hear how they turned out! Maybe you’ll come up with a new variation that I haven’t thought of yet. That’s the fun of cooking—it’s always an adventure.
Happy snacking, and remember: the best meals are the ones shared with the people you love. These cheesy taco sticks are sure to become a beloved part of your routine, just like they have in mine.
Frequently Asked Questions
Q: Can I use corn tortillas instead of flour tortillas?
You can, but keep in mind that corn tortillas are less flexible and might crack when you roll them. If you want to try, warm them slightly first to make them more pliable. Flour tortillas work best for these cheesy taco sticks because they roll easily and get nice and crispy.
Q: How do I prevent the cheese from leaking out while baking?
Make sure to roll the tortillas tightly and place them seam-side down on the baking sheet. Don't overfill them—about ¼ cup of cheese mixture per tortilla is perfect. If a little cheese leaks, it's okay! It'll crisp up and taste delicious.
Q: Can I make these cheesy taco sticks ahead of time?
Absolutely! You can assemble them up to a day in advance. Just wrap them tightly in plastic wrap and store in the fridge until you're ready to bake. You might need to add a minute or two to the baking time since they'll be cold.
Q: What's the best dipping sauce for cheesy taco sticks?
I love serving them with sour cream, salsa, or guacamole. Ranch dressing is also a crowd-pleaser. Feel free to mix and match—sometimes I'll set out a few options and let everyone choose their favorite.
Q: Are these cheesy taco sticks freezer-friendly?
Yes, they freeze beautifully! After baking and cooling, wrap them individually and store in a freezer bag. Reheat in the oven at 375°F for 10-12 minutes from frozen. They make a great quick snack or appetizer straight from the freezer.
PrintCheesy Taco Sticks
- Total Time: 30
- Yield: 8 sticks 1x
Description
Crispy, cheesy finger food with classic taco flavors, perfect for parties or snacks.
Ingredients
1 lb ground beef
1 packet taco seasoning
1 cup shredded cheddar cheese
1 cup shredded Monterey Jack cheese
1/2 cup diced tomatoes
1/4 cup sliced black olives
1/4 cup chopped green onions
1 package refrigerated crescent roll dough
1/4 cup sour cream (for serving)
1/4 cup salsa (for serving)
Instructions
Step 1: Preheat oven to 375°F (190°C) and line a baking sheet with parchment paper.
Step 2: In a skillet, cook ground beef over medium heat until browned, then drain excess fat.
Step 3: Stir in taco seasoning and 1/4 cup water, simmer for 5 minutes until thickened.
Step 4: Unroll crescent roll dough and separate into triangles. Place on baking sheet.
Step 5: Spoon about 2 tablespoons of beef mixture onto each triangle, then top with cheeses, tomatoes, olives, and green onions.
Step 6: Roll up each triangle from the wide end to the point, sealing edges to form sticks.
Step 7: Bake for 12-15 minutes until golden brown and cheese is melted.
Step 8: Serve warm with sour cream and salsa for dipping.
- Prep Time: 15
- Cook Time: 15
- Category: Appetizer
Nutrition
- Calories: 280
- Fat: 16g
- Carbohydrates: 18g
- Protein: 14g