
DIY Planter Box: Transform Your Garden with Amazingly Simple Projects
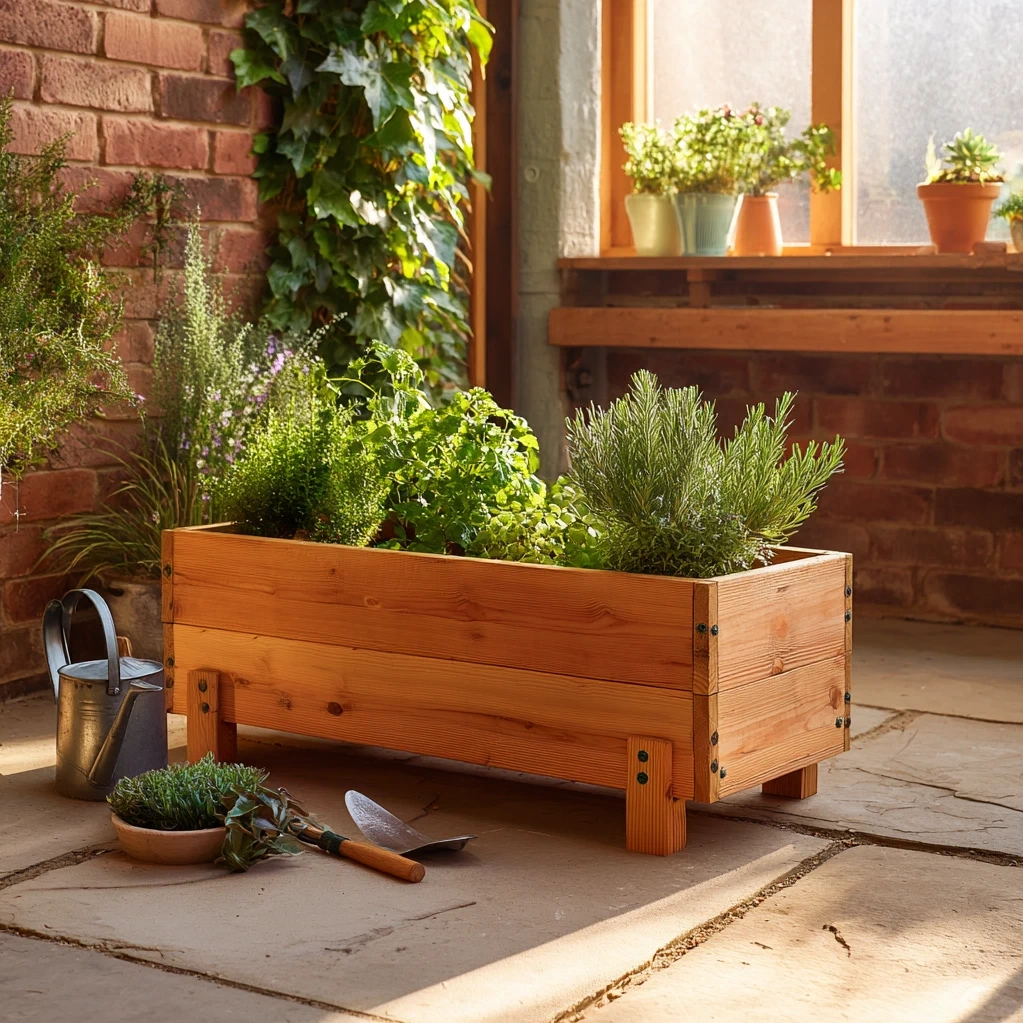
Creating a DIY planter box is one of the most rewarding projects you can tackle for your home or garden. These versatile containers offer endless possibilities for growing flowers, herbs, vegetables, and decorative plants while adding personality and charm to any space. Whether you’re looking to maximize a small balcony, organize a sprawling backyard, or simply add a touch of greenery to your patio, building your own planter box puts you in complete control of size, style, and functionality. Unlike store-bought options, custom-built planter boxes can be tailored to fit specific dimensions, complement your home’s aesthetic, and accommodate the unique needs of your plants. They’re also surprisingly affordable—with basic materials and tools, you can create beautiful planters that would cost significantly more if purchased pre-made. This guide will walk you through everything from planning and materials to construction and planting, helping you create stunning DIY planter boxes that will enhance your outdoor living experience for years to come. With clear instructions and practical tips, even beginners can achieve professional-looking results and enjoy the satisfaction of building something both beautiful and functional.
Essential Materials and Tools for Your DIY Planter Box
Before you begin building your DIY planter box, gathering the right materials and tools is crucial for success. The foundation of any good planter starts with wood selection. Cedar and redwood are excellent choices because they naturally resist rot and insects, making them durable for outdoor use. Pressure-treated lumber is another option, though some gardeners prefer to avoid it for edible plants. For those on a budget, pine can work well if properly sealed. Beyond wood, you'll need exterior-grade screws (stainless steel or coated to prevent rust), waterproof glue, and drainage materials like landscape fabric and gravel. Basic tools include a measuring tape, pencil, saw (circular or miter saw for straight cuts), drill with screwdriver bits, level, and safety gear like goggles and gloves. For more advanced designs, a pocket-hole jig or corner clamps can help achieve precise joints. Consider the size of your planter box—larger boxes may need additional support like corner braces or cross beams to prevent bowing. Don't forget about finishing touches: exterior paint or stain can protect the wood and match your decor, while liners or sealants ensure longevity. With these essentials in hand, you'll be ready to build a sturdy, attractive DIY planter box that stands up to weather and time.
Step-by-Step Construction of Your DIY Planter Box
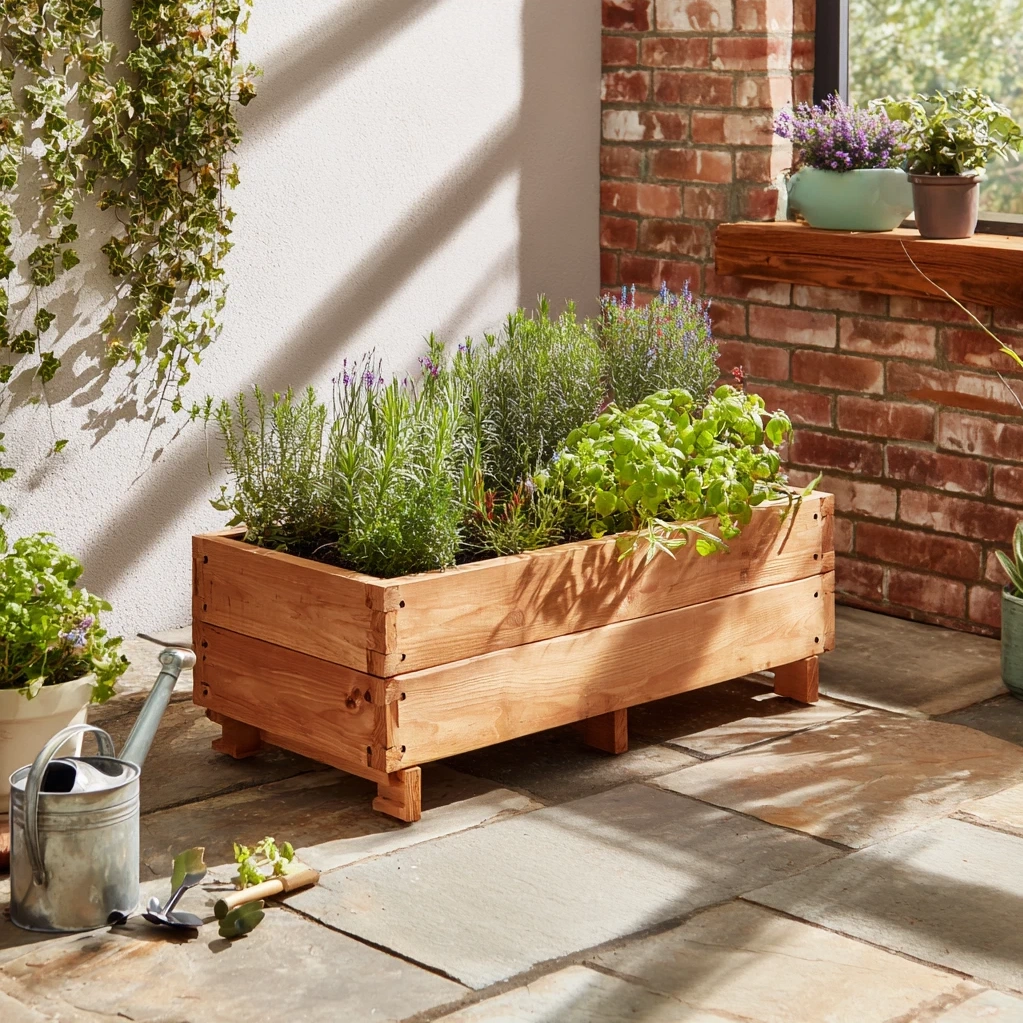
Building a DIY planter box involves straightforward steps that yield impressive results. Start by measuring and cutting your wood pieces according to your desired dimensions—common sizes range from 2×2 feet for herbs to 4×8 feet for vegetable gardens. Cut four pieces for the sides and additional pieces for the bottom if needed. Next, assemble the frame by attaching the side pieces at the corners. Use screws driven at angles or pocket holes for strong joints, ensuring everything is square with a carpenter's square. For drainage, drill several 1/2-inch holes in the bottom piece before attaching it to the frame, spacing them evenly to prevent waterlogging. If using a bottom, secure it with screws and consider adding feet or casters for better airflow and mobility. For extra durability, line the interior with landscape fabric to keep soil in while allowing drainage. Sand all edges smooth to prevent splinters, then apply a protective finish if desired. Once constructed, place your DIY planter box in its intended location, checking that it's level on the ground. Fill it with a quality potting mix suited to your plants, leaving space at the top for watering. This hands-on process not only creates a functional garden feature but also provides a sense of accomplishment as you watch your plants thrive in a box you built yourself.
Creative Designs and Customization for DIY Planter Boxes
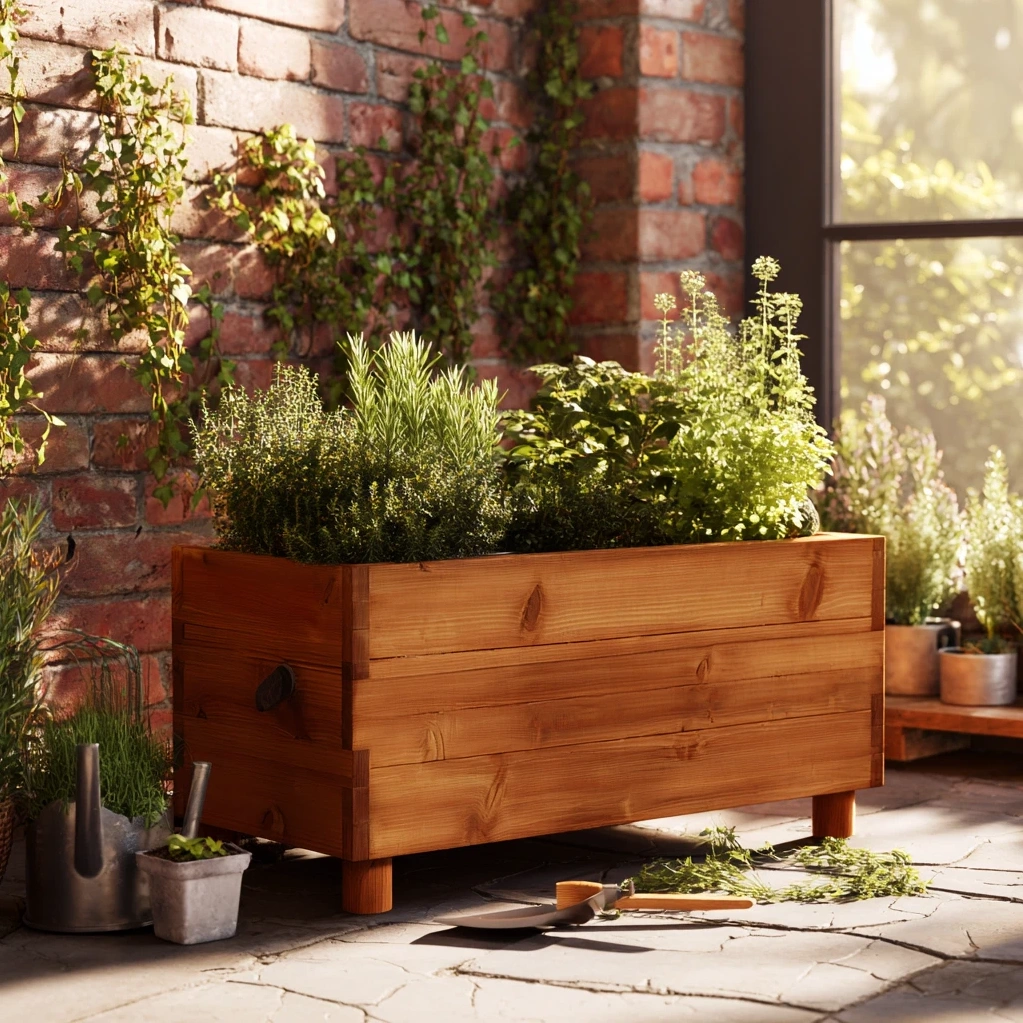
The beauty of a DIY planter box lies in its adaptability to your personal style and space constraints. From sleek modern designs to rustic farmhouse looks, you can customize every aspect. Consider tiered or vertical planter boxes to maximize small areas like balconies or patios—these stacked designs add visual interest and increase planting capacity. For a cohesive look, match the finish to your home's exterior: stain wood in natural tones for a warm feel, or paint it in bold colors to make a statement. Incorporate functional features like built-in trellises for climbing plants such as tomatoes or peas, or add wheels to create mobile planters that can follow the sun. If you're growing herbs or vegetables, design separate compartments within one large box to organize different crops. For decorative flair, experiment with wood types, mixing cedar with reclaimed barn wood for texture, or add trim details like molding or corner accents. Even simple touches like staining the interior a dark color can make plants pop. Remember to scale your DIY planter box to fit its environment: low, wide boxes work well along pathways, while tall, narrow ones suit corners. By tailoring the design, you not only enhance your garden's aesthetics but also ensure the planter meets your practical needs, whether that's easy access for harvesting or durability for heavy soil.
Planting and Maintenance Tips for Your DIY Planter Box
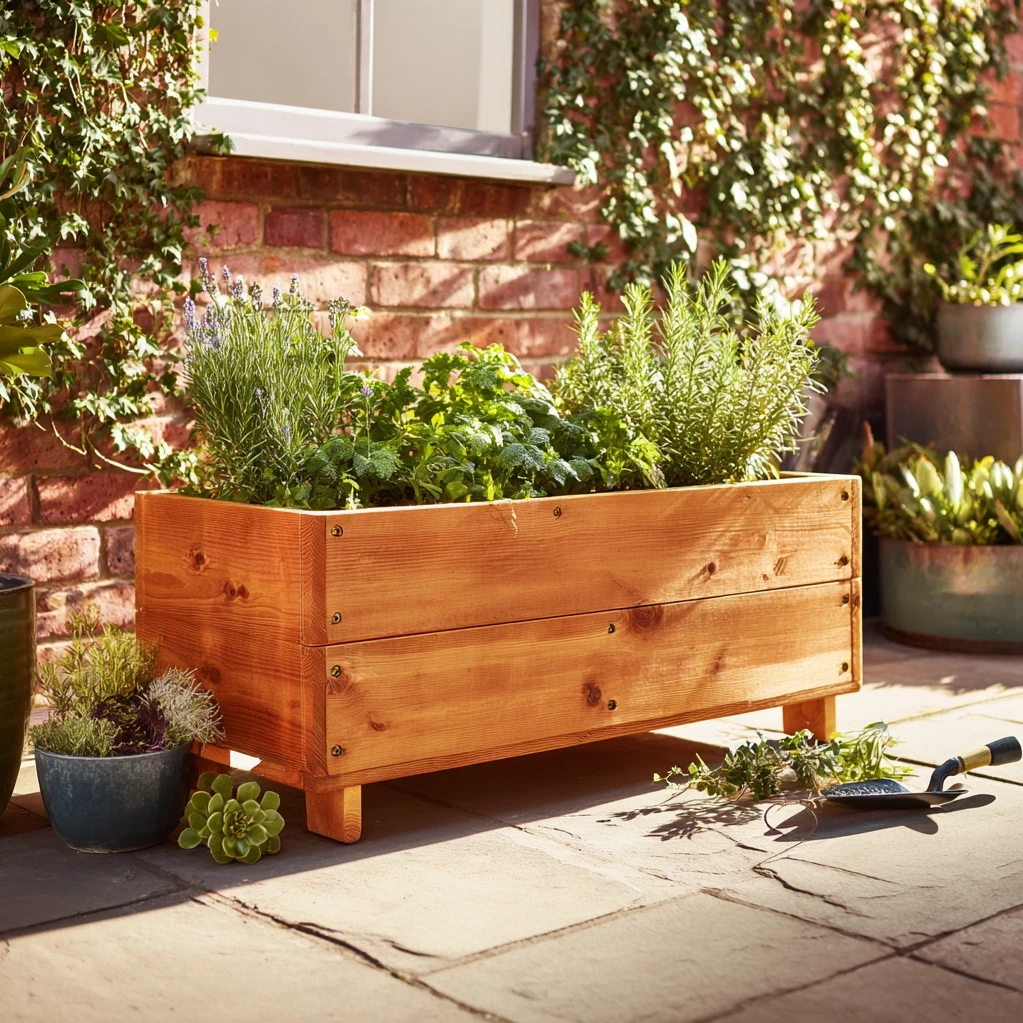
Once your DIY planter box is built, proper planting and care will ensure your garden flourishes. Start by choosing plants suited to your climate and the box's location—full sun varieties like tomatoes and marigolds need at least six hours of direct light, while shade-loving plants like ferns and hostas thrive in less exposure. Use high-quality potting soil mixed with compost for nutrients, and avoid garden soil, which can compact and hinder drainage. When planting, space seedlings according to their mature size to prevent overcrowding, and water thoroughly after planting to settle the soil. For ongoing maintenance, establish a regular watering schedule—planter boxes dry out faster than ground beds, so check moisture daily during hot weather. Mulching with straw or wood chips helps retain moisture and suppress weeds. Fertilize every few weeks with a balanced, slow-release fertilizer to support growth, especially for heavy feeders like vegetables. Monitor for pests and diseases, removing affected leaves promptly and using organic treatments if needed. In colder climates, protect perennials by moving boxes to sheltered areas or insulating them with burlap. Rotate crops annually in vegetable boxes to prevent soil depletion. With these practices, your DIY planter box will become a thriving centerpiece, offering fresh produce, beautiful blooms, and a rewarding gardening experience season after season.
Conclusion
Building a DIY planter box is more than just a weekend project—it's an investment in your home's beauty and your personal well-being. By crafting your own planters, you gain control over design, size, and materials, creating custom solutions that store-bought options can't match. From selecting rot-resistant wood to adding creative touches like trellises or wheels, each step allows you to tailor the box to your specific needs and style. The process is accessible to beginners yet offers enough depth for seasoned DIYers to experiment with advanced techniques. Once completed, these planters become versatile homes for everything from vibrant flowers to kitchen herbs, enhancing outdoor spaces with greenery and life. Looking ahead, consider expanding your skills with projects like raised garden beds or decorative container gardens. Share your creations with friends or involve family in the building process to make it a memorable activity. As you enjoy the fruits of your labor—whether literal harvests or simply the sight of blooming plants—you'll appreciate the lasting value and satisfaction that comes from building something with your own hands. Embrace the journey, and let your DIY planter box inspire a greener, more personalized living environment.
Frequently Asked Questions
Q: What is the best wood for a DIY planter box?
Cedar and redwood are top choices for DIY planter boxes because they naturally resist rot, insects, and moisture, making them durable for outdoor use. Pressure-treated lumber is another option, but it may contain chemicals, so avoid it for edible plants if you're concerned. Pine is affordable but requires sealing with a waterproof finish to last. Always use exterior-grade wood to withstand weather conditions.
Q: How do I ensure proper drainage in my DIY planter box?
Proper drainage is essential to prevent root rot. Drill several 1/2-inch holes in the bottom of your planter box, spaced about 6 inches apart. You can also elevate the box slightly with feet or place it on gravel to improve airflow. Line the interior with landscape fabric to keep soil in while allowing water to escape. Avoid using non-porous materials like plastic liners without holes.
Q: Can I build a DIY planter box if I'm a beginner?
Absolutely! DIY planter boxes are perfect for beginners. Start with a simple rectangular design using basic tools like a saw, drill, and screws. Follow step-by-step plans, measure carefully, and take your time. Many online tutorials and kits make the process straightforward. With practice, you'll gain confidence and can tackle more complex designs. Remember, even imperfect boxes can still grow beautiful plants.