
DIY Spring Wreath: Transform Your Space with 3 Joyful Designs

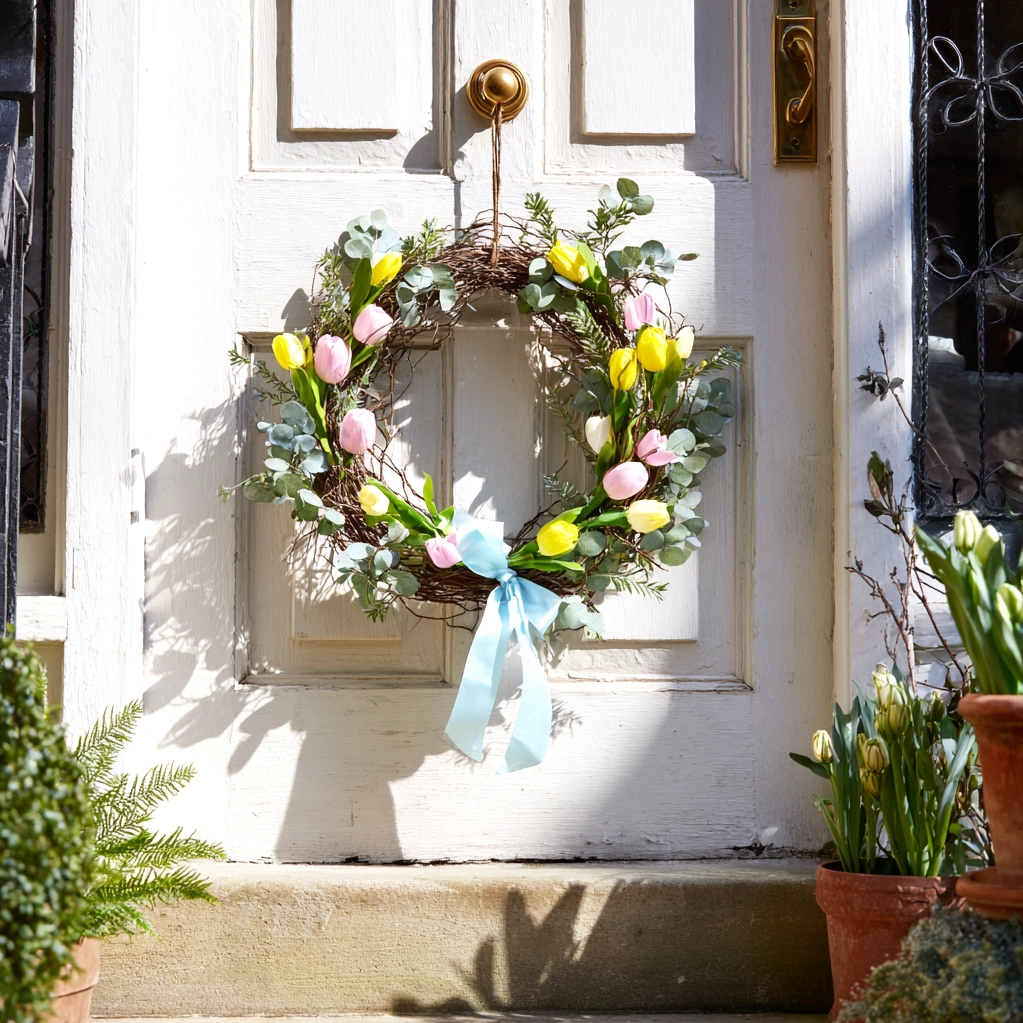
As winter melts away and nature awakens, there’s no better way to welcome the season than with a vibrant DIY spring wreath. This simple craft project offers more than just decoration—it provides a creative outlet that connects you to the changing seasons and adds a personal touch to your home. A handmade wreath captures the essence of spring with fresh colors, textures, and natural elements that manufactured decorations often lack. Whether you’re an experienced crafter or a complete beginner, creating your own wreath allows you to express your style while celebrating renewal and growth. The process itself becomes a mindful activity, offering stress relief and a sense of accomplishment when you hang your finished creation. Plus, it’s an affordable way to update your decor without breaking the bank. In today’s fast-paced world, taking time for hands-on projects like this can ground you in the present moment. You’ll find that each wreath tells a story through the materials you choose and the care you put into assembling them. From your front door to indoor walls, these cheerful accents instantly brighten any space. They serve as visual reminders of nature’s resilience and beauty, making your home feel more inviting. This guide will walk you through everything you need to know to create stunning DIY spring wreaths that reflect your personality and elevate your seasonal decor with warmth and charm.
Essential Materials for Your DIY Spring Wreath
Before you begin crafting your DIY spring wreath, gathering the right materials is crucial for success. Start with a base—grapevine wreaths are popular for their rustic look, while foam or straw wreaths provide a smooth surface for attaching decorations. You'll also need floral wire, a hot glue gun with glue sticks, and wire cutters for trimming stems. For the spring elements, consider fresh or artificial flowers like tulips, daffodils, or cherry blossoms in pastel shades. Greenery such as eucalyptus, ferns, or ivy adds texture and fullness. Don't forget accents like ribbon, moss, or small decorative birds to personalize your creation. Many of these items can be found at craft stores, dollar stores, or even in your backyard. If you're on a budget, repurpose old decorations or use dried flowers from previous seasons. Organize your materials on a clean workspace to avoid clutter and ensure everything is within reach. This preparation step saves time and reduces frustration during the crafting process. Remember, the quality of your materials affects the durability of your wreath—choose weather-resistant options if it will hang outdoors. With these essentials ready, you're set to create a beautiful DIY spring wreath that lasts through the season.
Step-by-Step Guide to Crafting a DIY Spring Wreath
Creating a DIY spring wreath is easier than you might think with this simple step-by-step guide. First, lay your wreath base flat and plan your design by arranging flowers and greenery around it without attaching them yet. This helps visualize the final look and balance colors. Next, start attaching the largest elements first—use floral wire to secure stems to the base, wrapping tightly but discreetly. For foam wreaths, insert stems directly into the material. Add greenery around the flowers to fill gaps and create a lush appearance. Use a hot glue gun for delicate items like ribbon or small accents, applying glue sparingly to avoid mess. Work in sections, rotating the wreath to ensure even coverage. If you're including a bow, attach it at the bottom or top with wire for stability. Once all elements are secured, step back and assess your DIY spring wreath—adjust any pieces that look uneven. Let the glue dry completely before hanging. For outdoor wreaths, consider spraying with a clear sealant to protect against rain. This process typically takes 1-2 hours, making it a perfect weekend project. Don't worry about perfection; handmade charm comes from slight imperfections. With practice, you'll develop your own techniques and speed.

Creative Variations for Your DIY Spring Wreath
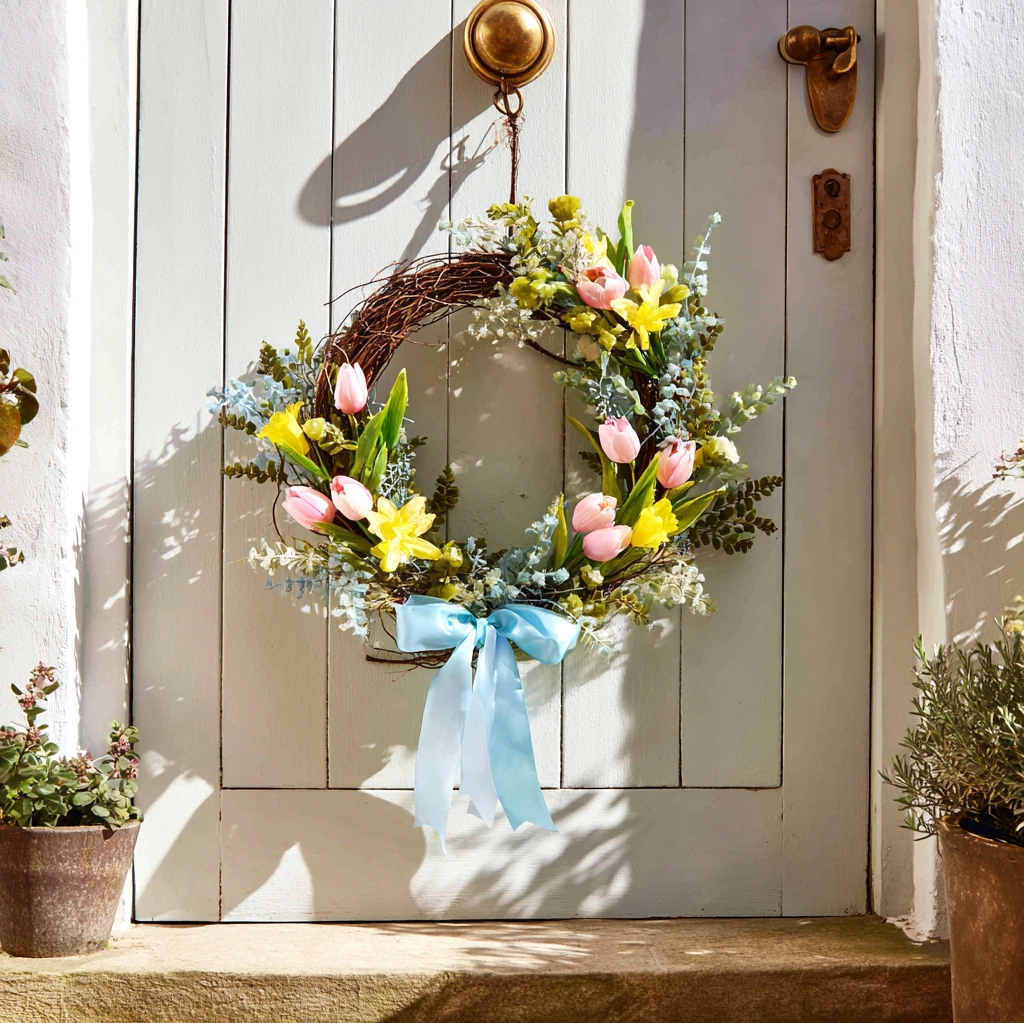
Once you've mastered the basics, experiment with creative variations to make your DIY spring wreath unique. Try a minimalist design using only greenery like eucalyptus and a simple ribbon for a modern touch. For a rustic look, incorporate burlap, twine, and dried flowers. If you love color, mix bold blooms like peonies and ranunculus with contrasting foliage. Consider themed wreaths—a bird's nest with eggs for a nature-inspired piece or a wreath featuring herbs like lavender and rosemary for a fragrant option. You can also upcycle materials: use an old embroidery hoop as a base or repurpose silk flowers from thrift stores. For indoor decor, create a smaller DIY spring wreath for tabletops using a mini wreath base and delicate elements. Another idea is to add LED fairy lights for evening ambiance, weaving them through the greenery. Personalize your wreath with monogram letters or seasonal messages attached with wire. These variations allow you to match your wreath to your home's style—whether farmhouse, coastal, or contemporary. They also make thoughtful gifts for friends or family. By exploring different approaches, you'll keep the crafting experience fresh and exciting each spring.
Conclusion
Crafting a DIY spring wreath is more than just a decorative task—it's a joyful celebration of the season that brings creativity and personal expression into your home. Through this guide, you've learned how to select materials, follow simple steps, and explore creative variations to make each wreath uniquely yours. The process offers a rewarding break from digital screens, allowing you to connect with natural elements and your own imagination. As you hang your finished wreath, you'll feel a sense of pride knowing you created something beautiful with your own hands. Looking ahead, consider making wreaths for other seasons or occasions, building on the skills you've developed. Share your creations with others to inspire them to try their own projects. Remember, the beauty of a DIY spring wreath lies in its imperfections and the memories attached to its making. Embrace the opportunity to refresh your space annually with new designs that reflect your evolving taste. Whether you craft alone or with loved ones, this tradition can become a cherished part of your spring routine, infusing your home with warmth and renewal year after year.
Frequently Asked Questions
Q: How long does it take to make a DIY spring wreath?
The time required varies based on complexity, but most beginners can complete a basic DIY spring wreath in 1 to 2 hours. This includes planning, gathering materials, and assembly. Simpler designs with fewer elements may take less time, while intricate wreaths with detailed arrangements could require 2-3 hours. Allow extra time for glue to dry if using a hot glue gun. To streamline the process, prepare all materials beforehand and work in a clean, organized space.
Q: Can I use fresh flowers for a DIY spring wreath?
Yes, fresh flowers can be used for a DIY spring wreath, but they require special care. Fresh blooms add a natural fragrance and vibrant look but may wilt quickly, especially outdoors. To extend their life, choose hardy flowers like daisies or spray roses, and keep the wreath in a cool, shaded area. Alternatively, consider using a mix of fresh and artificial elements or preserve flowers by drying them first. For longer-lasting results, artificial flowers are often preferred as they maintain their appearance throughout the season.
Q: What is the best way to hang a DIY spring wreath?
The best hanging method depends on your door or wall type. For most doors, use a wreath hanger that hooks over the top—these are widely available and prevent damage to surfaces. For walls, install a small nail or hook at a slight upward angle to support the wreath's weight. Ensure the hanging mechanism is sturdy enough for your wreath's size and materials. If hanging outdoors, choose weather-resistant hooks and consider adding a clear sealant to protect the wreath from moisture. Always test the stability before leaving it unattended.