
Outdoor Kitchen DIY: Transform Your Backyard with Incredible Ease
Imagine stepping into your backyard and being greeted by a beautifully crafted outdoor kitchen that you built with your own hands. The sizzle of grilled vegetables, the laughter of friends gathered around, and the satisfaction of creating something both functional and beautiful—this is the magic of an outdoor kitchen DIY project. In recent years, outdoor living spaces have evolved from simple patios to fully equipped kitchens that extend our homes into nature. Building your own outdoor kitchen isn’t just about adding value to your property (though studies show it can increase home value by 10-15%), it’s about creating a personal oasis where memories are made. The DIY approach makes this dream accessible, allowing you to customize every detail to match your lifestyle and budget. Whether you’re a weekend warrior with basic tools or someone looking for a rewarding challenge, an outdoor kitchen DIY project offers tangible rewards that go beyond the finished structure. You’ll gain practical skills, save thousands compared to professional installation, and create a space that reflects your personality. This article will guide you through the essential steps, from planning to execution, helping you avoid common pitfalls while maximizing your success. Let’s turn that blank backyard into your favorite room in the house!
Planning Your Outdoor Kitchen DIY Project
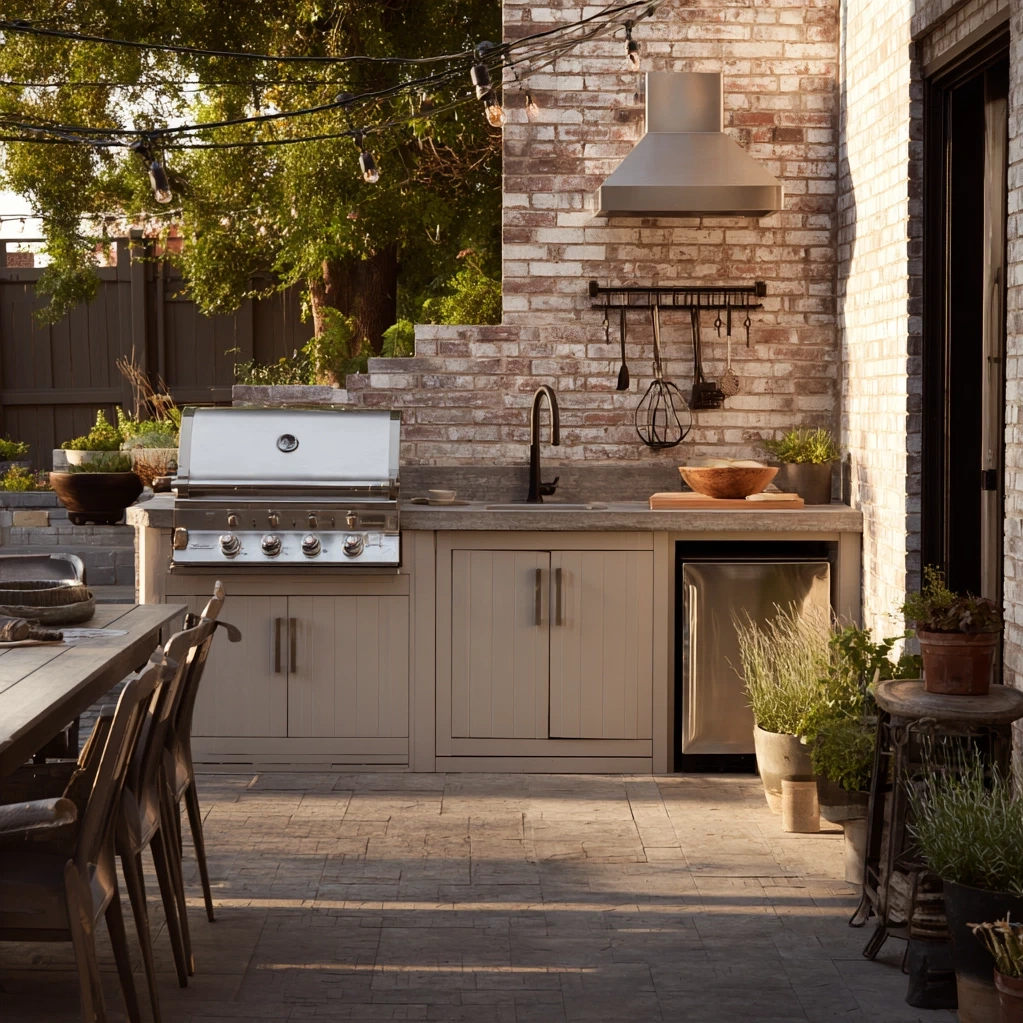
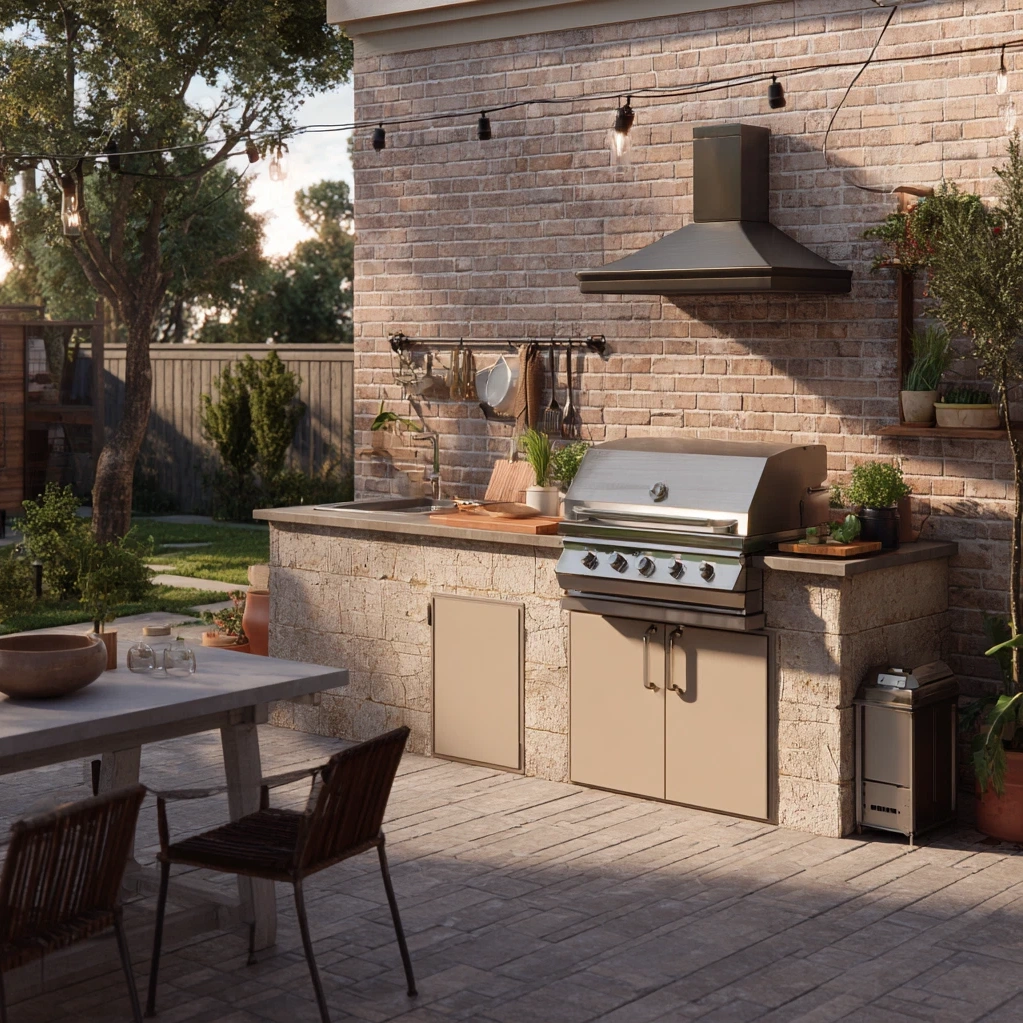
Before you pick up a single tool, thoughtful planning is the foundation of any successful outdoor kitchen DIY endeavor. Start by assessing your available space—measure carefully and consider how the kitchen will integrate with existing features like patios, gardens, or pools. Think about traffic flow; you'll want enough room for multiple people to move comfortably without crowding the cooking area. Next, define your needs: Do you primarily grill, or do you want a full setup with sinks, refrigeration, and storage? Budget realistically, including materials, appliances, and potential surprises like utility extensions. Climate matters too; choose durable materials that withstand local weather, such as stainless steel for appliances and weather-resistant stone for countertops. Sketch a simple layout, placing key zones logically: cooking, prep, and serving areas should form a natural triangle for efficiency. Research local building codes and permits, especially for gas or electrical work. This planning phase might feel tedious, but it prevents costly mistakes later. Remember, an outdoor kitchen DIY project is flexible—you can start small with a basic grill station and expand over time. Take inspiration from design magazines or online platforms, but tailor ideas to your space. With a solid plan, you'll build confidence and clarity, turning overwhelming details into manageable steps.
Essential Materials for Your Outdoor Kitchen DIY Build
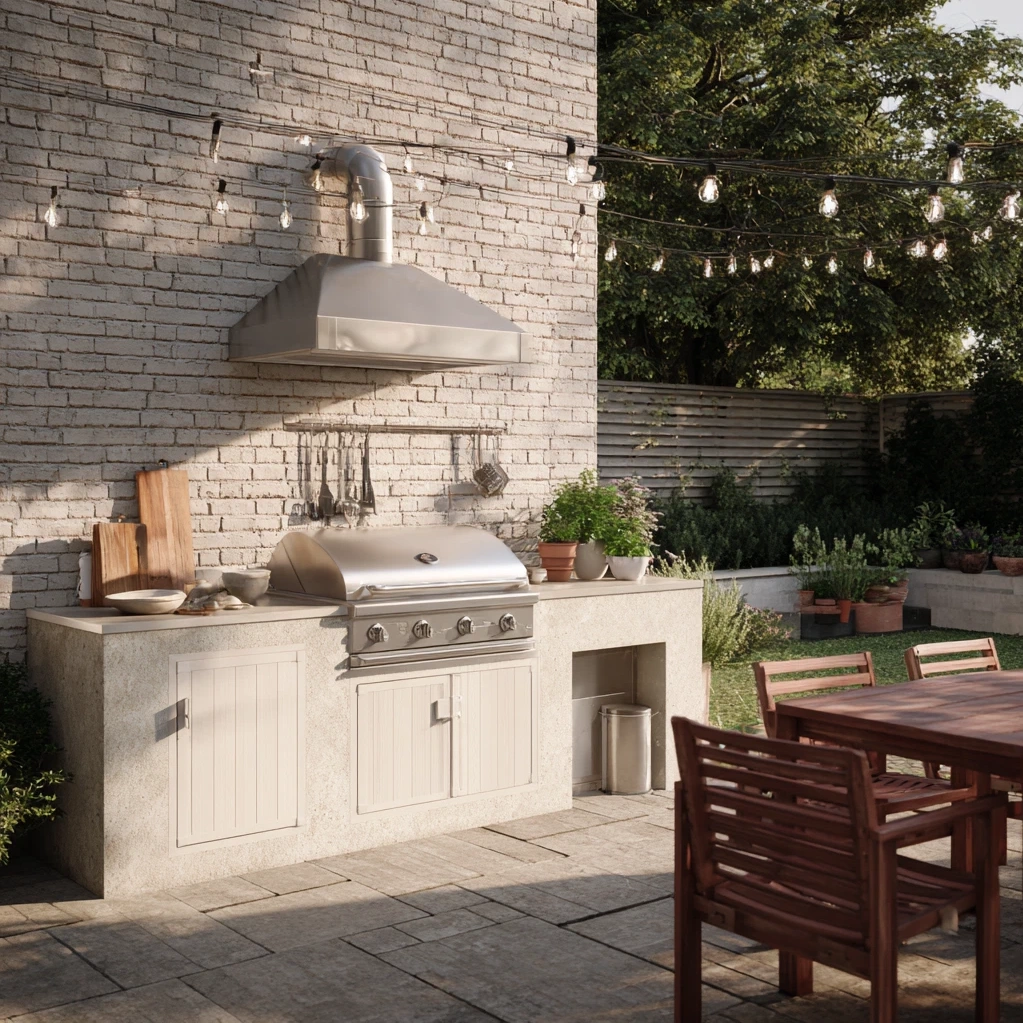
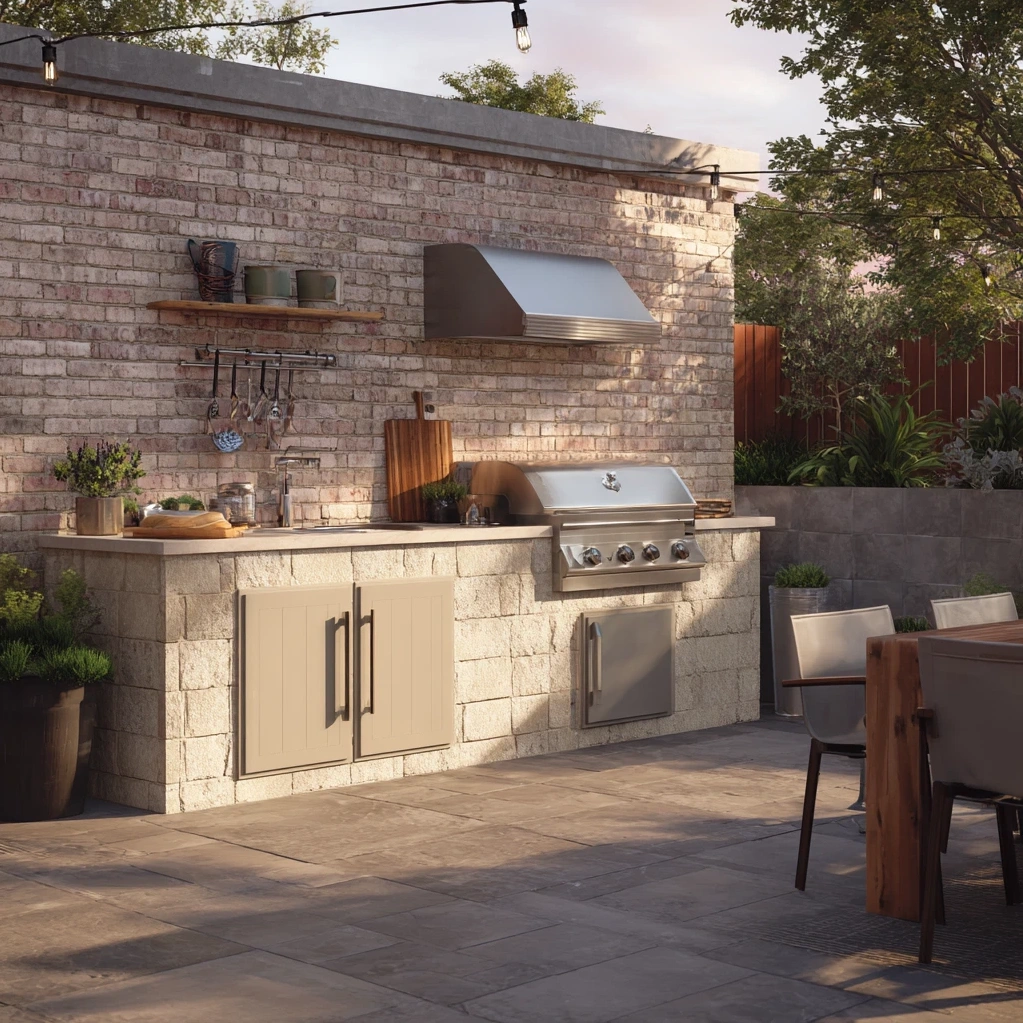
Choosing the right materials is crucial for durability and aesthetics in your outdoor kitchen DIY project. Start with the foundation: concrete blocks or pavers provide a stable base that resists shifting and moisture. For countertops, consider natural stone like granite or engineered quartz, both offering heat resistance and easy maintenance. Avoid materials like wood that can warp or rot outdoors. The framework often uses weatherproof lumber or metal studs, covered with cement backer board as a substrate for finishes. When selecting finishes, tile or stone veneer adds texture and style while protecting underlying structures. For appliances, invest in outdoor-rated versions—standard indoor models won't withstand elements. A high-quality grill is the centerpiece; opt for stainless steel with good BTU ratings. Don't forget utilities: use weatherproof electrical outlets and gas lines rated for outdoor use. Storage solutions like stainless steel cabinets or treated wood units keep tools and supplies organized. Lighting is key for evening use; LED fixtures under counters or above work areas enhance safety and ambiance. Source materials locally to reduce costs and ensure availability. Many home improvement stores offer DIY kits that simplify the process, though customizing gives more control. Prioritize quality over price for critical components; skimping might lead to repairs later. With careful selection, your outdoor kitchen DIY build will stand up to seasons of use while looking stunning.
Step-by-Step Outdoor Kitchen DIY Construction
Once planning and material gathering are complete, it's time to dive into the construction phase of your outdoor kitchen DIY project. Begin by preparing the site: clear vegetation, level the ground, and lay a gravel base for drainage. Pour a concrete slab if needed, allowing it to cure fully—this typically takes several days. Next, build the framework using your chosen materials, securing it firmly to the foundation. Install utilities early: run gas lines and electrical wiring through conduits, following safety codes. Enlist a professional for gas connections if you're unsure. Then, add the countertop substrate and finish surfaces, ensuring seams are sealed against moisture. Mount appliances like the grill and sink, connecting them to utilities carefully. For storage, assemble cabinets or shelves, anchoring them to the framework. Add finishing touches: install backsplashes, lighting fixtures, and decorative elements. Throughout, use level and square tools to keep everything aligned. Take breaks to avoid fatigue; this isn't a race. Test each component as you go—for example, check gas lines for leaks before finalizing. Safety gear like gloves and goggles is essential. If challenges arise, online tutorials or community forums can offer solutions. Remember, imperfections add character; focus on functionality over perfection. By breaking the work into stages, your outdoor kitchen DIY construction becomes manageable, rewarding you with a space built exactly to your vision.
Maintaining Your Outdoor Kitchen DIY Creation
After completing your outdoor kitchen DIY build, proper maintenance ensures it remains a joy for years. Start with regular cleaning: wipe down countertops after each use to prevent stains, and clean grill grates to avoid buildup. Use mild, non-abrasive cleaners suitable for your materials. For appliances, follow manufacturer guidelines—many outdoor-rated items still need protection from extreme weather. Consider investing in waterproof covers for the grill and other electronics during off-seasons. Inspect the structure periodically for cracks or wear, especially in joints and seals. Reapply sealant to stone or tile surfaces annually to guard against moisture. Check utility connections yearly for safety, particularly gas lines. In colder climates, winterize by draining water lines and storing removable components indoors. Organize storage areas to keep tools dry and accessible. Landscaping around the kitchen should complement, not overwhelm; trim plants to prevent debris accumulation. Update lighting or accessories as needed to keep the space inviting. Maintenance isn't just about repairs—it's an opportunity to tweak and improve. Maybe add a herb garden nearby or upgrade seating. Document your care routine; it helps future projects. A well-maintained outdoor kitchen DIY creation not only lasts longer but also becomes a cherished part of your home, ready for countless gatherings and quiet evenings alike.
Conclusion
Embarking on an outdoor kitchen DIY project is more than a home improvement task—it's a journey that blends creativity, practicality, and personal achievement. From the initial spark of inspiration to the final sizzle on the grill, you've learned to plan meticulously, choose materials wisely, build steadily, and maintain diligently. This process transforms not just your backyard, but your lifestyle, offering a versatile space for cooking, entertaining, and relaxing. The skills you've gained extend beyond this project, empowering you for future DIY endeavors. As outdoor living continues to grow in popularity, your custom kitchen places you at the forefront of this trend, adding both value and joy to your home. Looking ahead, consider how this space might evolve: perhaps adding a pizza oven, expanding seating, or integrating smart technology for convenience. Share your experience with others; your story could inspire neighbors or online communities to start their own projects. Remember, the true reward lies in the moments created here—the family dinners, friendly barbecues, and peaceful mornings with coffee. So fire up that grill, invite some friends, and savor the fruits of your labor. Your outdoor kitchen DIY masterpiece is ready for its debut, promising seasons of enjoyment and pride.
Frequently Asked Questions
Q: How much does it typically cost to build an outdoor kitchen DIY?
Costs vary widely based on size, materials, and appliances, but a basic outdoor kitchen DIY project can range from $3,000 to $10,000. This includes essentials like a grill, countertops, and basic storage. High-end materials or added features like sinks or refrigeration can push it to $15,000 or more. By doing the work yourself, you save on labor, which often accounts for 30-50% of professional installation costs. Plan your budget carefully, prioritizing durability for key components.
Q: What are the most common mistakes to avoid in an outdoor kitchen DIY?
Common pitfalls include inadequate planning, such as not measuring space properly or ignoring local building codes. Using indoor-rated appliances outdoors leads to quick deterioration. Skipping proper foundation work can cause shifting and damage. Another mistake is poor utility placement—ensure gas and electrical lines are safely installed, possibly with professional help. Lastly, underestimating maintenance needs; regular cleaning and weather protection are crucial. Avoid these by researching thoroughly and taking your time during each phase.
Q: How long does it take to complete an outdoor kitchen DIY project?
Timeline depends on complexity and experience, but most outdoor kitchen DIY builds take 2 to 6 weekends. Planning and material sourcing might add a week or two. Simple setups with pre-fab kits can be done in a weekend, while custom designs with extensive utilities may require a month of part-time work. Factor in curing times for concrete or adhesives. Break the project into stages to manage time effectively, and don't rush—quality work pays off in longevity and satisfaction.