
DIY Patio Awning: The Ultimate Guide to Transform Your Outdoor Space
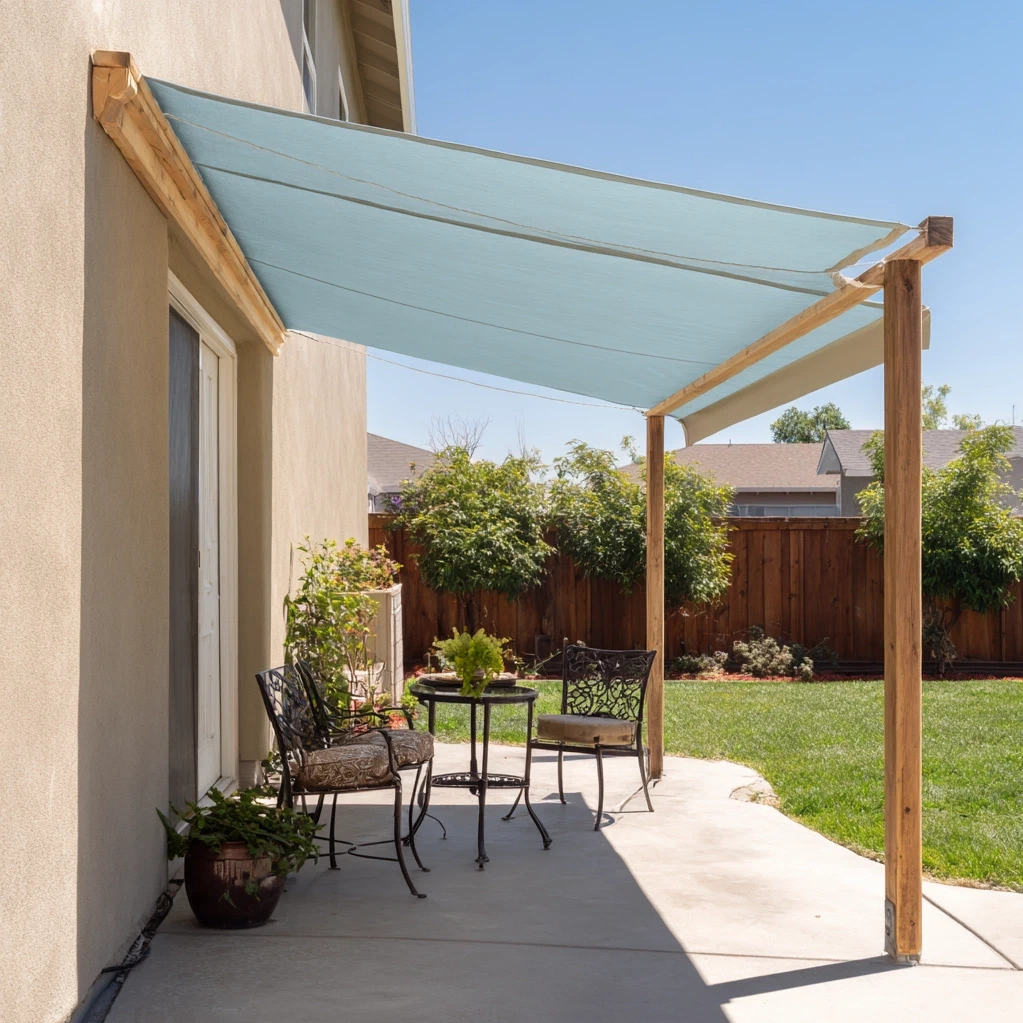
Imagine stepping into your backyard on a sunny afternoon, where the harsh rays are softened by a beautiful, custom-made shade structure you built yourself. A DIY patio awning isn’t just a practical addition to your home—it’s a game-changer for outdoor living. With rising temperatures and the growing desire to maximize our living spaces, creating your own awning offers both immediate comfort and long-term value. This project allows you to design exactly what you need, whether it’s a cozy nook for morning coffee or a spacious area for family gatherings. Beyond the functional benefits of sun protection and reduced indoor cooling costs, building your own awning provides a deep sense of accomplishment and personalization that store-bought options simply can’t match. You control the materials, colors, and dimensions, ensuring it perfectly complements your home’s architecture and your lifestyle. Many homeowners hesitate, thinking such projects require advanced skills, but with careful planning and the right guidance, even beginners can create stunning results. In this comprehensive guide, we’ll walk you through everything from planning and material selection to construction and finishing touches, empowering you to transform your patio into a comfortable, inviting retreat that reflects your personal style and enhances your home’s outdoor appeal.
Planning Your DIY Patio Awning Project
Before you pick up a single tool, thoughtful planning is essential for a successful DIY patio awning. Start by assessing your space: measure the area where the awning will go, considering both width and depth to ensure adequate coverage. Think about how you'll use the space—do you need full sun protection for dining, or partial shade for plants? Next, check local building codes and homeowners association rules, as some areas require permits for permanent structures. Determine your budget, keeping in mind that materials like aluminum, wood, or fabric each have different costs and maintenance needs. Sketch a simple design, deciding on the awning style: fixed, retractable, or attached to the house. Consider the angle and height; a slight pitch helps with water runoff, while proper height ensures comfortable movement underneath. Don't forget to factor in weather conditions—if you live in a windy area, sturdy anchoring is crucial. Gather necessary tools, such as a drill, level, saw, and measuring tape, and create a timeline to keep the project on track. This upfront work minimizes mistakes and ensures your DIY patio awning meets both your aesthetic and functional goals, setting the stage for a smooth build.
Essential Materials for Building a DIY Patio Awning
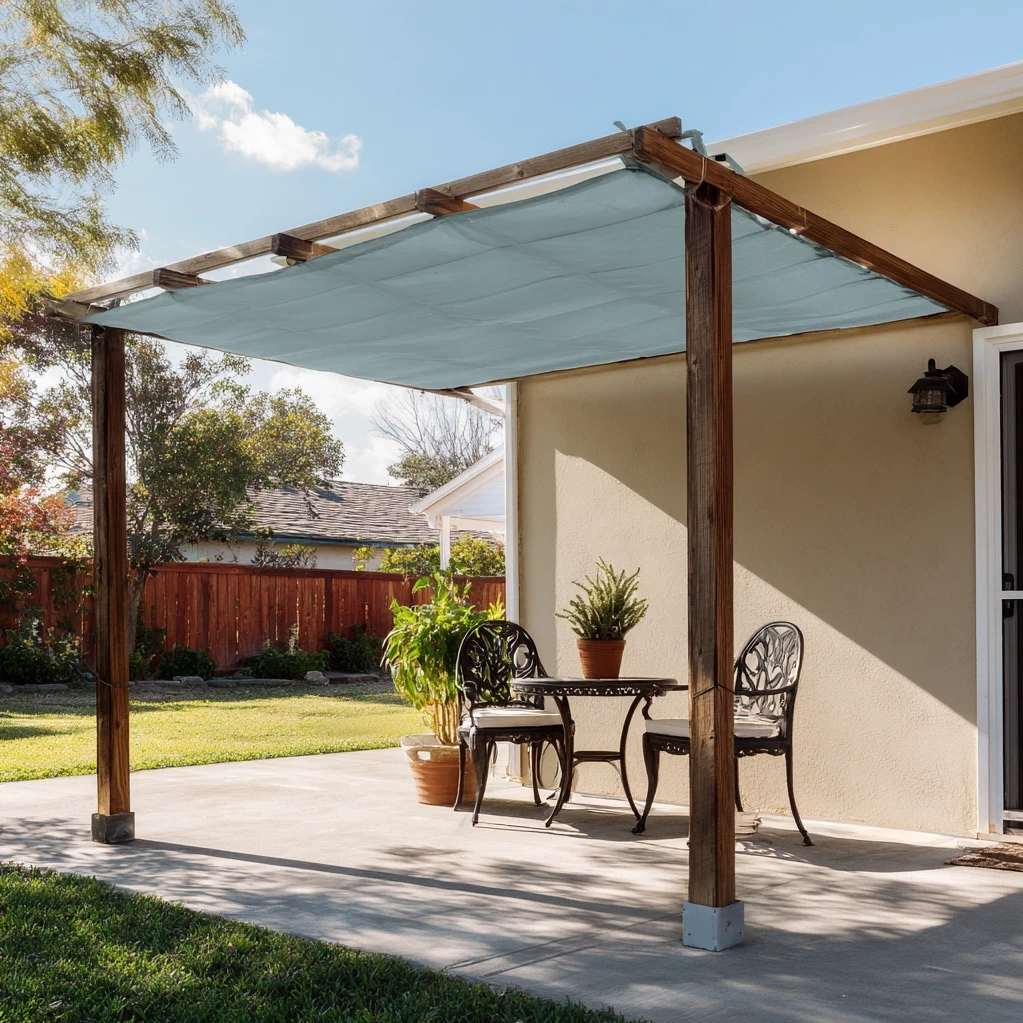
Choosing the right materials is key to a durable and attractive DIY patio awning. For the frame, common options include pressure-treated wood for a rustic look, aluminum for lightweight durability, or steel for maximum strength. Wood requires regular sealing to prevent rot, while metal may need rust protection. The covering material depends on your climate and style: waterproof canvas or polyester fabric offers flexibility and comes in various colors, polycarbonate panels provide translucent light diffusion, or metal sheets give a modern, industrial feel. For hardware, invest in corrosion-resistant screws, brackets, and anchors to ensure longevity. If attaching to your house, use heavy-duty lag bolts and flashing to prevent water damage. Support posts should be set in concrete footings for stability, especially in areas with high winds. Don't overlook accessories like gutters for water management or solar-powered LED lights for evening ambiance. Source materials from local hardware stores or online suppliers, comparing prices and reading reviews. By selecting quality components tailored to your design, your DIY patio awning will withstand the elements and enhance your outdoor space for years, blending practicality with personal flair.
Step-by-Step Construction of Your DIY Patio Awning
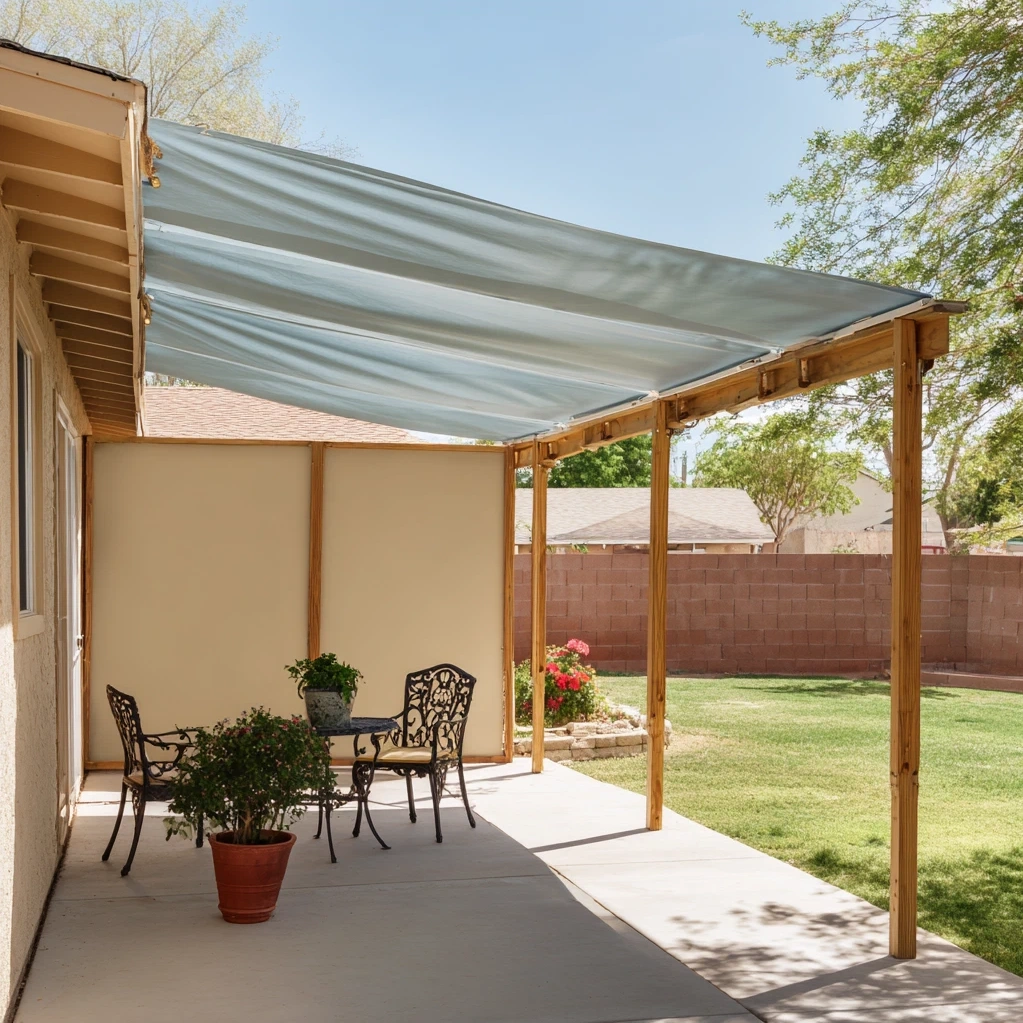
With planning complete and materials ready, it's time to build your DIY patio awning. Begin by marking the layout on your patio or ground, using stakes and string to outline where posts and attachments will go. If attaching to your house, locate wall studs and install a ledger board securely, ensuring it's level. Dig holes for support posts, typically 2-3 feet deep, and set them in concrete, checking alignment with a level. Once the concrete cures, attach crossbeams and rafters to create the frame, following your design sketch. Use galvanized connectors for added strength. Next, install the covering material: for fabric, stretch it taut and secure with grommets and ropes; for panels, screw them into place with weatherproof fasteners. Add finishing touches like trim or paint to protect and beautify the structure. Test stability by gently shaking the frame and inspecting connections. Throughout the process, prioritize safety—wear gloves and eye protection, and work with a partner for heavy lifting. This hands-on approach not only saves money but also gives you full control over the outcome, resulting in a custom DIY patio awning that fits your space perfectly and provides reliable shade.
Maintaining and Enhancing Your DIY Patio Awning
After construction, proper maintenance ensures your DIY patio awning remains functional and attractive for seasons to come. Regularly inspect the structure for signs of wear, such as loose bolts, fabric tears, or wood rot. Clean the covering material based on its type: hose down fabric awnings to remove dirt, use mild soap for stubborn stains, and avoid harsh chemicals that could damage fibers. For metal or wood frames, apply protective coatings annually to prevent rust or decay. In winter or during storms, retract fabric awnings if possible, or secure them to avoid wind damage. To enhance your awning's usability, consider adding accessories like outdoor curtains for privacy, hanging plants for a touch of greenery, or a ceiling fan for cooling breezes. These small upgrades can transform your shaded area into a versatile outdoor room. By dedicating a little time to upkeep, your DIY patio awning will continue to provide comfort and value, making your patio a favorite spot for relaxation and entertainment year after year.
Conclusion
Building a DIY patio awning is more than just a weekend project—it's an investment in your home's comfort, aesthetics, and functionality. Throughout this guide, we've explored the key steps: from meticulous planning and material selection to hands-on construction and ongoing maintenance. By taking on this challenge, you gain not only a customized shade solution but also the satisfaction of creating something tangible with your own hands. Your new awning will shield you from the sun's intensity, reduce energy costs, and extend your living space outdoors, perfect for everything from quiet mornings to lively gatherings. As you enjoy your transformed patio, remember that small updates, like adding lighting or decor, can keep the space feeling fresh. Looking ahead, consider how your skills might grow; perhaps you'll tackle other outdoor projects, like building a pergola or designing a garden path. The knowledge you've gained empowers you to approach future DIY endeavors with confidence. So, gather your tools, embrace the process, and start crafting the outdoor retreat you've always dreamed of—your perfect DIY patio awning awaits.
Frequently Asked Questions
Q: What is the average cost of building a DIY patio awning?
The cost varies widely based on materials and size, but a basic DIY patio awning typically ranges from $200 to $800. For example, a simple fabric awning with a wood frame might cost around $300-$500, while using aluminum or polycarbonate panels can increase the price to $500-$800. Factors like additional features (e.g., lighting or retractable mechanisms) and local material prices also affect the total. By sourcing materials wisely and doing the labor yourself, you can save significantly compared to professional installations, which often start at $1,500 or more.
Q: How long does it take to build a DIY patio awning?
The timeline depends on your experience and the complexity of the design, but most DIY patio awning projects can be completed in a weekend or two. Planning and gathering materials might take a few days. Actual construction, from setting posts to installing the covering, usually requires 8-16 hours of work, spread over one or two days. Allow extra time for concrete to cure if using footings (typically 24-48 hours). Beginners should budget additional hours for careful measurements and adjustments. Breaking the project into phases—like framing one day and covering the next—can make it more manageable and ensure a quality result.
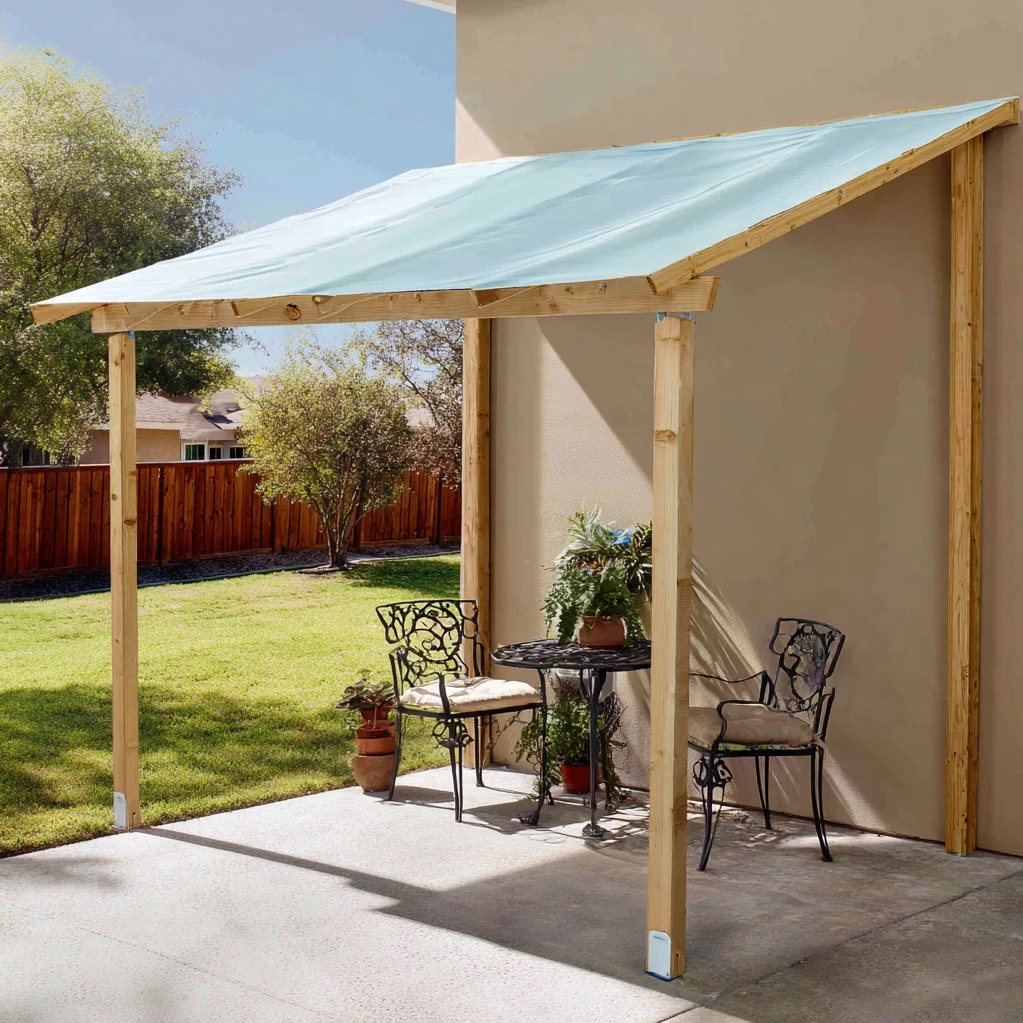
Q: Can I build a DIY patio awning without attaching it to my house?
Yes, freestanding DIY patio awnings are a great option if you prefer not to attach to your house or if your patio layout doesn't allow it. These awnings use support posts on all sides, often set in concrete footings for stability. They offer flexibility in placement and can be moved or redesigned more easily than attached versions. However, they may require more materials and sturdier construction to withstand wind without house support. When planning a freestanding awning, ensure the frame is robust and properly anchored to prevent tipping, especially in windy areas.