
DIY Swing Set: Transform Your Backyard with Incredible Family Fun
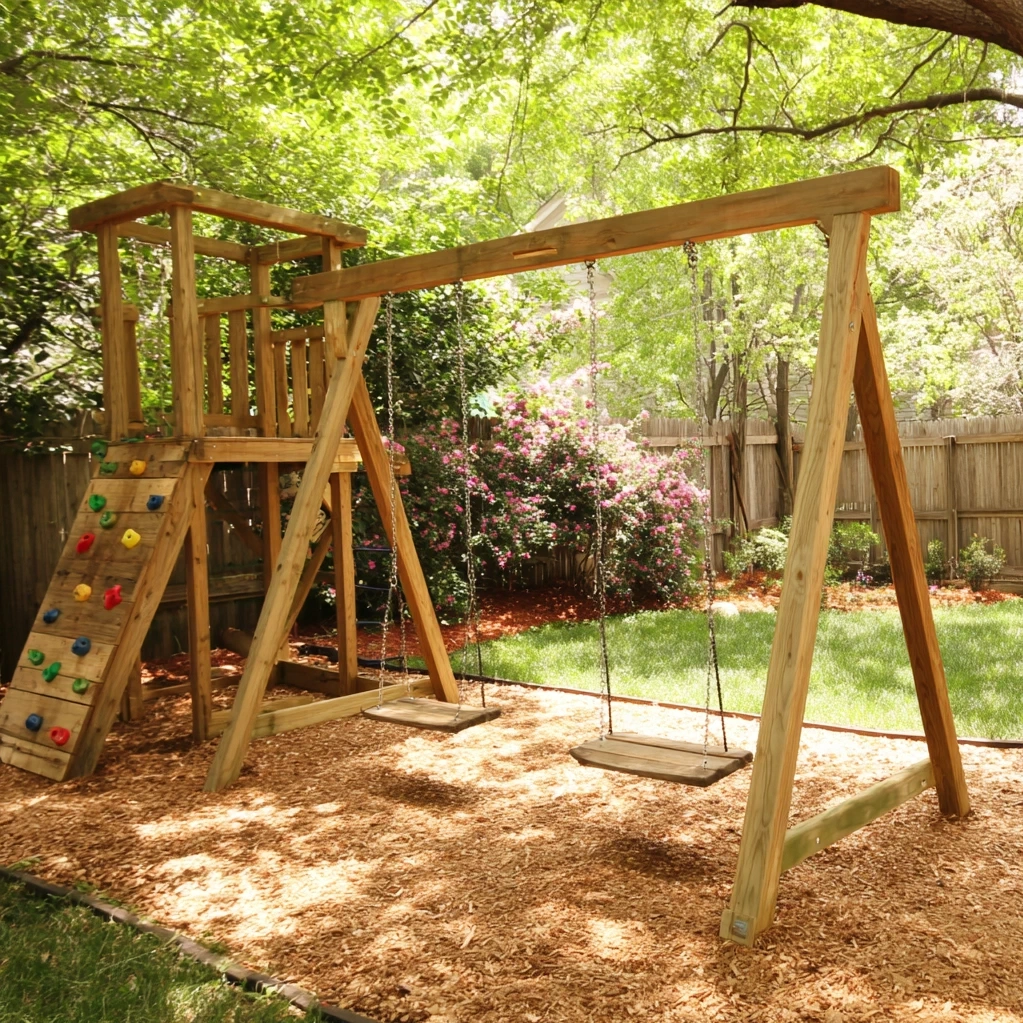
Imagine stepping into your backyard and being greeted by the joyful sight of your children laughing and swinging through the air. A DIY swing set isn’t just a piece of playground equipment – it’s a catalyst for childhood memories, family bonding, and outdoor activity. In today’s world where screens compete for our children’s attention, creating an inviting outdoor space becomes more important than ever. Building your own swing set offers numerous advantages over purchasing a pre-made kit. You gain complete control over the design, ensuring it perfectly fits your available space and matches your family’s specific needs. The customization possibilities are endless, from choosing durable materials that withstand your local weather conditions to incorporating special features like climbing walls or multiple swing stations. Beyond the practical benefits, there’s immense satisfaction in constructing something with your own hands that will bring years of enjoyment to your family. This project allows you to create a safe, sturdy play area while potentially saving significant money compared to store-bought alternatives. Whether you’re an experienced woodworker or a determined beginner, building a DIY swing set is an achievable goal that delivers rewards far beyond the finished structure. It becomes the heart of your outdoor living space, a gathering spot for neighborhood children, and a place where your family can connect with nature and each other.
Planning Your Perfect DIY Swing Set: Essential First Steps
The success of any DIY swing set project begins with thorough planning. Before you purchase a single piece of lumber, take time to carefully consider several crucial factors. Start by measuring your available space – not just the footprint where the swing set will stand, but also the necessary clearance areas around swings and other moving parts. Most experts recommend at least six feet of clearance on all sides and in front of swings. Next, consider your ground surface. Grass might seem natural, but safety experts recommend installing shock-absorbing materials like wood chips, rubber mulch, or sand to cushion falls. Your DIY swing set design should reflect your family's specific needs. How many children will use it regularly? What are their ages and skill levels? For younger children, you might include bucket swings and lower platforms, while older kids might appreciate monkey bars or a rope climb. Material selection is another critical planning consideration. Pressure-treated lumber resists rot and insects, making it ideal for outdoor projects. Cedar offers natural resistance to decay and a beautiful appearance without chemical treatments. Hardware choices matter too – use galvanized or stainless steel bolts, screws, and chains to prevent rust. Don't forget to check local building codes and homeowners association regulations before finalizing your plans. Some areas have specific requirements for backyard structures, particularly regarding height and property line setbacks. Create detailed drawings or use online planning tools to visualize your DIY swing set before construction begins. This planning phase might seem tedious, but it will save you time, money, and frustration during the building process.
Building Your DIY Swing Set: Tools, Materials, and Construction Tips
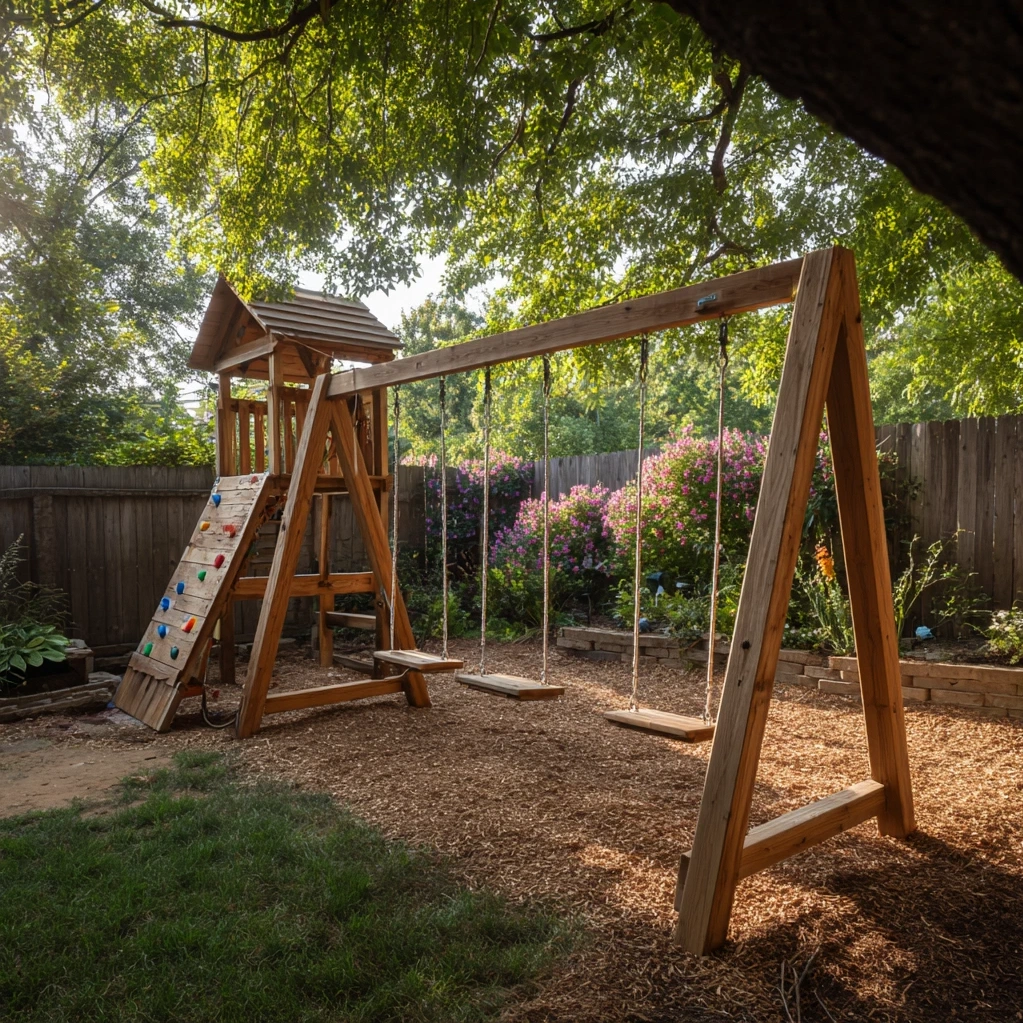
Once you've completed your planning, it's time to gather materials and begin construction of your DIY swing set. Essential tools include a circular saw or miter saw for cutting lumber, a power drill with various bits, a level, a tape measure, and safety equipment like goggles and gloves. For materials, you'll need pressure-treated or cedar lumber in various dimensions – typically 4×4 posts for main supports, 2×6 or 2×8 beams for cross members, and deck boards for platforms. Begin construction by preparing your site. Clear the area of debris and level the ground as much as possible. Many builders prefer to create concrete footings for the main posts to ensure stability, though some designs use ground anchors instead. When setting posts, use a post level to ensure they're perfectly plumb in both directions. The main frame of your DIY swing set forms the foundation for everything else. Use heavy-duty joist hangers and galvanized bolts to create strong connections between beams and posts. For swing attachments, install heavy-duty eye bolts through the main beam, using large washers on both sides to distribute weight. When building platforms and ladders, pay special attention to spacing. The space between ladder rungs and guardrail openings should be less than 3.5 inches to prevent children from getting their heads stuck. All hardware should be countersunk or covered to prevent scrapes and snagged clothing. As you build, constantly check for stability and make adjustments as needed. A well-constructed DIY swing set should have minimal wobble and feel solid when weight is applied. Take your time with each step, double-checking measurements and connections. Remember that safety should guide every construction decision – from the thickness of your swing beam to the type of swings you install.
Customizing and Maintaining Your DIY Swing Set for Longevity
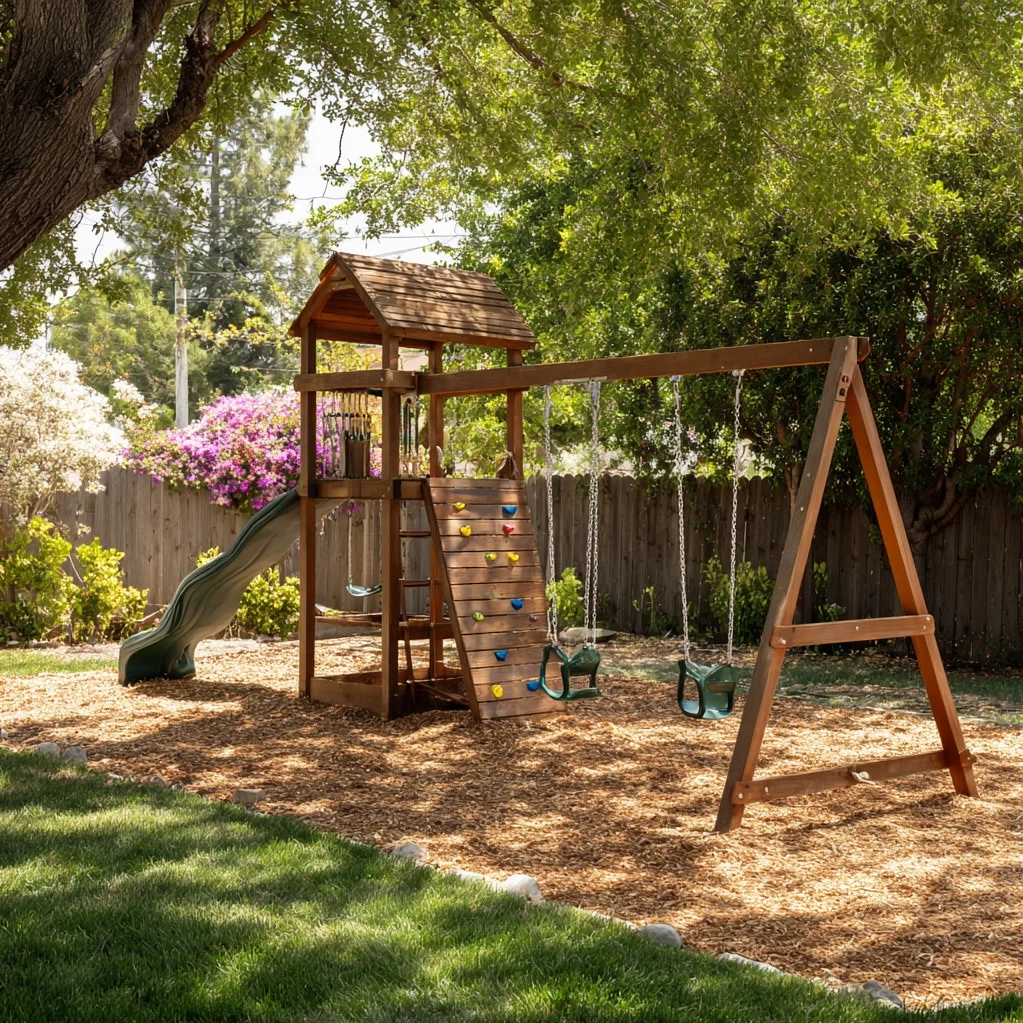
One of the greatest advantages of a DIY swing set is the ability to customize it to your family's evolving needs. After completing the basic structure, consider adding features that enhance both fun and functionality. A climbing wall can be created by attaching climbing holds to a sturdy panel, while a simple sandbox underneath provides hours of imaginative play. For adventurous children, a fireman's pole offers thrilling descents from elevated platforms. You might incorporate a shaded area using a canvas canopy or build-in benches where parents can supervise comfortably. As your children grow, your DIY swing set can grow with them. Replace toddler swings with standard belt swings or even a disc swing for older kids. Add a trapeze bar or rings for developing upper body strength. The customization possibilities are limited only by your imagination and safety considerations. Equally important is establishing a maintenance routine to ensure your DIY swing set remains safe and attractive for years. Perform a thorough inspection at the beginning of each playing season and monthly during heavy use. Check all hardware for tightness, as wood expansion and contraction can loosen bolts over time. Look for signs of rot, especially at ground contact points and joints. Test swing chains and ropes for wear, replacing any that show fraying or corrosion. Wood maintenance is crucial for longevity. Depending on your wood type, you may need to apply a fresh coat of sealant or stain every one to two years to protect against moisture and UV damage. Keep the ground covering maintained at proper depth – at least nine inches of shock-absorbing material extending six feet in all directions from the equipment. Remove any debris, like fallen branches or toys, from the play area regularly. With proper care and occasional upgrades, your DIY swing set can provide enjoyment for a decade or more, becoming a cherished part of your family's outdoor living experience.
Conclusion
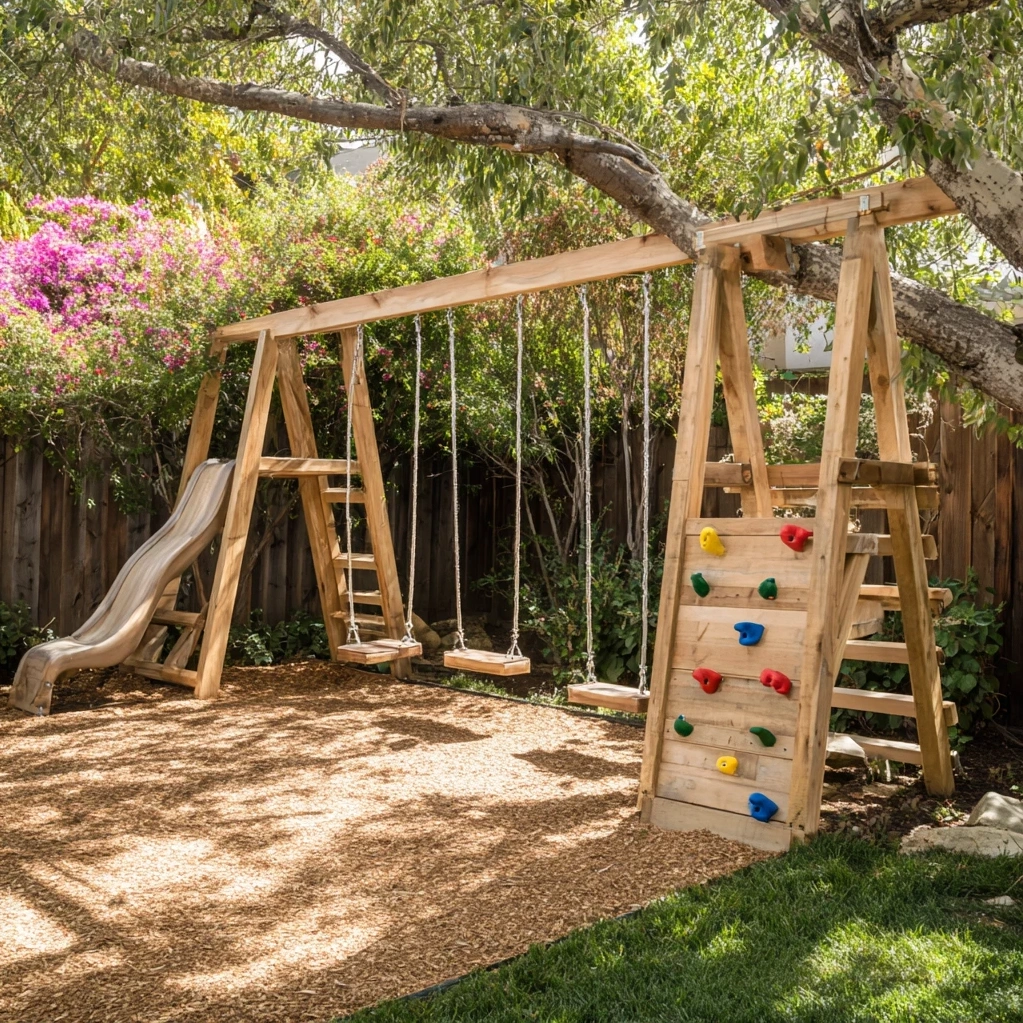
Building a DIY swing set represents more than just a weekend project – it's an investment in your family's outdoor lifestyle and childhood memories. Throughout this process, you've learned how careful planning leads to better results, discovered construction techniques that ensure safety and durability, and explored customization options that make the structure uniquely yours. The satisfaction of watching your children play on something you built with your own hands is immeasurable, and the financial savings compared to pre-made kits can be substantial. More importantly, you've created a safe, inviting space that encourages physical activity, imaginative play, and family bonding. As you enjoy your completed DIY swing set, remember that your relationship with this project doesn't end with construction. Regular maintenance will keep it safe and beautiful for years to come, while occasional upgrades can refresh its appeal as your children grow. Share your experience with other families considering similar projects – your insights could inspire them to create their own backyard havens. Looking forward, consider how your DIY swing set might evolve. Could it incorporate a future treehouse connection? Might it become part of a larger outdoor play complex? The skills you've developed during this project open doors to other outdoor improvements. Ultimately, your DIY swing set stands as a testament to what families can accomplish together, transforming ordinary backyards into spaces of joy, adventure, and connection that will be remembered long after the swings have stopped moving.
Frequently Asked Questions
Q: How much does it typically cost to build a DIY swing set?
The cost of building a DIY swing set varies significantly based on size, materials, and features. A basic A-frame design with two swings might cost between $300 and $600 for materials using pressure-treated lumber. More elaborate designs with multiple swings, platforms, climbing features, and slides can range from $800 to $2,000. Using premium materials like cedar will increase costs, while sourcing reclaimed lumber can reduce expenses. Compared to pre-made kits of similar quality, DIY construction typically saves 30-50% while offering greater customization. Remember to factor in tool costs if you need to purchase or rent equipment.
Q: What is the safest height for a DIY swing set?
Safety experts generally recommend keeping the swing beam height between 8 and 10 feet for residential DIY swing sets. This height provides adequate swinging arc while minimizing fall risks. The swing seats should hang approximately 18-24 inches above the ground when stationary, with the actual height adjusted based on the age and height of users. For younger children, lower the swing height to ensure their feet touch the ground when seated. Always maintain proper ground coverage – at least 9 inches of shock-absorbing material like wood chips or rubber mulch extending 6 feet in all directions from the equipment. The swing beam should be securely mounted with heavy-duty hardware rated for dynamic loads.
Q: How long does it take to build a DIY swing set?
Construction time for a DIY swing set depends on complexity and experience level. A simple A-frame design with basic swings might take an experienced builder 8-12 hours spread over a weekend. More complex designs with multiple features typically require 20-40 hours of work, often spread across several weekends. Preparation time is significant – planning, material sourcing, and site preparation can add another 8-10 hours. Beginners should allow extra time for learning and careful measurement. Weather conditions also affect timelines, as some construction steps shouldn't be done in rain or extreme temperatures. Many families find the project more enjoyable when approached as a series of manageable stages rather than a single marathon building session.