
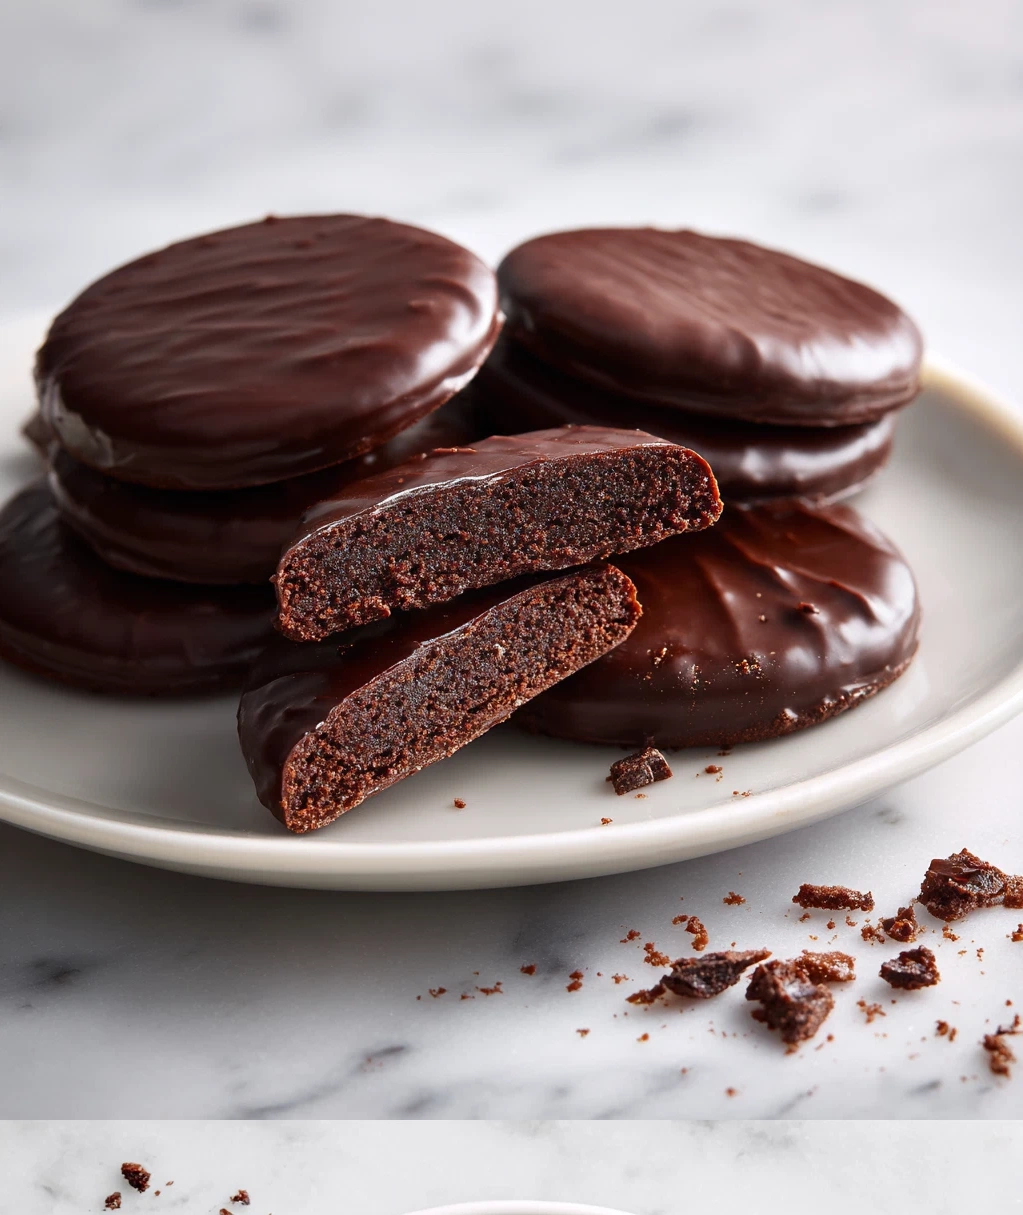
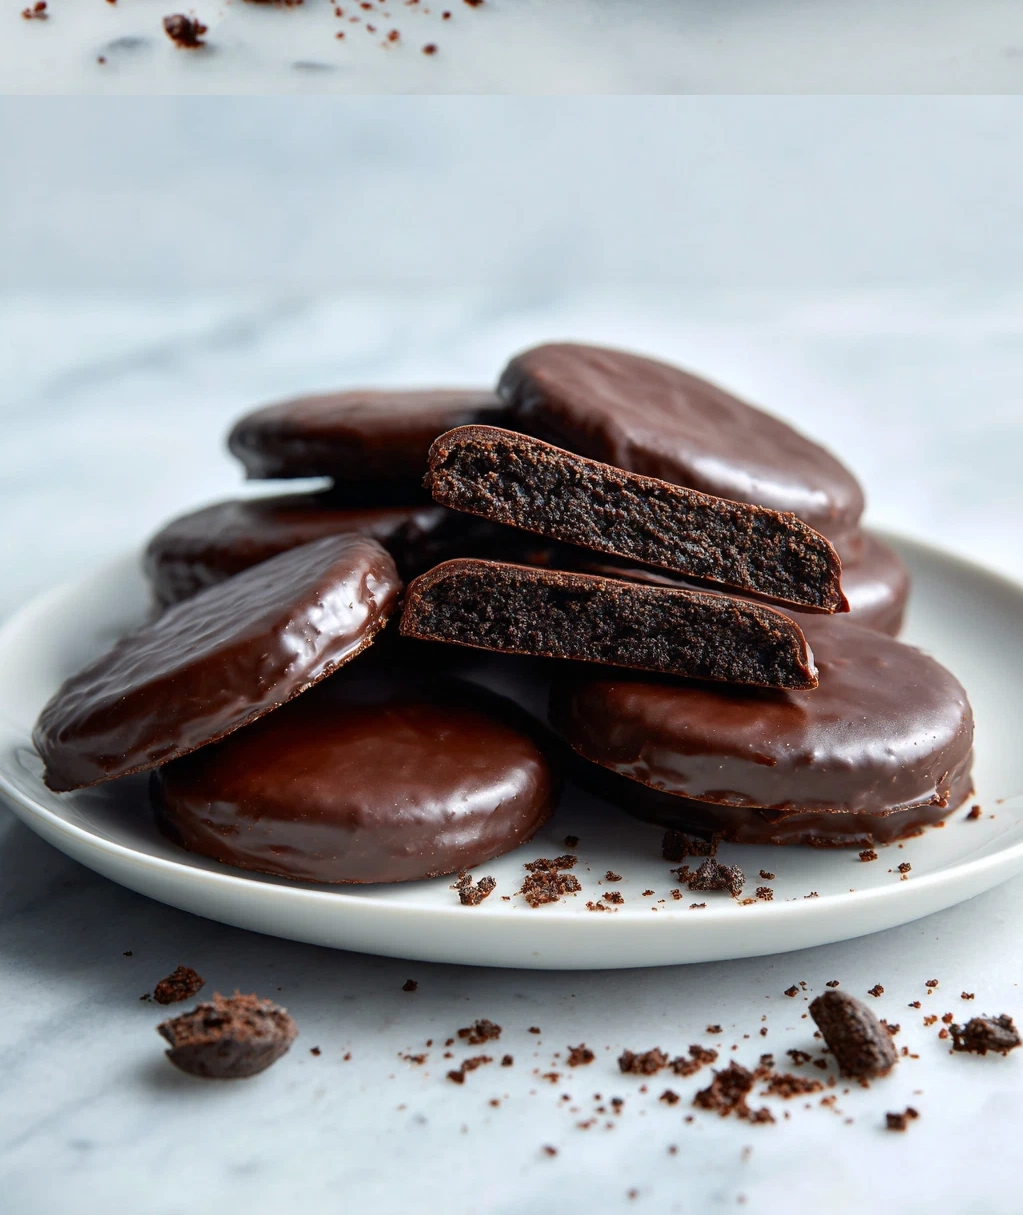
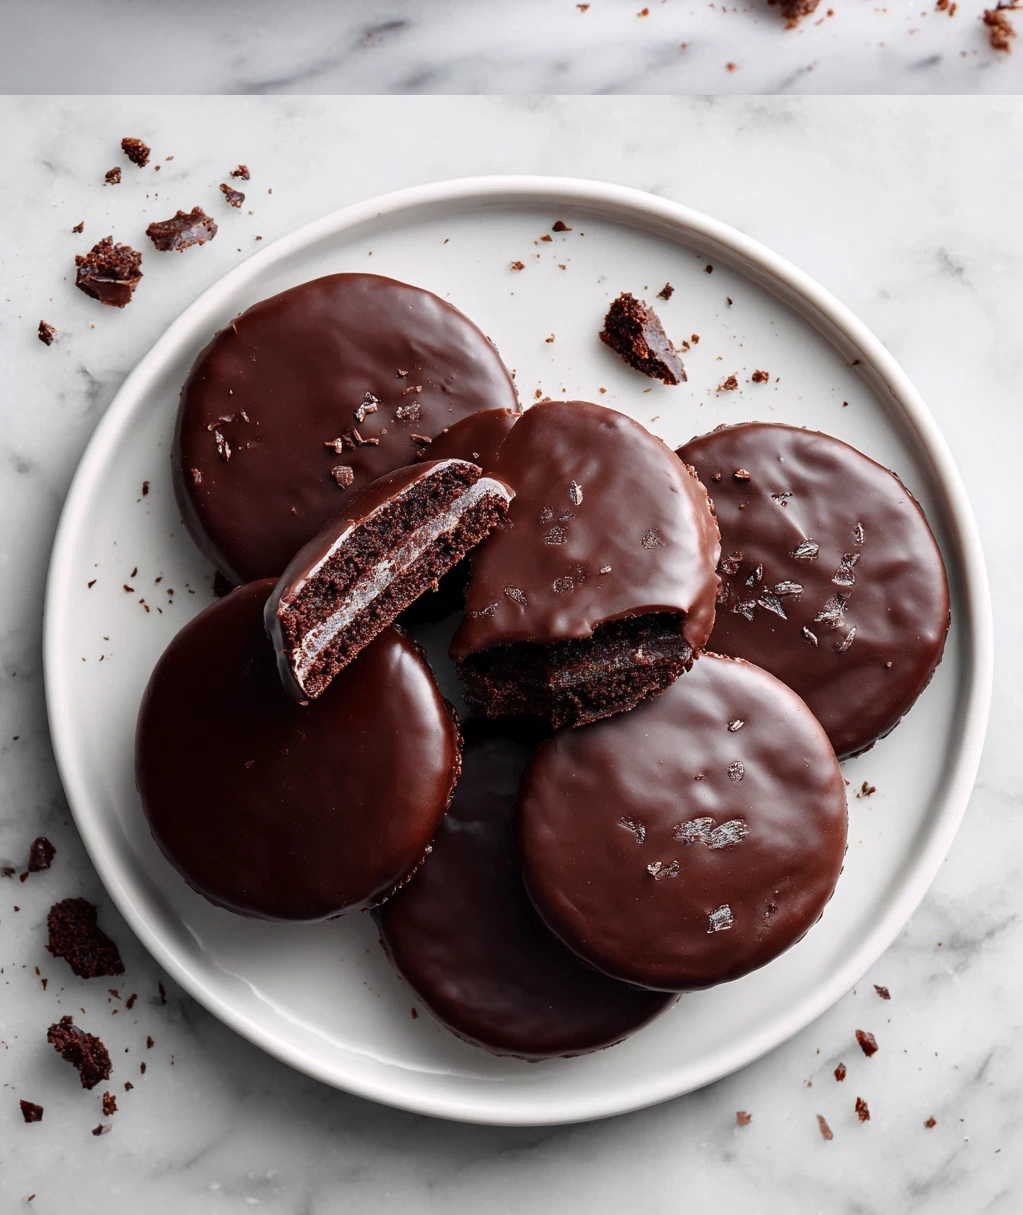
Copycat Thin Mints: Incredible Homemade Girl Scout Cookies You’ll Crave
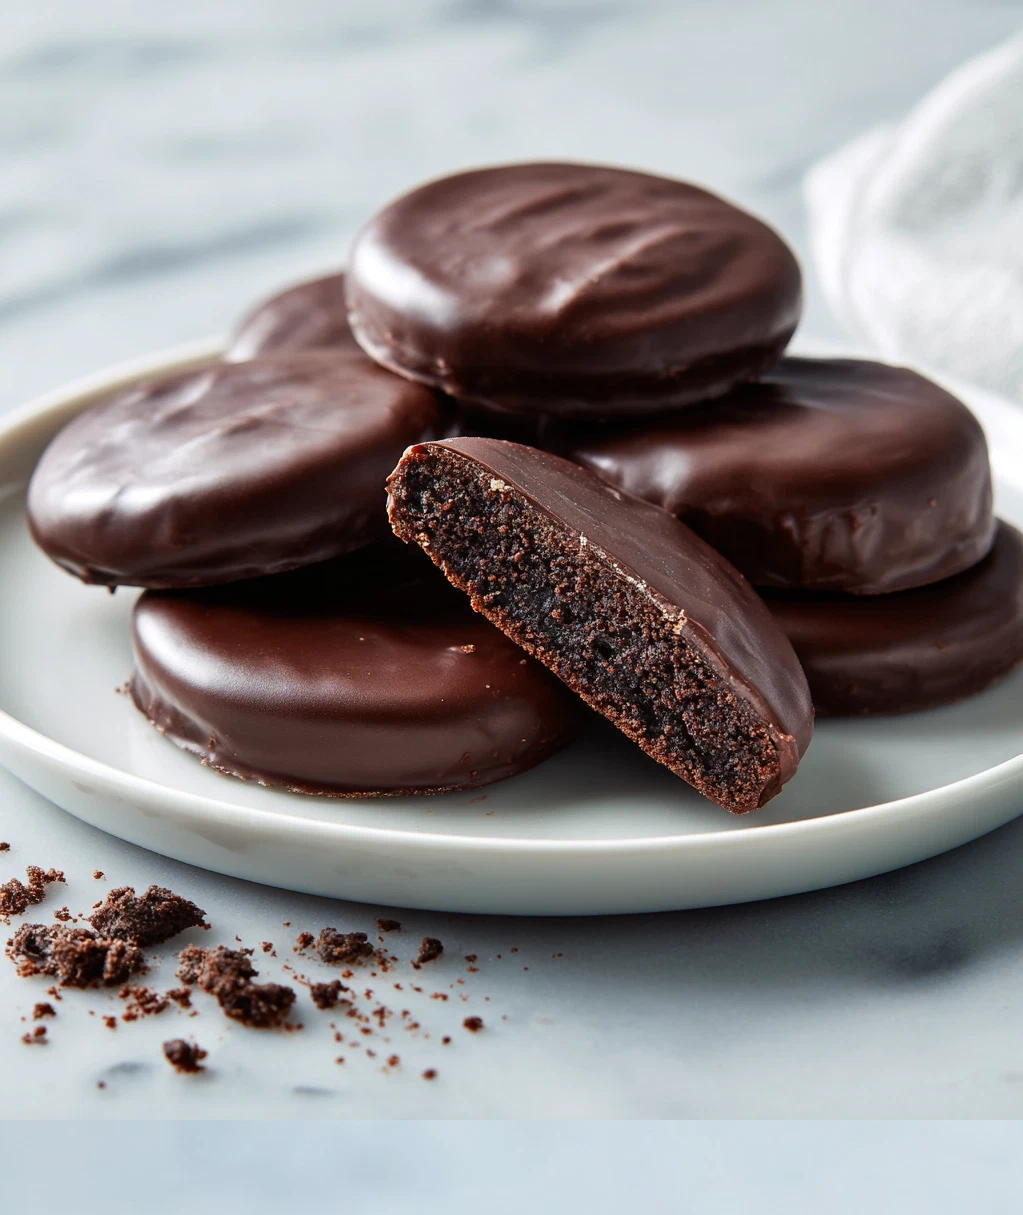
Have you ever found yourself staring at an empty Girl Scout cookie box, wishing those thin mints would magically reappear? I’ve been there too many times to count. Those crisp chocolate wafers with that perfect peppermint snap—they’re just too good to wait for cookie season. That’s why I started making my own copycat thin mints at home, and let me tell you, they’re every bit as addictive as the original.
I remember one rainy afternoon when I was craving that chocolate-mint combination so badly I could practically taste it. My local grocery store didn’t have any Girl Scout cookies in stock (shocking, I know), so I decided to take matters into my own hands. What started as a desperate kitchen experiment turned into my favorite homemade treat. Now I make these copycat thin mints year-round, and they’ve become my go-to dessert for everything from movie nights to holiday parties.
The best part? You probably have most of the ingredients in your pantry right now. No special equipment needed—just some basic baking staples and about an hour of your time. These cookies are surprisingly simple to make, and the results are absolutely worth it. That satisfying crunch, the cool minty finish, the rich dark chocolate coating—it all comes together in a way that feels both nostalgic and excitingly new.
Why You'll Love These Copycat Thin Mints
Let me be honest with you—these homemade cookies might just become your new favorite thing. Here’s why they’re so special:
- Year-round availability: No more waiting for cookie season or tracking down a Girl Scout troop. You can make these copycat thin mints whenever the craving strikes.
- Budget-friendly: Homemade versions cost significantly less than store-bought boxes, especially if you’re the type (like me) to buy multiple boxes at once.
- Customizable: Want extra mint? Add a bit more extract. Prefer milk chocolate? Swap it in. You control every aspect.
- Freshness guarantee: These cookies taste incredible right out of the freezer—that crisp texture holds up beautifully.
- Fun to make: There’s something therapeutic about rolling out dough and dipping cookies in chocolate. It’s a simple pleasure that always puts me in a good mood.
My favorite part is watching friends take their first bite. Their eyes light up, and they always ask, “Are these really homemade?” That moment of surprise and delight makes the whole process worthwhile. Plus, these copycat thin mints freeze perfectly, so you can make a big batch and have treats ready for months.
Ingredients for Perfect Copycat Thin Mints
Gathering your ingredients is the first step toward cookie heaven. Here’s everything you’ll need:
- For the cookie base: 1 cup all-purpose flour, ½ cup unsweetened cocoa powder (I prefer Dutch-processed for that rich flavor), ¼ teaspoon salt, ½ cup unsalted butter at room temperature, ¾ cup granulated sugar, 1 large egg, and ½ teaspoon pure vanilla extract.
- For the chocolate coating: 10 ounces semi-sweet chocolate chips or chopped chocolate bars, 2 tablespoons coconut oil or vegetable shortening (this helps the coating set with that perfect snap), and ½ teaspoon peppermint extract. You can adjust the mint to your taste—I usually add a full teaspoon because I love that cool kick.
- Optional but recommended: A double boiler or heatproof bowl for melting chocolate. If you don’t have one, a microwave works too—just melt in 30-second bursts, stirring between each. Trust me, burnt chocolate smells terrible.
A quick note about the cocoa powder: don’t skimp on quality here. That deep chocolate flavor is what makes these copycat thin mints so special. I’ve tried different brands, and the good stuff really makes a difference. Same goes for the peppermint extract—get the pure kind, not the artificial flavoring. Your taste buds will thank you.
Step-by-Step Instructions for Making Copycat Thin Mints
Ready to get baking? Follow these simple steps:
- Make the dough: In a medium bowl, whisk together flour, cocoa powder, and salt. In a separate bowl, cream the butter and sugar until light and fluffy—about 2 minutes with a hand mixer. Beat in the egg and vanilla until just combined. Gradually add the dry ingredients, mixing until a soft dough forms. It will be slightly sticky, and that’s okay.
- Chill and roll: Divide the dough in half, shape each into a disk, wrap in plastic, and refrigerate for at least 30 minutes. This makes it easier to work with. On a lightly floured surface, roll each disk to about ⅛-inch thickness. Use a 1½-inch round cookie cutter (or the rim of a glass) to cut out circles. Place them on parchment-lined baking sheets.
- Bake: Preheat your oven to 350°F. Bake the cookies for 8-10 minutes until they look set. They’ll still be soft when you take them out but will firm up as they cool. Let them cool completely on the baking sheets—be patient here.
- Prepare the coating: Melt the chocolate and coconut oil together using your preferred method. Stir until smooth, then mix in the peppermint extract. Dip each cooled cookie into the chocolate, coating completely. Use a fork to lift them out, letting excess chocolate drip off. Place on parchment paper.
- Set and enjoy: Let the chocolate set at room temperature for about an hour, or pop them in the fridge for 15 minutes if you’re impatient like me. Once set, your copycat thin mints are ready to devour.
Pro tip: If your kitchen is warm, the chocolate might take longer to set. Don’t worry—they’ll still taste amazing. And if you end up with extra chocolate coating, drizzle it over the cookies for a pretty finish.
Storage Tips and Serving Ideas for Your Copycat Thin Mints
These cookies are versatile little treats. Here’s how to make the most of them:
Storage: Store your copycat thin mints in an airtight container at room temperature for up to a week. For longer storage, freeze them in a single layer on a baking sheet, then transfer to a freezer bag. They’ll keep for 3 months frozen. The cold actually enhances that crisp texture—some people (myself included) prefer them straight from the freezer.
Serving suggestions: Of course, they’re perfect on their own with a glass of cold milk. But don’t stop there! Crush a few cookies and sprinkle over vanilla ice cream for an instant dessert upgrade. You can also use them as a garnish for chocolate mousse or pudding. My husband loves them crumbled over his morning yogurt—a little unconventional, but delicious.
For parties, arrange them on a pretty platter with other homemade treats. They always disappear first. You can also package them in cellophane bags tied with ribbon for lovely homemade gifts. Just be prepared for requests for the recipe—I’ve shared it more times than I can count.
One more idea: make a double batch and keep some in the freezer for unexpected guests or those late-night cravings. There’s nothing better than knowing you have homemade cookies ready to go. These copycat thin mints have saved me from many a dessert emergency.
Conclusion
Making these copycat thin mints has become one of my favorite kitchen rituals. There’s something so satisfying about creating a treat that tastes just like the beloved original, but with that personal homemade touch. Every time I bite into one of these crisp, minty cookies, I’m reminded that sometimes the best things come from our own kitchens.
I hope you’ll give this recipe a try, whether you’re a seasoned baker or just starting out. Don’t be intimidated by the chocolate dipping—it’s easier than it looks, and even if your cookies aren’t perfectly coated, they’ll still taste incredible. The process is half the fun, and the results are definitely worth the effort.
Next time that thin mint craving hits, you won’t need to search for a Girl Scout troop or wait for cookie season. You’ll have everything you need right in your own kitchen. Whip up a batch, pour yourself a glass of milk, and enjoy that perfect chocolate-mint combination whenever you want. Happy baking!
Frequently Asked Questions
Q: Can I make these cookies gluten-free?
Absolutely! I've successfully made these with a 1:1 gluten-free flour blend. The texture might be slightly different, but they still taste great. Just make sure your cocoa powder is certified gluten-free if that's a concern for you.
Q: How do I prevent the chocolate coating from becoming streaky?
Make sure your cookies are completely cool before dipping—warm cookies will cause the chocolate to melt unevenly. Also, don't stir the chocolate too vigorously once melted, as this can introduce air bubbles. If you do get streaks, they won't affect the taste one bit.
Q: Can I use milk chocolate instead of semi-sweet?
You can, but the flavor will be sweeter and less like traditional thin mints. If you prefer milk chocolate, go for it! I'd recommend reducing the sugar in the cookie dough slightly to balance the sweetness.
Q: How thin should I roll the dough?
Aim for about ⅛-inch thickness—that's what gives these cookies their signature crisp texture. If you roll them thicker, they'll be softer and more like regular chocolate cookies. Use a ruler if you want to be precise, but don't stress about perfection.
Q: Can I make these ahead of time for a party?
Definitely! These cookies actually taste better after they've had time to set. Make them up to three days in advance and store in an airtight container. They hold up beautifully and stay crisp. You can even freeze them for up to three months.
PrintHomemade Copycat Thin Mints
- Total Time: 102
- Yield: 24 cookies 1x
Description
Crisp chocolate wafers coated in a smooth mint-chocolate shell, replicating the classic Girl Scout cookie flavor.
Ingredients
1 cup all-purpose flour
1/2 cup unsweetened cocoa powder
3/4 cup granulated sugar
1/2 cup unsalted butter, softened
1 large egg
1 teaspoon vanilla extract
1/2 teaspoon peppermint extract
1/4 teaspoon salt
12 ounces dark chocolate chips
1 tablespoon vegetable shortening
1/2 teaspoon peppermint extract (for coating)
Instructions
Step 1: In a bowl, cream together softened butter and sugar until light and fluffy.
Step 2: Beat in egg, vanilla extract, and 1/2 teaspoon peppermint extract until combined.
Step 3: Whisk together flour, cocoa powder, and salt in a separate bowl.
Step 4: Gradually mix dry ingredients into wet ingredients until a dough forms.
Step 5: Roll dough into a log about 1.5 inches in diameter, wrap in plastic, and chill for 1 hour.
Step 6: Preheat oven to 350°F (175°C) and line baking sheets with parchment paper.
Step 7: Slice dough into 1/4-inch thick rounds and place on prepared sheets.
Step 8: Bake for 10-12 minutes until firm, then cool completely on wire racks.
Step 9: Melt chocolate chips and shortening in a double boiler, then stir in 1/2 teaspoon peppermint extract.
Step 10: Dip each cooled cookie into melted chocolate, coating fully, and place on parchment to set.
- Prep Time: 30
- Cook Time: 12
- Category: Dessert
Nutrition
- Calories: 80
- Fat: 4.5g
- Carbohydrates: 10g
- Protein: 1g