
Hot Cocoa Mix: The Ultimate Cozy Comfort You Can Make Tonight
Hey there! Let’s talk about one of my favorite winter rituals – making a steaming mug of hot cocoa. There’s something so magical about that rich, chocolatey aroma filling your kitchen, isn’t it? I used to grab those little packets from the store, but then I discovered how much better homemade hot cocoa mix tastes. And guess what? It’s incredibly easy to make!
I remember the first time I made my own hot cocoa mix – it was during a snowstorm when my friends were coming over for a movie night. I wanted something special, something that felt like a warm hug in a mug. That’s when I realized how simple it really is to create your own signature blend. You probably have most of the ingredients in your pantry right now.
What I love most about making your own hot cocoa mix is that you control everything. Want it extra chocolatey? Add more cocoa. Prefer it less sweet? Reduce the sugar. It’s completely customizable to your taste. Plus, it makes the most thoughtful gift during the holiday season. Trust me, once you try homemade, you’ll never go back to those bland packets again.
Why You'll Love This Homemade Hot Cocoa Mix
Let me tell you why this homemade hot cocoa mix has become my go-to comfort drink all winter long. First off, the flavor is just incredible – rich, deep chocolate flavor that doesn’t taste artificial at all. You know that sometimes-chalky texture you get with store mixes? That’s completely gone with this version.
Here’s what makes it special:
- Customizable sweetness: You decide exactly how sweet you want it. I like mine just sweet enough to balance the cocoa’s bitterness
- Better texture: No more grainy powder that won’t dissolve properly. This mix blends beautifully with hot milk or water
- Cost effective: Making a big batch costs less than buying individual packets, and it lasts for months
- Perfect for gifting: Put it in a nice jar with a ribbon, and you’ve got a thoughtful present anyone would love
- Quick preparation: From craving to sipping takes just minutes when you have this mix ready
My favorite part is how the whole house smells when I’m making a batch. That warm chocolate scent just makes everything feel cozier. And when you’re stirring up a mug on a cold day, it feels like you’re treating yourself to something special, not just making a quick drink.
Essential Ingredients for Your Perfect Hot Cocoa Mix
Ready to make your own hot cocoa mix? Let’s talk ingredients. The beauty of this recipe is its simplicity – you only need a few basic things, and you probably have most of them already. I’ll walk you through what you need and why each ingredient matters.
Here’s what goes into my favorite blend:
- Cocoa powder (1 cup): Use good quality unsweetened cocoa powder. This is where your chocolate flavor comes from, so don’t skimp here. I prefer Dutch-processed for a smoother taste, but regular works great too
- Granulated sugar (1 ½ cups): This sweetens your mix. You can adjust this up or down depending on how sweet you like your hot cocoa
- Powdered milk (2 cups): This is what makes your mix creamy when you add hot water. If you’re planning to always use milk instead of water, you can reduce this amount
- Salt (¼ teaspoon): Just a pinch! This might sound strange, but trust me – it enhances all the chocolate flavors
- Optional add-ins: A teaspoon of vanilla powder, cinnamon, or even a pinch of cayenne if you like spicy chocolate
A quick safety tip: make sure your work surface and all your measuring tools are completely dry before you start. Cocoa powder and powdered milk can clump if they get even a little damp. And if you’re storing your mix for a while, consider adding a silica packet to keep it fresh.
Step-by-Step Guide to Making Your Hot Cocoa Mix
Alright, let’s make some magic happen! This process is so simple, you’ll be amazed at how quickly you can create a big batch of hot cocoa mix. I like to make mine on a lazy Sunday afternoon so I’m set for the whole week (or longer!).
Here’s exactly what to do:
- Get everything ready: Clear a clean, dry workspace. Grab a large mixing bowl, a whisk or sifter, and all your ingredients. Make sure your hands are clean and dry too
- Sift your dry ingredients: Place a fine mesh strainer over your mixing bowl. Add the cocoa powder and sift it through. This breaks up any lumps and makes everything blend better. Do the same with the powdered milk if it looks clumpy
- Mix thoroughly: Add the sugar and salt to the bowl. Now use your whisk to combine everything really well. I like to whisk for a full minute to make sure everything is evenly distributed. You want every spoonful to have the perfect balance of flavors
- Test your mix: Take a small spoonful and mix it with hot water or milk. Taste it! This is your chance to adjust. Want it sweeter? Add a bit more sugar. More chocolatey? Add more cocoa. Make it yours!
- Store properly: Transfer your finished hot cocoa mix to an airtight container. A large mason jar works perfectly. Store it in a cool, dry place away from direct sunlight
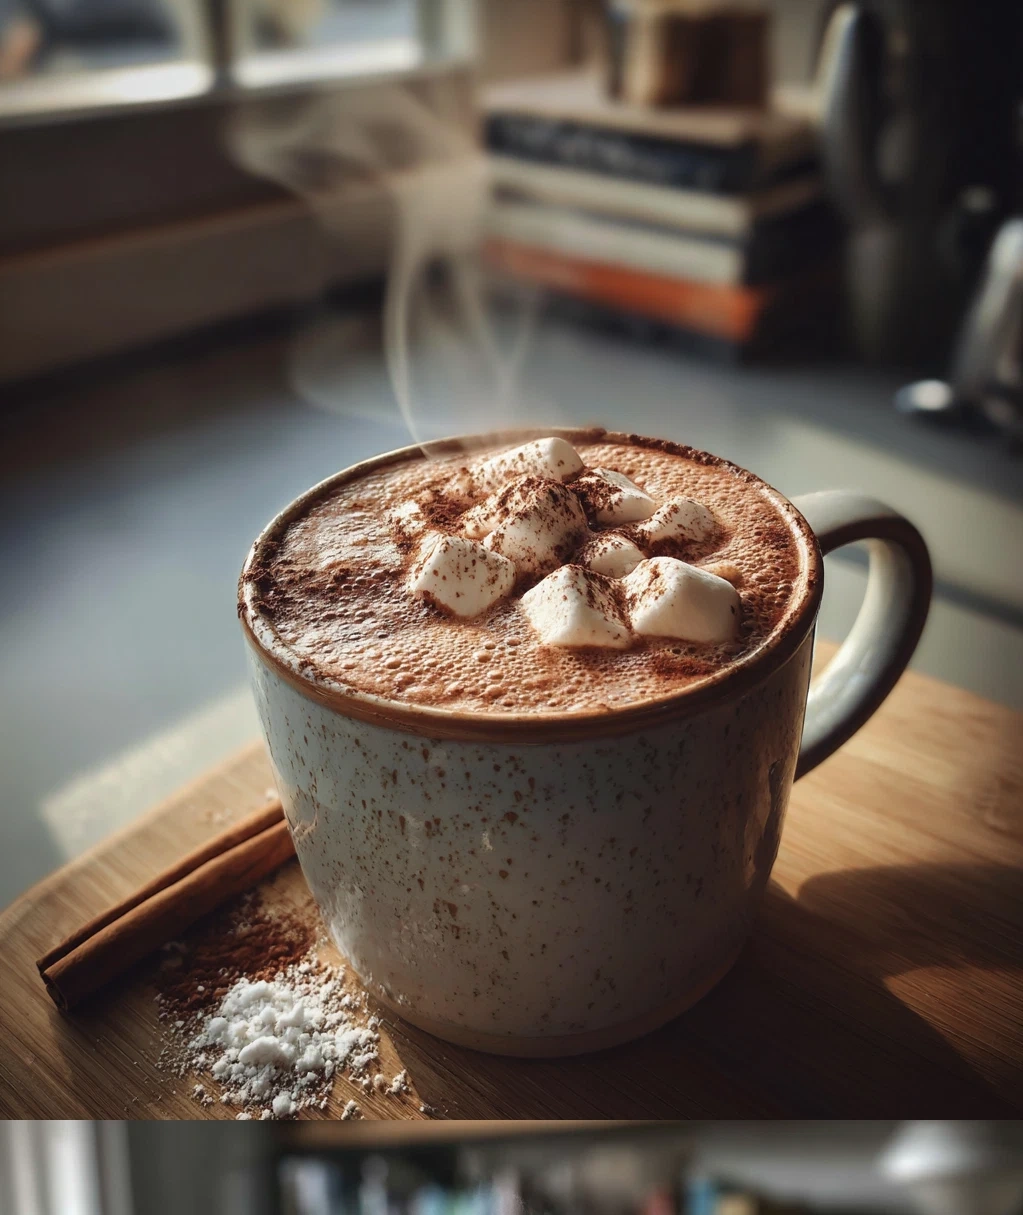
That’s it! You’ve just made homemade hot cocoa mix. When you’re ready for a cup, simply add 3-4 tablespoons of mix to your mug, pour in hot milk or water (about 8 ounces), and stir until everything’s dissolved. Top with marshmallows, whipped cream, or just enjoy it straight.
Creative Variations for Your Hot Cocoa Mix
Now that you’ve got the basic hot cocoa mix down, let’s have some fun with variations! This is where you can really get creative and make your mix unique. I love experimenting with different flavors – it’s like having a signature drink that’s all your own.
Here are some of my favorite twists:
- Mint chocolate delight: Add ½ teaspoon of peppermint extract powder (or crush some candy canes really fine and mix them in). This is perfect for the holidays!
- Spiced winter warmer: Mix in 1 teaspoon of cinnamon, ½ teaspoon of nutmeg, and a pinch of cloves. It tastes like Christmas in a mug
- Mexican hot chocolate: Add 1 teaspoon of cinnamon and just a tiny pinch of cayenne pepper. The warmth builds slowly and it’s absolutely delicious
- White chocolate version: Replace half the cocoa powder with white chocolate powder. It’s creamier and has a different chocolate flavor
- Vanilla bean special: Scrape the seeds from one vanilla bean and mix them in, or use 1 teaspoon of vanilla powder
When you’re making variations, I recommend starting with small batches until you find your perfect blend. Mix up a quarter of the recipe first, test it, then make a bigger batch if you love it. And don’t be afraid to combine ideas – I once made a mint-spiced version that was surprisingly good!
Remember to label your jars clearly if you make multiple versions. There’s nothing worse than thinking you’re grabbing regular hot cocoa mix and getting a spicy surprise (unless you like that sort of thing!).

How to Store and Gift Your Hot Cocoa Mix
You’ve made this amazing hot cocoa mix – now let’s make sure it stays fresh and talk about how to share the love! Proper storage is key to keeping your mix tasting great for months, and turning it into gifts is one of the most satisfying parts of making it.
First, storage tips:
- Always use airtight containers: Mason jars with tight lids are my favorite. They keep moisture out and look pretty on the shelf too
- Store in a cool, dry place: Keep it away from the stove, dishwasher, or any place that gets steamy or warm. A pantry or cupboard works perfectly
- Check for freshness: Your mix should last 3-4 months easily. If it starts to smell different or look clumpy, it’s time to make a fresh batch
- No refrigeration needed: Just keep it sealed at room temperature
Now for the fun part – gifting! Here’s how I like to package my hot cocoa mix:
- Choose pretty jars or containers. Clear glass lets people see the beautiful mix inside
- Fill them about ¾ full, leaving room for the mix to settle during transport
- Add a cute tag with instructions: “Add 3-4 tablespoons to 8oz hot milk or water. Stir and enjoy!”
- Consider including a small bag of marshmallows or a candy cane tied to the jar
- For extra points, write the date you made it on the bottom of the jar
I love giving these as teacher gifts, neighbor presents during the holidays, or just because. It’s personal, thoughtful, and everyone appreciates something homemade. Last year, I even made little “hot cocoa kits” with the mix, some cookies, and a cute mug. They were a huge hit!
Conclusion
Well, there you have it – everything you need to create your own incredible hot cocoa mix right at home. Isn’t it amazing how something so simple can bring so much comfort and joy? I still get excited every time I reach for my jar of homemade mix, knowing exactly what’s in it and that I made it myself.
What I hope you take away from this is that you don’t need fancy skills or expensive ingredients to make something truly special. Just a few basic pantry items, a little time, and the desire to create something cozy. The best part is how this hot cocoa mix becomes part of your winter traditions – maybe it’s what you make after building a snowman, or what you serve when friends come over, or just your little treat at the end of a long day.
So go ahead – mix up a batch this weekend. Play with the flavors, make it your own, and most importantly, enjoy every warm, chocolatey sip. There’s nothing quite like wrapping your hands around a mug of homemade hot cocoa on a cold day, knowing you made something wonderful from scratch. Happy sipping!
Frequently Asked Questions
Q: How long does homemade hot cocoa mix last?
Your homemade hot cocoa mix will stay fresh for about 3-4 months when stored properly in an airtight container in a cool, dry place. Make sure to keep it away from moisture and heat sources. If you notice any changes in smell, texture, or if it becomes clumpy, it's best to make a fresh batch.
Q: Can I make this hot cocoa mix without powdered milk?
Absolutely! If you prefer not to use powdered milk or want a dairy-free option, you can omit it. Just remember that when you make your drink, you'll need to use regular milk instead of water to get that creamy texture. The mix itself will still work beautifully – you'll just use less powder per cup since you're not including the milk powder component.
Q: What's the best way to dissolve the hot cocoa mix without lumps?
The trick is to start with a little bit of cold or room temperature liquid first. Put your hot cocoa mix in the mug, add just a tablespoon or two of milk or water, and stir until it forms a smooth paste. Then slowly add the rest of your hot liquid while continuing to stir. This prevents lumps every time!
Q: Can I use this hot cocoa mix for baking or other recipes?
Yes, you can definitely use it in baking! I love adding it to brownie batter, cookie dough, or even using it to make chocolate sauce. Just remember that it already contains sugar and milk powder, so you might need to adjust other ingredients in your recipe. Start by substituting some of the cocoa and sugar in your recipe with an equal amount of your hot cocoa mix.
Q: How do I make my hot cocoa mix less sweet?
Easy! Just reduce the amount of sugar in the recipe. Start by cutting the sugar by one-quarter (so instead of 1½ cups, use 1 cup plus 2 tablespoons). Taste it, and if you want it even less sweet, reduce it more next time. You can also use a sugar substitute if you prefer, but I find the texture works best with regular sugar.
PrintHomemade Hot Cocoa Mix
- Total Time: 10
- Yield: 4 cups mix (about 16 servings) 1x
Description
A rich and creamy hot cocoa mix you can make in minutes for cozy comfort anytime.
Ingredients
1 cup unsweetened cocoa powder
2 cups granulated sugar
1 cup powdered milk
1/2 cup powdered creamer
1/2 teaspoon salt
1/2 teaspoon ground cinnamon
1/4 teaspoon vanilla powder
Instructions
Step 1: In a large bowl, combine cocoa powder, sugar, powdered milk, and powdered creamer.
Step 2: Add salt, ground cinnamon, and vanilla powder to the mixture.
Step 3: Whisk all ingredients together until thoroughly combined and no lumps remain.
Step 4: Transfer the mix to an airtight container for storage.
Step 5: To serve, add 1/4 cup of mix to a mug and stir in 1 cup of hot water or milk.
- Prep Time: 10
- Category: Beverage
Nutrition
- Calories: 150
- Fat: 4g
- Carbohydrates: 28g
- Protein: 4g

