DIY Crystal Chandelier Ideas: Stunning & Budget-Friendly Projects

Transform your home with breathtaking elegance using DIY crystal chandelier ideas that blend luxury with creativity. Crystal chandeliers have long symbolized sophistication and refined taste, but their traditional price tags can be daunting. This article explores how you can achieve that same dazzling effect through accessible, personalized projects. Whether you’re looking to refresh a dining room, add glamour to a bedroom, or create a statement piece for an entryway, DIY crystal chandeliers offer endless possibilities. By embracing these ideas, you not only save money but also infuse your space with unique character. Modern materials and techniques make it easier than ever to craft stunning light fixtures that rival store-bought options. From repurposing vintage finds to assembling contemporary designs, each project allows you to tailor the look to your exact preferences. Imagine the satisfaction of admiring a sparkling centerpiece that you created yourself. This guide will walk you through inspiring concepts, practical tips, and essential considerations to help you get started. Get ready to illuminate your home with projects that are as rewarding as they are beautiful.
Creative DIY Crystal Chandelier Ideas for Every Room
Discover versatile DIY crystal chandelier ideas that suit any space in your home. For living rooms, consider a cascading design with clear crystals that catch natural light during the day and create a warm glow at night. Bedrooms benefit from softer, smaller fixtures using frosted or tinted crystals to add a romantic ambiance. In dining areas, opt for bold, multi-tiered chandeliers that make a statement above the table. Entryways can be transformed with dramatic, eye-catching pieces that welcome guests with sparkle. Kitchens and bathrooms might use compact, moisture-resistant designs with simple crystal accents. Each project can be customized with different crystal shapes, such as teardrops, beads, or prisms. Mixing crystal colors, like clear, smoky, or rose quartz, adds personal flair. Start by selecting a base—old chandelier frames, wire baskets, or even branches work well. Then, attach crystals using jewelry wire or hooks. Ensure the fixture is securely mounted and wired safely. These ideas prove that luxury lighting doesn't have to break the bank. With a bit of creativity, you can craft a piece that reflects your style and enhances your home's atmosphere.
Essential Materials and Tools for Your DIY Crystal Chandelier
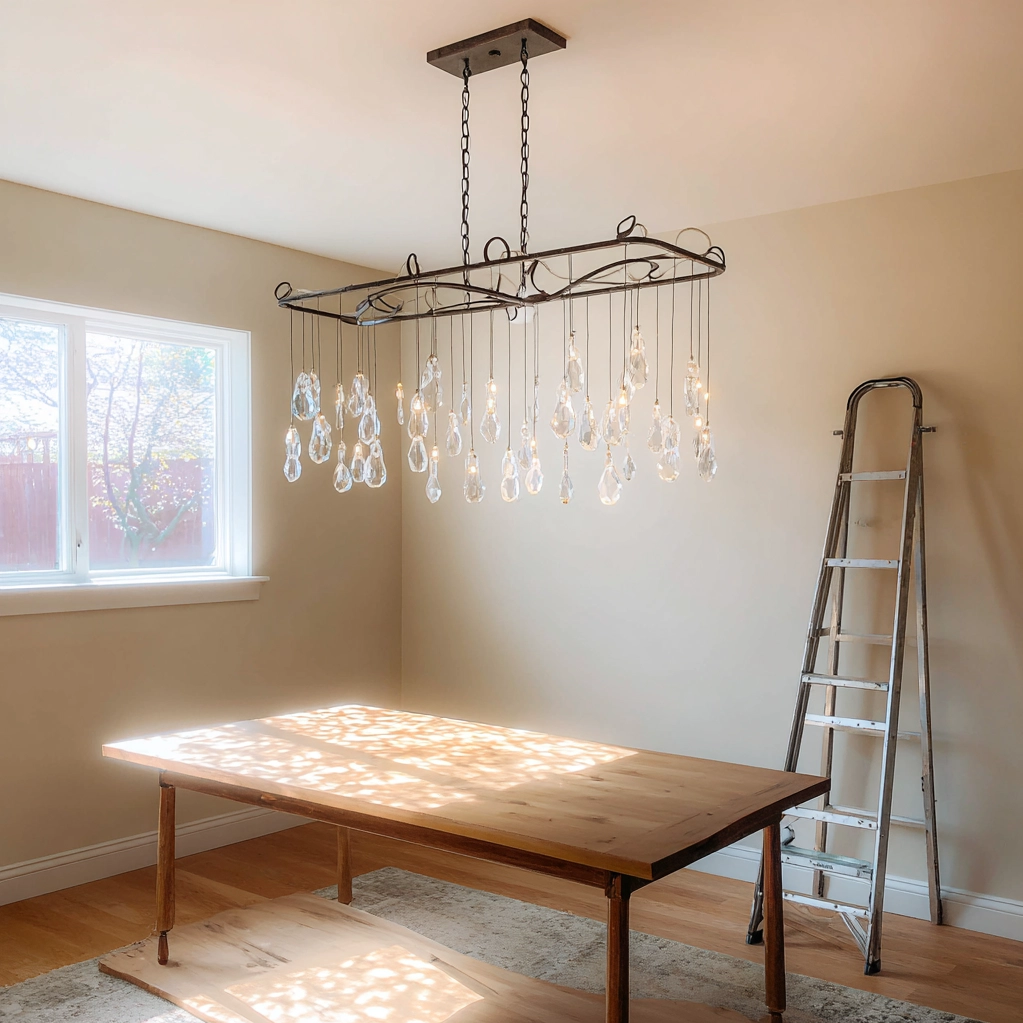
Gathering the right materials and tools is key to successful DIY crystal chandelier ideas. Start with a sturdy base, such as a metal frame, wooden hoop, or repurposed lamp parts. Crystals are the star—choose from affordable options like acrylic, glass, or vintage finds. Jewelry wire, pliers, and wire cutters help attach crystals securely. A drill may be needed for mounting, and a ladder ensures safe installation. Consider lighting elements: LED bulbs are energy-efficient and cool to the touch, reducing crystal discoloration. For wiring, use a chandelier kit with a canopy, chain, and socket. Safety gear like gloves and goggles protects during assembly. Budget-friendly materials include thrift store frames and bulk crystal packs. Measure your space to determine size; a chandelier should be about 12 inches narrower than the table below it. Plan the design on paper first, sketching crystal placement. Test the weight of crystals to ensure the base supports them. Clean crystals with a soft cloth before assembly for maximum sparkle. Having these items ready streamlines the process. Remember, quality tools make the project smoother and safer. Invest in durable materials for a fixture that lasts. With preparation, your DIY crystal chandelier will shine brilliantly for years.
Step-by-Step Guide to Building a DIY Crystal Chandelier
Follow this step-by-step guide to bring your DIY crystal chandelier ideas to life. First, choose a design that fits your space and skill level. Simple projects might involve stringing crystals onto a wire frame, while advanced ones could include wiring multiple tiers. Start by preparing your base: clean it thoroughly and paint if desired. Next, plan the crystal layout—symmetrical patterns often look elegant, but asymmetrical designs add modern flair. Use jewelry wire to attach crystals, tying knots securely. Work from the center outward to maintain balance. For electrical components, assemble the chandelier kit according to instructions, ensuring wires are properly connected. If adding multiple light sockets, space them evenly. Once assembled, test the fixture on the ground before hanging. To install, turn off power at the breaker, mount the ceiling bracket, and connect wires matching colors (black to black, white to white). Use a helper to lift the chandelier into place. Adjust the chain length so the bottom hangs 30-36 inches above a table. Finally, add bulbs and turn on the power. Troubleshoot common issues like loose crystals or flickering lights. This process might take a weekend, but patience pays off. Your DIY crystal chandelier will become a focal point, showcasing your craftsmanship and creativity.
Maintaining and Customizing Your DIY Crystal Chandelier
Keep your DIY crystal chandelier ideas looking pristine with proper maintenance and customization. Regular cleaning prevents dust buildup that dulls sparkle. Use a soft, lint-free cloth and a mild cleaner—avoid harsh chemicals that can damage crystals. For hard-to-reach spots, a feather duster or compressed air works well. Check wiring annually for safety, and replace bulbs as needed. Customization allows you to update the look over time. Swap out crystals for different colors or shapes to match seasonal decor. Add dimmer switches for adjustable ambiance. If the chandelier feels too heavy, consider reinforcing the ceiling mount. To enhance sparkle, position the fixture where light reflects best, such as near windows. For outdoor use, select weather-resistant materials and ensure proper sealing. Personal touches like incorporating family heirlooms or themed crystals make the piece uniquely yours. If crystals become loose, reattach them with fresh wire. Store extra crystals for future repairs. These tips extend the life of your creation. A well-maintained DIY crystal chandelier continues to impress guests and brighten your home. Embrace changes as your style evolves, ensuring your lighting always feels fresh and inviting.
Conclusion
In summary, DIY crystal chandelier ideas offer a fantastic way to add luxury and personality to your home without the high cost. By exploring creative designs, gathering essential materials, following step-by-step instructions, and maintaining your creation, you can achieve stunning results. These projects empower you to customize lighting that perfectly suits your space and style. The satisfaction of crafting something beautiful with your own hands is unmatched. As you gain confidence, consider experimenting with more complex designs or teaching others. The future of home decor trends toward sustainability and personalization, making DIY projects increasingly valuable. Look ahead by incorporating smart lighting technology or eco-friendly materials into your next chandelier. Remember, every sparkle reflects your effort and vision. Start small if you're new to DIY, and gradually tackle more ambitious ideas. Your home will glow with the warmth of handmade elegance. Embrace these projects as opportunities to express creativity and enhance your living environment. The possibilities are endless—let your imagination shine.
Frequently Asked Questions
Q: What are the best crystals to use for a DIY chandelier?
The best crystals for a DIY chandelier depend on your budget and desired look. Acrylic crystals are affordable, lightweight, and come in various shapes, making them ideal for beginners. Glass crystals offer more sparkle and durability, with options like lead crystal for premium reflectivity. Vintage or thrifted crystals add character and sustainability. Consider factors like weight—heavier crystals may require a sturdier base. Clear crystals maximize light refraction, while colored ones create mood. Test samples under light to see their effect before committing.
Q: How much does it cost to make a DIY crystal chandelier?
The cost of a DIY crystal chandelier varies widely based on materials and size. A basic project can cost $50-$100 using acrylic crystals and a simple frame. Mid-range options with glass crystals and a metal base might run $100-$300. High-end designs with lead crystal or intricate frames can exceed $500. To save money, repurpose old fixtures, shop sales for crystals, or use budget-friendly tools. Compared to store-bought chandeliers costing thousands, DIY offers significant savings. Plan your budget upfront and prioritize quality for key components like wiring.
Q: Is it safe to wire a DIY crystal chandelier myself?
Wiring a DIY crystal chandelier can be safe if you follow precautions. Always turn off power at the breaker before working. Use a chandelier wiring kit with clear instructions, and ensure all connections are secure. Match wire colors (black to black, white to white, ground to ground). If unsure, consult online tutorials or hire an electrician for the wiring step—safety is paramount. Test the fixture on the ground first. Avoid overloading circuits and use appropriate wattage bulbs. With careful attention, many DIYers successfully handle wiring, but don't hesitate to seek professional help for complex setups.