
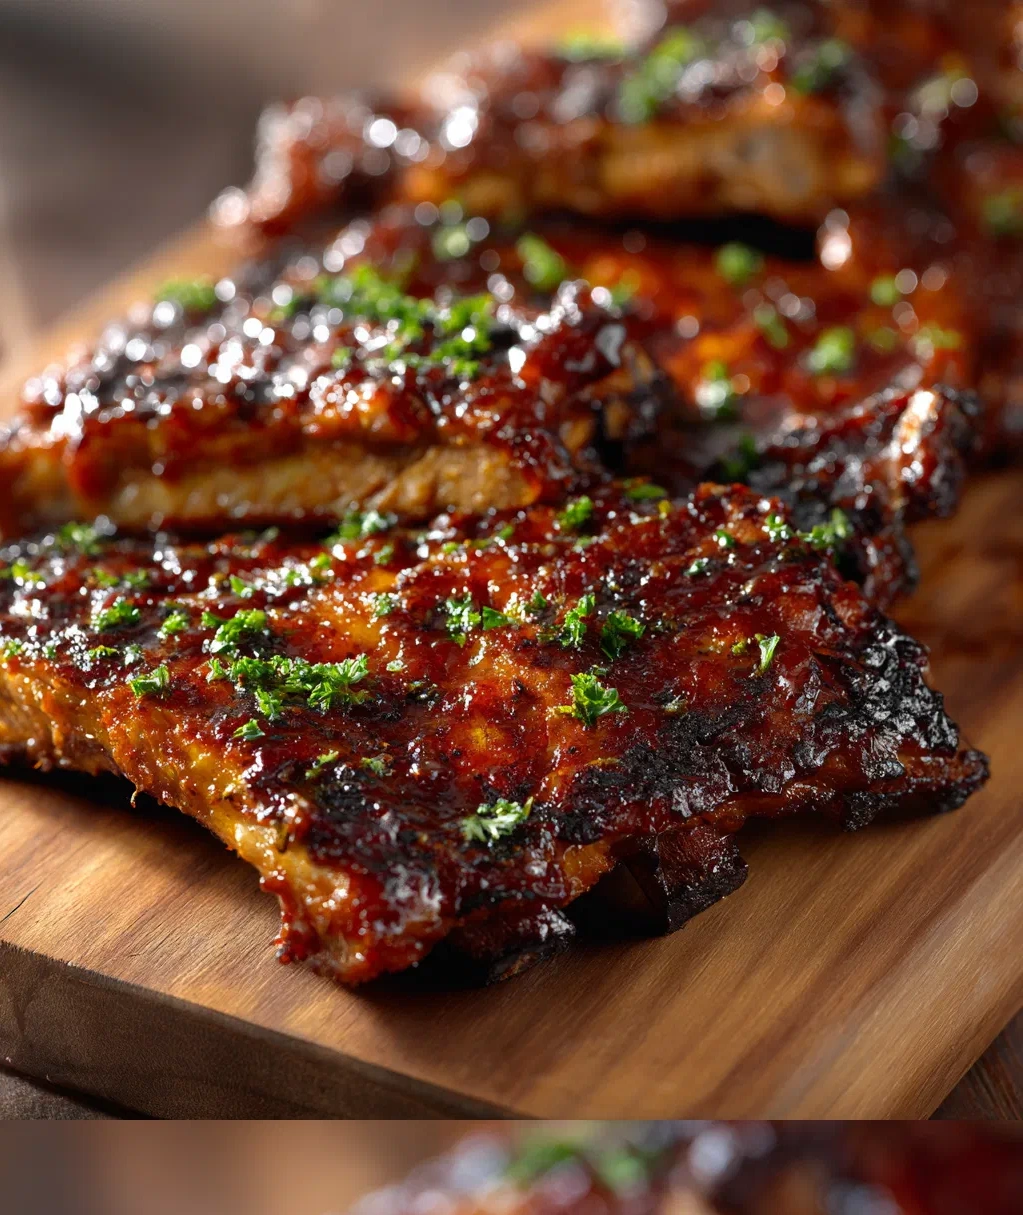
Fall Off the Bone Tender: Effortless Tips for Absolutely Perfect Results
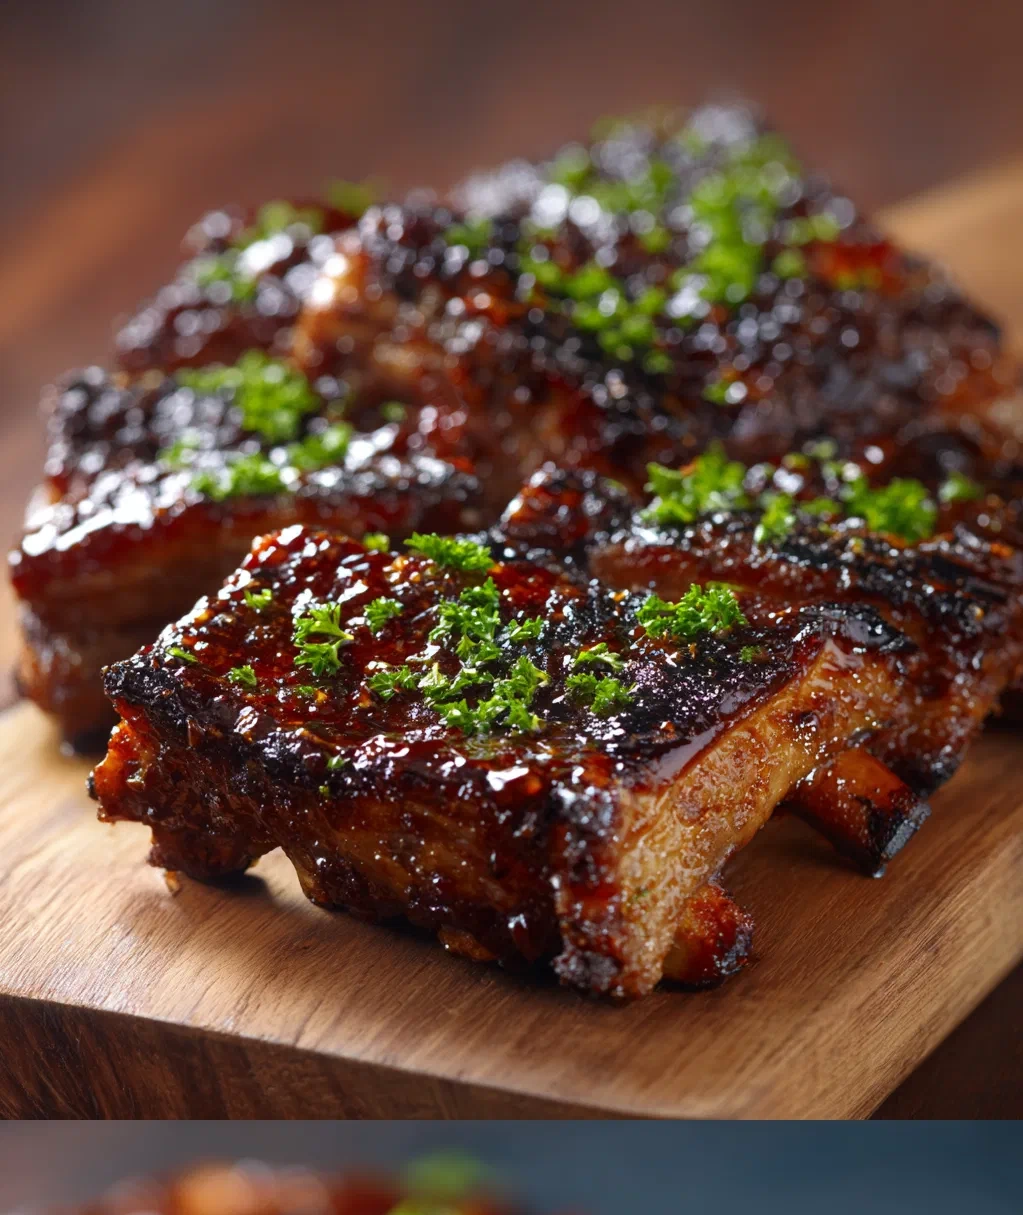
Hey there, friend! If you’re anything like me, you know that magical moment when you take a bite of meat and it just melts in your mouth. That’s what I’m talking about when I say “fall off the bone tender” – it’s not just a phrase, it’s a whole experience. I remember the first time I cooked ribs that truly fell off the bone. The house smelled incredible, my family couldn’t stop talking about it, and I felt like I’d unlocked some secret cooking superpower. But here’s the thing – it took me years to get it right! I’ve had my share of tough, chewy disasters that made me want to give up. So today, I’m sharing everything I’ve learned to help you skip the trial and error and get straight to the good stuff. Whether you’re cooking ribs, pot roast, or chicken, these tips will transform your meals. Trust me, once you taste that perfect, tender result, you’ll never go back to guessing games in the kitchen.
Why Fall Off the Bone Tender Makes Everything Better
Let’s start with why this matters so much. When meat is fall off the bone tender, it’s not just about texture – it’s about flavor, enjoyment, and that feeling of success. First, the texture is incredible. You don’t need to struggle with a knife or worry about chewing for ages. It just gives way with gentle pressure. Second, the flavor absorption is way better. Tender meat soaks up all those delicious seasonings and sauces, making every bite packed with taste. And third, it’s just more satisfying to eat! Here are my favorite benefits:
- Easy eating for everyone – no tough chewing means even kids and older family members can enjoy it
- Better flavor throughout – every single bite is infused with your seasonings
- Impressive results without stress – people will think you spent hours, even if you used smart shortcuts
- Perfect for leftovers – tender meat reheats beautifully and stays delicious
- Versatile meals – you can use fall off the bone tender meat in sandwiches, tacos, salads, or just enjoy it as-is
My favorite part is watching people’s faces when they take that first bite. Their eyes light up, they make that happy “mmm” sound, and you just know you’ve made their day better. It’s what home cooking is all about!
The Secret Ingredients for Fall Off the Bone Tenderness
Okay, let’s get practical. You don’t need fancy equipment or expensive ingredients to get that perfect fall off the bone tender result. What you do need is understanding how these simple things work together. Here’s what you’ll want to have on hand:
- Your choice of meat – ribs, chicken thighs, pot roast, or pork shoulder all work beautifully
- Salt – I use kosher salt because it seasons evenly
- Brown sugar – just 2 tablespoons can make a big difference in flavor and texture
- Apple cider vinegar or lemon juice – about 1/4 cup helps break down tough fibers
- Your favorite spices – I love paprika, garlic powder, and black pepper
- Liquid – broth, wine, or even just water works
- Time – this is the most important “ingredient” of all!
Don’t worry if you don’t have everything exactly as I list it. The key is understanding the purpose of each item. The acid (vinegar or lemon) helps tenderize, the sugar helps with browning and flavor, and the liquid creates steam and keeps everything moist. My biggest tip? Don’t skip the resting time after cooking. Letting the meat sit for 10-15 minutes before serving makes it even more fall off the bone tender. It allows the juices to redistribute throughout the meat instead of running out when you cut into it.
Step-by-Step Guide to Fall Off the Bone Perfection
Ready to cook? Let’s walk through this together. I’m going to share my favorite method for ribs, but these steps work for most meats with small adjustments. First, safety tip – always wash your hands and surfaces before handling raw meat, and use separate cutting boards for meat and vegetables.
- Prep your meat: Remove any silver skin from ribs (that tough membrane on the back). Pat everything dry with paper towels. This helps your seasonings stick better.
- Season generously: Mix your spices with the brown sugar and rub it all over the meat. Don’t be shy – get it into every nook and cranny. Let it sit for at least 30 minutes if you have time.
- Choose your cooking method: You can use a slow cooker (6-8 hours on low), oven (275°F for 3-4 hours), or even a pressure cooker (about 45 minutes). They all work! The low temperature is what makes it fall off the bone tender.
- Add your liquid: Pour in your broth or water mixed with the vinegar. You want about 1/2 inch in the bottom of your pan or cooker.
- Cook low and slow: This is the magic part. Cover tightly and let it cook without peeking too often. Every time you open the lid, you lose heat and steam.
- Check for doneness: The meat should pull away from the bone easily. If it doesn’t, give it another 30 minutes and check again.
- Rest before serving: Transfer to a cutting board, tent with foil, and let it rest. This is when it becomes truly fall off the bone tender!
My secret weapon? If I’m using the oven, I wrap the meat in foil after the first couple hours. It traps steam and creates the most amazing texture. Just be careful when unwrapping – that steam is hot!
Smart Variations for Your Fall Off the Bone Tender Creations
Once you’ve mastered the basic method, you can get creative! The beauty of fall off the bone tender cooking is how adaptable it is. Here are some of my favorite twists:
- Asian-inspired: Swap the brown sugar for hoisin sauce and add some ginger to your spice mix. The sweet-salty combination is amazing.
- BBQ classic: Add a smoky paprika and finish with your favorite barbecue sauce during the last 30 minutes of cooking.
- Herb garden: Use fresh rosemary and thyme instead of dried spices. The aroma will make your whole house smell like a fancy restaurant.
- Spicy kick: Add some chili powder or cayenne pepper if you like heat. Just start with a little – you can always add more.
- Sweet and tangy: Mix apricot preserves with mustard for a glaze. Brush it on during the last hour of cooking.
Don’t worry about being perfect with measurements. Cooking should be fun, not stressful! I often just use what I have in my pantry. The key is keeping that low, slow cooking method. Even if you change the flavors, the technique stays the same. My husband’s favorite is when I make fall off the bone tender chicken with lemon and herbs. It’s so simple – just chicken thighs, lemon slices, garlic, and herbs cooked for about 2 hours at 275°F. The chicken literally falls apart when you touch it with a fork. Serve it over rice or with roasted vegetables, and you’ve got a complete meal that feels special but took almost no effort.
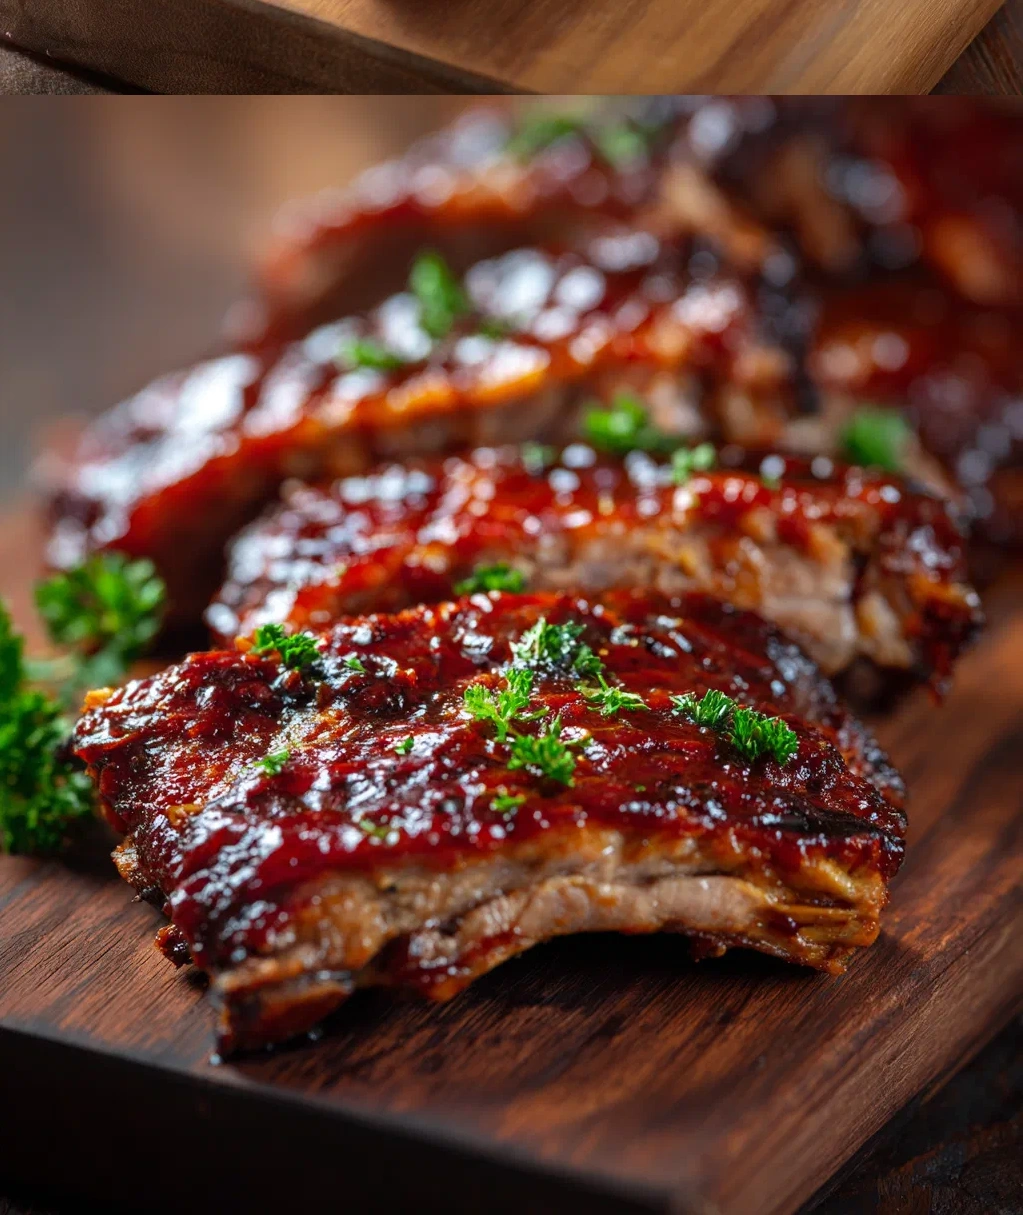
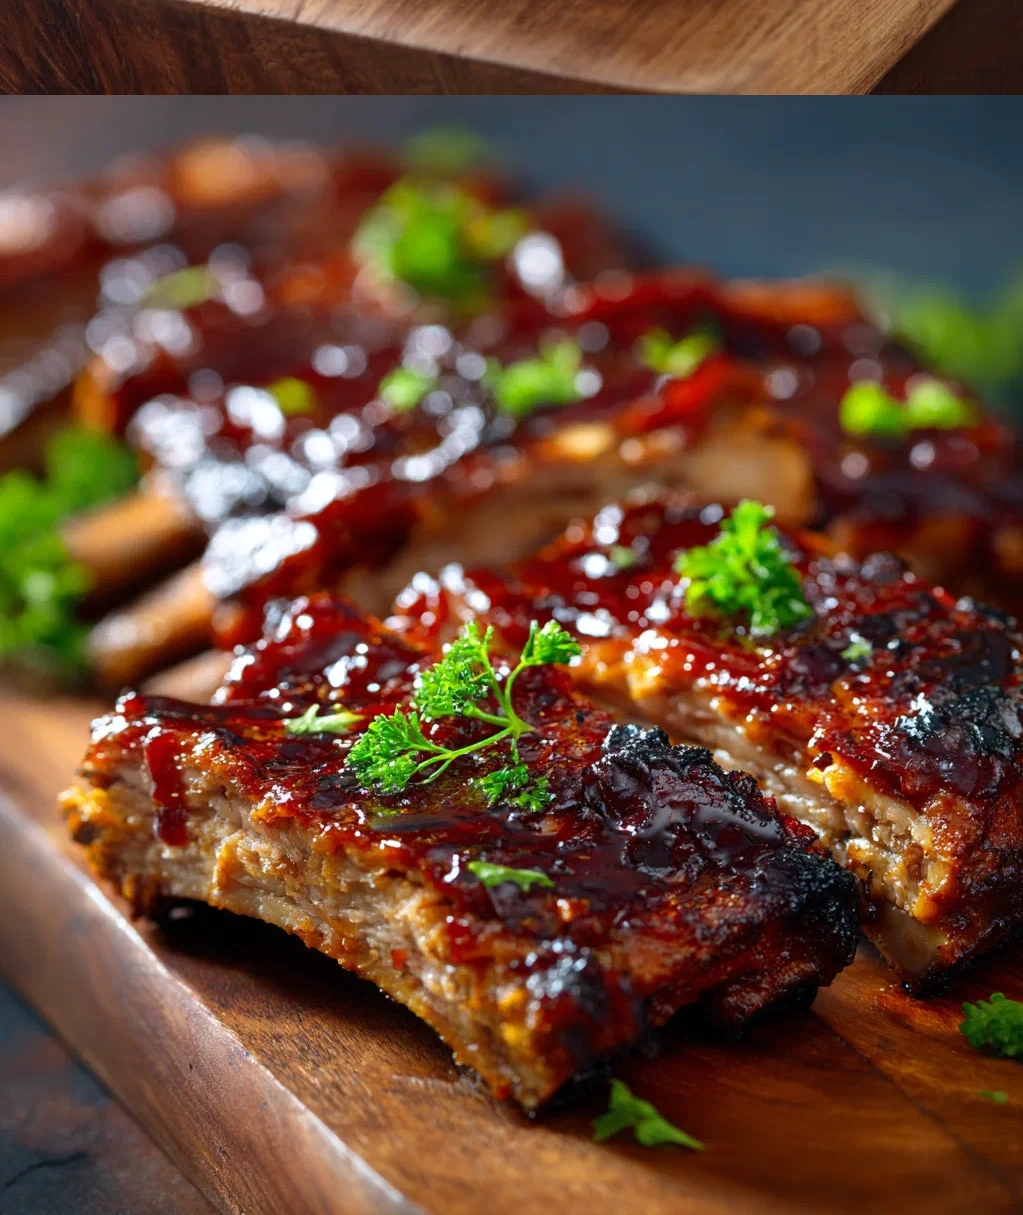
Serving and Storing Your Fall Off the Bone Masterpiece
Now for the best part – eating! But first, let’s talk about how to serve and store your creation so it stays delicious. When your meat is fall off the bone tender, presentation is easy because it looks amazing naturally. I like to transfer it to a warm platter and spoon some of the cooking juices over the top. If there’s a lot of fat in the juices, you can skim it off first. Just use a spoon to remove the clear liquid fat that rises to the top.
For sides, keep it simple. The meat is the star here! I usually go with:
- Mashed potatoes or polenta to soak up those delicious juices
- A simple green salad with vinaigrette to cut through the richness
- Roasted vegetables – carrots and potatoes cooked right in the same pan work beautifully
- Crusty bread for mopping up every last bit of flavor
Leftovers are actually one of my favorite things about fall off the bone tender cooking. The meat stays moist and flavorful for days. Store it in an airtight container in the refrigerator for up to 4 days. You can also freeze it for up to 3 months. To reheat, I recommend using the oven or stovetop with a little added liquid. Microwave reheating can make it dry out. Just put it in a covered dish with a splash of broth or water and warm it at 300°F until heated through. It makes incredible sandwiches, tacos, or pasta additions the next day. Last week, I used leftover fall off the bone tender pork to make the best nachos we’ve ever had!
Conclusion
Well, there you have it – everything I’ve learned about creating that perfect fall off the bone tender magic in my own kitchen. It’s not about fancy techniques or expensive ingredients. It’s really about patience, understanding how heat and moisture work together, and trusting the process. The first time you pull a piece of meat and it just gives way without any resistance, you’ll feel that same rush of excitement I did. That moment when your family or friends take a bite and their faces light up – that’s what makes all the waiting worth it. Remember, every kitchen is different, every cut of meat is unique, and that’s okay. Use these tips as your starting point, then make them your own. Add your favorite flavors, adjust the timing to suit your schedule, and most importantly, have fun with it. Cooking should bring joy, not stress. So next time you’re planning a meal, give this method a try. Start with something simple like chicken thighs or a small pork roast. Follow the steps, be patient, and get ready to taste the difference. Once you experience that perfect fall off the bone tender result, I promise you’ll be hooked. Happy cooking, friend – I can’t wait to hear how it turns out!
Frequently Asked Questions
Q: Can I make fall off the bone tender meat without a slow cooker or oven?
Absolutely! A pressure cooker or Instant Pot works great for faster results. Cook for about 45 minutes under pressure, then let the pressure release naturally for 15 minutes. You can even use a Dutch oven on the stovetop – just keep the heat very low and check it often to make sure there's enough liquid.
Q: How do I know when my meat is truly fall off the bone tender?
The best test is the fork test. Take a fork and try to pull a piece of meat away from the bone. If it comes away easily with little resistance, it's ready. If it fights back or seems tough, give it more time. Remember, low and slow cooking can't be rushed – it's done when it's done!
Q: What if my meat turns out dry instead of tender?
Dry meat usually means it cooked too fast or at too high a temperature. Next time, lower your cooking temperature and make sure there's enough liquid in the pan. Also, don't skip the resting step – letting the meat sit covered for 10-15 minutes after cooking helps the juices redistribute throughout the meat.
Q: Can I use frozen meat to make fall off the bone tender recipes?
I don't recommend starting with frozen meat if you can avoid it. Thaw it completely first so it cooks evenly. If you must cook from frozen, add at least an extra hour to your cooking time and make sure there's plenty of liquid. The results won't be as consistent, but it can work in a pinch.
Q: Is fall off the bone tender safe to eat? Doesn't meat need to be well-done?
Great question! When cooked low and slow to fall off the bone tender, the meat reaches safe internal temperatures (at least 145°F for pork and beef, 165°F for poultry) while staying moist. The long cooking time at lower temperatures breaks down connective tissue without drying out the meat. Always use a meat thermometer to be sure – it's the only way to know for certain.
PrintSlow-Cooked Fall-Off-The-Bone Beef Short Ribs
- Total Time: 200
- Yield: 4 servings 1x
Description
Beef short ribs braised until incredibly tender in a rich red wine and herb sauce.
Ingredients
3 lbs bone-in beef short ribs
1 tsp salt
1/2 tsp black pepper
2 tbsp olive oil
1 large onion, chopped
3 carrots, chopped
3 cloves garlic, minced
2 tbsp tomato paste
1 cup dry red wine
2 cups beef broth
2 sprigs fresh rosemary
2 sprigs fresh thyme
2 bay leaves
Instructions
Step 1: Season short ribs generously with salt and pepper.
Step 2: Heat olive oil in a large Dutch oven over medium-high heat. Brown ribs on all sides, about 3-4 minutes per side. Remove and set aside.
Step 3: Add onion and carrots to the pot. Cook until softened, about 5 minutes. Add garlic and cook for 1 minute.
Step 4: Stir in tomato paste and cook for 1 minute. Pour in red wine, scraping up browned bits from the bottom.
Step 5: Return ribs to the pot. Add beef broth, rosemary, thyme, and bay leaves. Bring to a simmer.
Step 6: Cover and transfer to a preheated 300°F oven. Braise for 3 hours until meat is fall-off-the-bone tender.
Step 7: Remove ribs from pot. Skim excess fat from sauce and simmer uncovered for 10 minutes to thicken slightly.
Step 8: Serve ribs with sauce spooned over top.
- Prep Time: 20
- Cook Time: 180
- Category: Main Course
Nutrition
- Calories: 580
- Fat: 38g
- Carbohydrates: 12g
- Protein: 42g