My Photo Gallery: Transform Your Space with Joyful Memories

Your home tells a story, and nothing personalizes it more than a thoughtfully curated photo gallery. My photo gallery isn’t just a collection of pictures on a wall—it’s a living narrative of cherished moments, milestones, and the people you love. In today’s fast-paced digital world, where thousands of images live on our phones, bringing these memories into your physical space creates a warm, inviting atmosphere that reflects who you are. A well-designed gallery transforms blank walls into conversation starters and daily reminders of joy. This isn’t about perfect Instagram aesthetics; it’s about creating a sanctuary filled with meaning. When you walk into a room and see photos of your family vacation, your child’s first steps, or that beautiful sunset from your anniversary trip, you’re instantly connected to positive emotions. These visual anchors ground us, reduce stress, and make a house feel like a true home. Setting up my photo gallery has been one of the most rewarding decorating projects I’ve undertaken because it combines creativity with personal significance. Whether you’re starting from scratch or refreshing an existing display, this guide will help you create a stunning gallery that brings your memories to life in your everyday environment.
My Photo Gallery Planning: Laying the Foundation
Before you hang a single frame, thoughtful planning ensures your photo gallery looks cohesive and intentional. Start by selecting a location in your home that naturally draws attention—common spots include the wall above a sofa, along a staircase, or in a hallway. Consider lighting conditions; areas with natural light can enhance photos but avoid direct sunlight that might cause fading. Next, gather your favorite photos. Don't limit yourself to recent shots—mix old family photos with current moments for depth. Curate around a theme, whether it's family milestones, travel adventures, or seasonal changes. My photo gallery often tells a chronological story, creating a visual timeline that evolves as new memories are added. Once you have 15-20 images, think about arrangement. Lay frames on the floor to experiment with layouts. Popular options include grid patterns for a clean look, salon-style clusters for eclectic charm, or linear rows for modern simplicity. Measure your wall space and use painter's tape to outline the arrangement before making holes. This planning phase saves time and prevents mistakes. Choose frames that complement your decor. Uniform frames create harmony, while mixed materials add texture. Consider matting to make photos stand out. For my photo gallery, I prefer neutral frames with white mats to keep focus on the images themselves. Proper planning transforms a haphazard display into a polished, personal statement that enhances your home's ambiance.
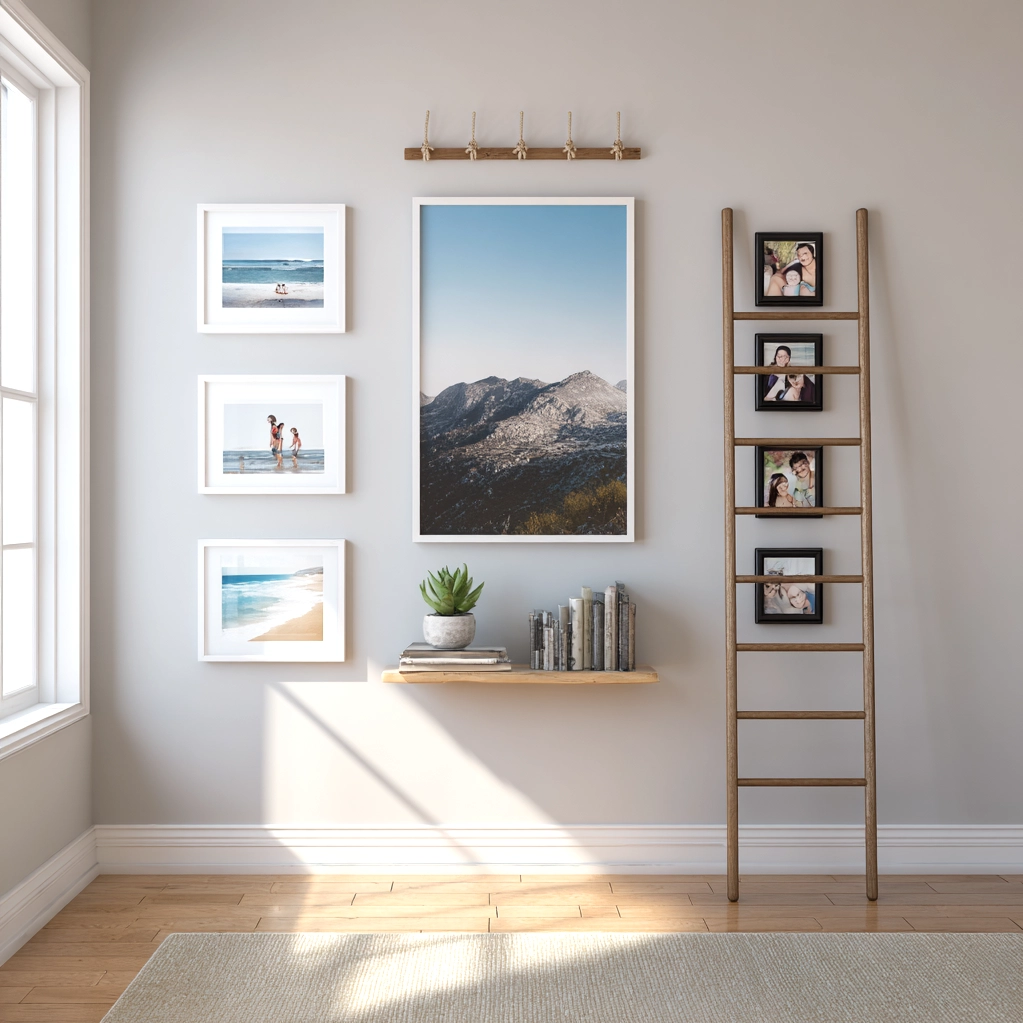
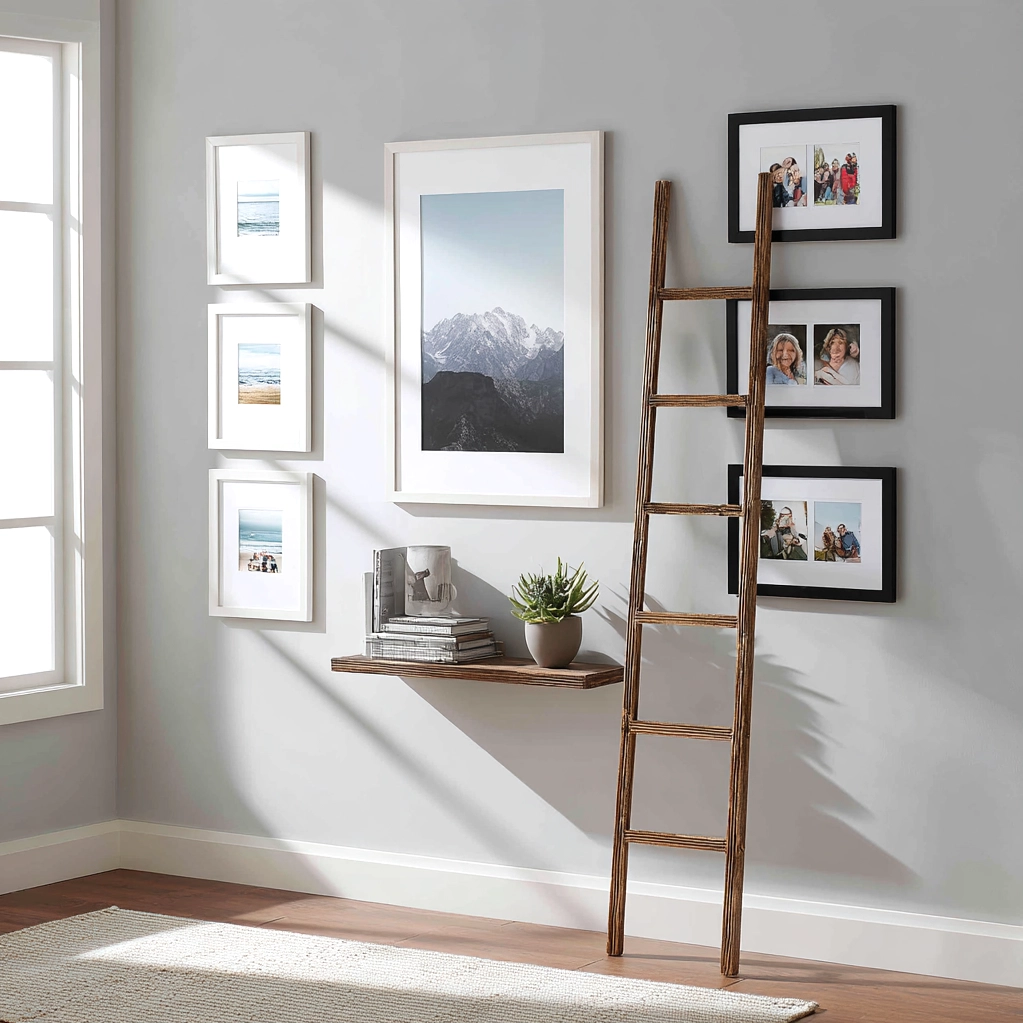
My Photo Gallery Display: Creative Arrangement Techniques
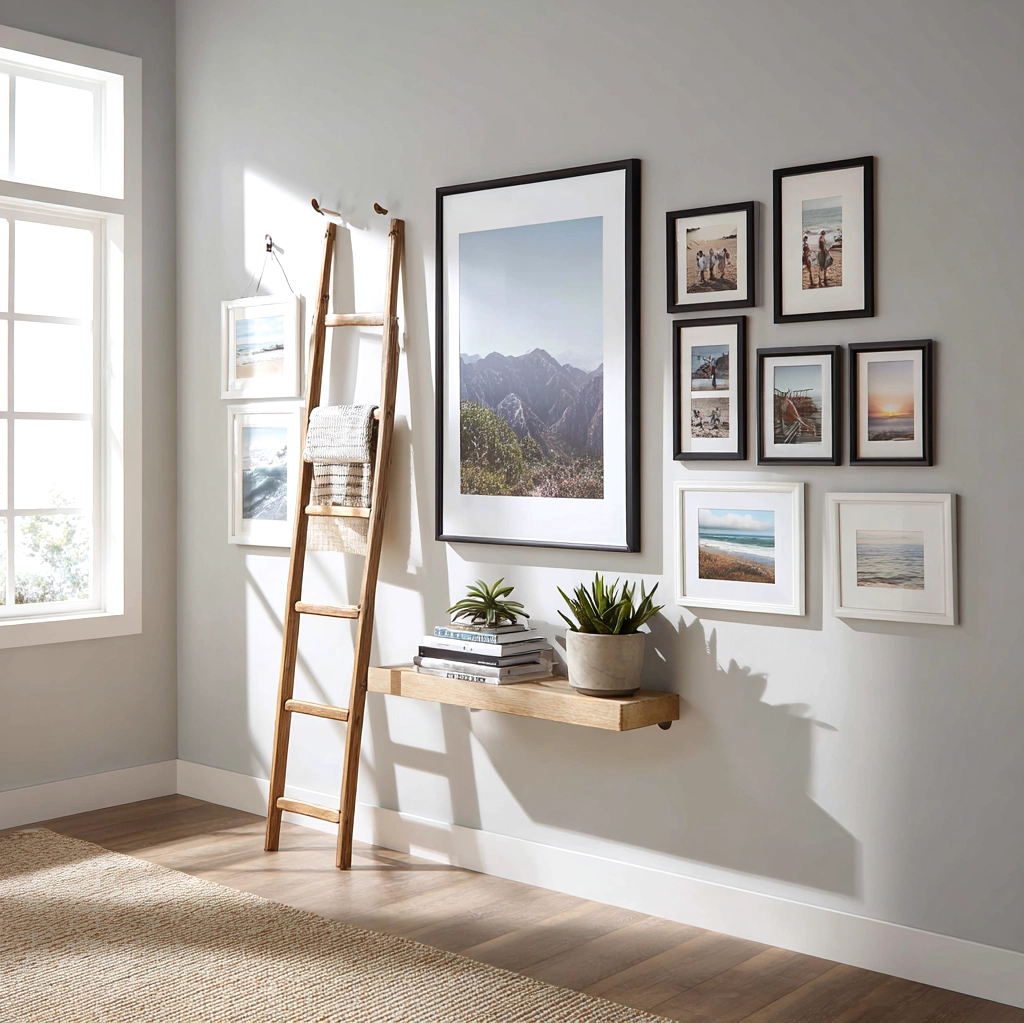
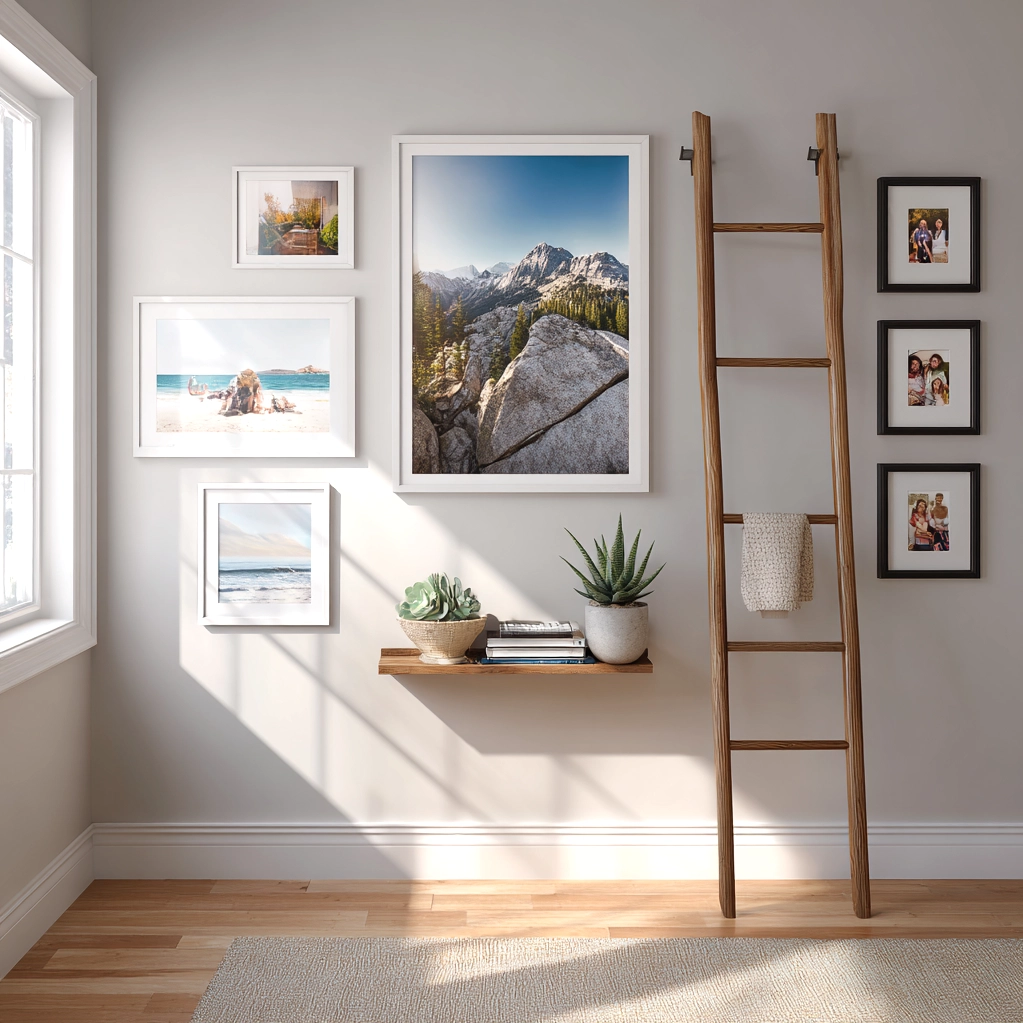
The arrangement of your photo gallery determines its visual impact and flow. A well-executed display guides the eye and creates balance. For symmetrical layouts, like a grid, maintain equal spacing between frames—typically 2-3 inches works well. Use a level and measuring tape for precision. Asymmetrical arrangements, such as salon-style clusters, offer more flexibility but still require balance. Start with a larger central piece and build around it, mixing frame sizes and orientations. In my photo gallery, I often place larger portraits at eye level with smaller landscape shots above and below. Consider the visual weight of each photo; darker images or busy scenes might need more space to breathe. Don't be afraid to incorporate other elements like small shelves, mirrors, or decorative objects to break up the photo grouping. This adds dimension and prevents monotony. For stairways, follow the incline with a diagonal arrangement that mirrors the steps. This technique creates dynamic movement. In living rooms, align the bottom of frames with furniture lines, like the top of a sofa, for cohesion. Hanging hardware matters too—use proper hooks for wall type and frame weight. For a temporary option, lean frames on a mantel or shelf for a relaxed vibe. My photo gallery includes a mix of hanging and leaning pieces for varied texture. Regularly step back to assess balance from different angles. Good arrangement makes your gallery feel intentional rather than random, turning your wall into a curated exhibition of personal history that delights everyone who sees it.
My Photo Gallery Maintenance: Keeping Memories Fresh
A photo gallery is a living element of your home that benefits from occasional updates and care. Regular maintenance ensures it continues to inspire rather than become background noise. Start by dusting frames and glass monthly with a soft cloth to keep photos clear. Avoid harsh chemicals that might damage finishes. Every season, take time to review your gallery. Rotate photos to reflect current moments—add recent vacation shots, school pictures, or seasonal celebrations. My photo gallery gets a refresh each spring and fall, which keeps the display feeling current and engaging. This rotation also prevents photo fading from prolonged light exposure. Consider the overall condition of frames; repair loose corners or replace worn mats as needed. Digital backups are crucial—scan older photos before displaying to preserve originals. For variety, mix in different types of visual media. I occasionally swap standard prints for canvas wraps, metal prints, or framed postcards in my photo gallery. These textural changes add interest without a complete overhaul. If you notice your arrangement feels stale, try reorganizing frames or introducing a new color scheme through mats. Maintenance isn't just about cleanliness; it's about evolving the story your gallery tells. As your family grows or interests change, let your display reflect that growth. A well-maintained gallery remains a vibrant centerpiece, continuously sparking joy and conversation in your home environment.
Conclusion
Creating and maintaining my photo gallery has transformed how I experience my home. It's more than decoration—it's a daily reminder of life's beautiful moments, big and small. By planning thoughtfully, arranging creatively, and maintaining regularly, you can build a display that not only enhances your space but also strengthens your connection to cherished memories. The process itself becomes part of your story, as each photo selection and placement reflects your personal journey. Looking forward, consider how technology might integrate with traditional displays. Digital frames can supplement physical galleries with rotating images, while new printing techniques offer durable, vibrant options. However, the core principle remains: personalization through visual storytelling. Start small if needed—a single wall or shelf can grow over time. The key is to begin, using the tips shared here to create something uniquely yours. Your photo gallery will evolve with you, becoming a living archive of joy. As you walk through your home, let those images inspire gratitude and warmth. In a world filled with digital noise, a tangible gallery grounds us in what truly matters—the people and experiences we hold dear. Take the first step today by selecting your favorite photos and imagining them on your walls.
Frequently Asked Questions
Q: How many photos should I include in my photo gallery?
There's no fixed number—it depends on your wall space and desired look. For a balanced display, start with 5-15 photos. Smaller walls work well with 5-9 frames in a tight grid, while larger areas can handle 15 or more in a salon-style arrangement. The key is to avoid overcrowding; leave enough breathing room between frames (typically 2-4 inches) so each photo stands out. In my photo gallery, I prefer odd numbers as they often create more dynamic compositions. Quality over quantity matters most—choose images with strong emotional connection rather than filling every inch.
Q: What's the best way to arrange frames without damaging walls?
Use proper hanging hardware based on your wall type. For drywall, picture hooks with anchors provide secure support. For heavier frames, consider toggle bolts. Always measure and mark with pencil before drilling. To test arrangements without commitment, lay frames on the floor or use painter's tape to outline positions on the wall. There are also removable hanging strips available for lightweight frames, ideal for renters. In my photo gallery, I use a combination of hooks for permanent pieces and shelves for flexible displays. Regular maintenance checks ensure hardware remains secure over time.
Q: How do I choose frames that complement my decor without overpowering photos?
Select frames that enhance rather than compete with your images and room style. Neutral frames (black, white, natural wood) tend to be versatile and keep focus on the photos. Consider your existing decor—modern spaces might suit sleek metal frames, while traditional rooms work well with ornate wood. Mats can bridge gaps between photo colors and frame styles; white or off-white mats are classic choices. In my photo gallery, I mix frame materials (wood, metal) but maintain consistent finishes (e.g., all brushed silver) for cohesion. Avoid overly decorative frames unless they match your room's aesthetic—simple designs usually let the memories shine.