
Perfect Red Velvet Cake Pops Recipe: Incredible Easy Treats You’ll Adore

Hey there, friend! I’m so excited to share my favorite little treat with you today. If you’ve ever wanted to make those gorgeous, bite-sized desserts that look like they came straight from a fancy bakery, you’re in the right place. I’m talking about my perfect red velvet cake pops recipe—the one I’ve been tweaking and perfecting for years.
Let me tell you, there’s something magical about turning a classic red velvet cake into these adorable pops. They’re not just pretty to look at (though trust me, they will get all the oohs and aahs at any party). They’re also incredibly fun to make, and the best part? You get to lick the bowl when you’re done mixing that rich, cocoa-infused batter.
I remember the first time I tried making cake pops. It was for my niece’s birthday, and let’s just say they looked more like sad little blobs than the elegant treats I envisioned. But after plenty of trial and error (and a few chocolate-covered disasters), I finally cracked the code. Now, this perfect red velvet cake pops recipe is my go-to for every special occasion, from Valentine’s Day to baby showers to just-because Tuesdays.
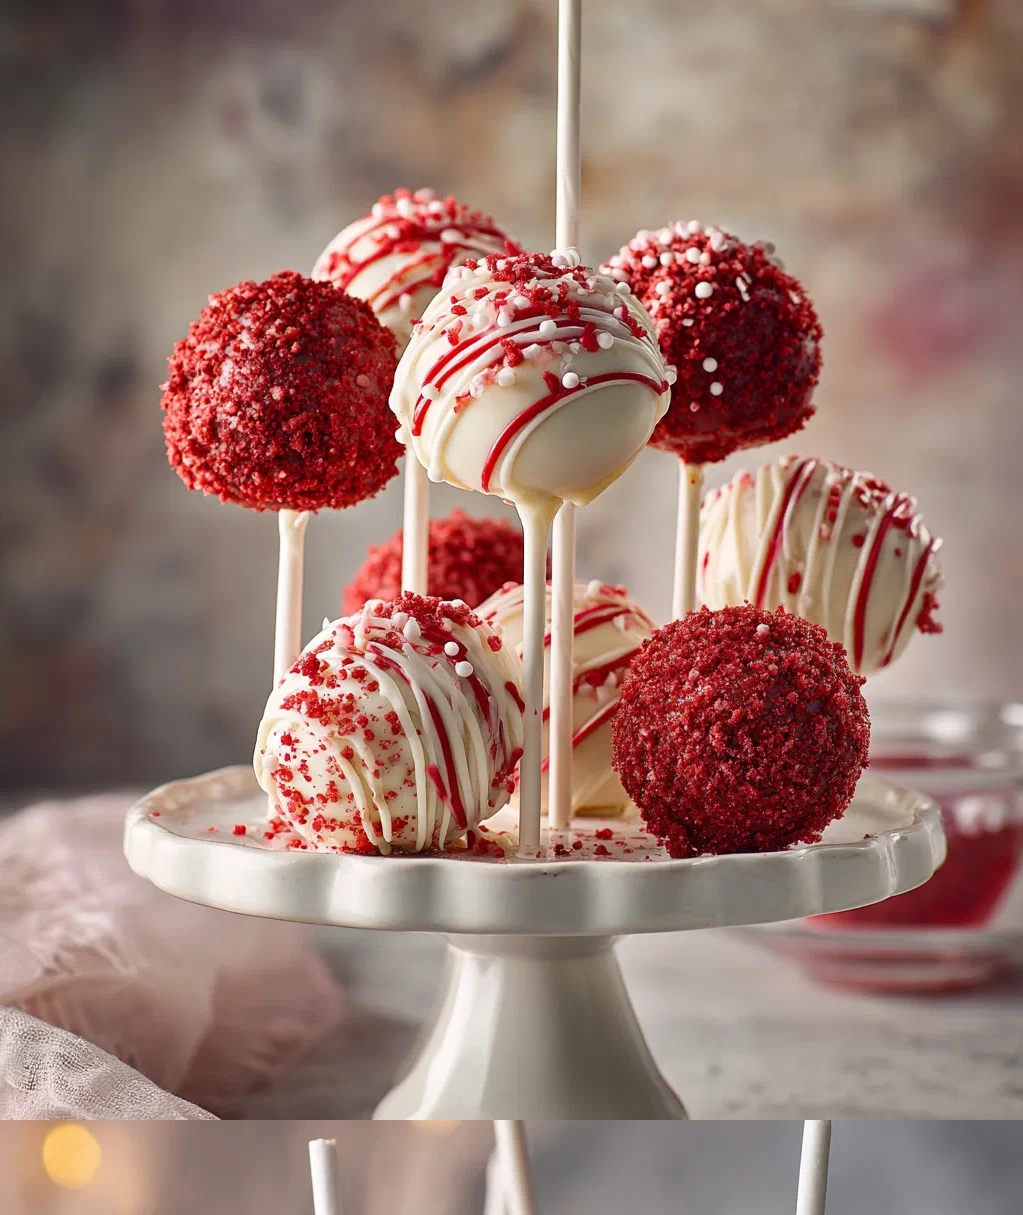
What makes these so special? It’s that perfect balance of moist, tender cake with just a hint of cocoa, all wrapped up in a smooth chocolate shell. The vibrant red color makes them so festive, and the cream cheese frosting adds that tangy sweetness that red velvet is famous for. Plus, they’re handheld, mess-free, and absolutely irresistible.
So grab your apron, and let’s make some magic together. I promise, once you try this perfect red velvet cake pops recipe, you’ll be hooked!
Why This Perfect Red Velvet Cake Pops Recipe Beats All Others
You might be wondering what makes this recipe so special. Well, let me tell you—it’s all in the details. Over the years, I’ve tried countless cake pop recipes, and most of them fall short in one way or another. Some are too dry, some are too sweet, and some just don’t hold together properly. But this perfect red velvet cake pops recipe solves all those problems.
First, the cake itself. I use real cocoa powder (not just food coloring) to give it that authentic red velvet flavor. The cocoa adds depth and richness that you just can’t get from color alone. Then there’s the buttermilk—it keeps the cake incredibly moist and tender. No one wants a dry cake pop!
The frosting is another game-changer. I use just enough cream cheese frosting to bind the cake crumbs without making them too soggy. Too much frosting, and your pops will be mushy. Too little, and they’ll crumble when you try to dip them. I’ve found the perfect ratio through lots of testing.
But here’s my favorite part: the chocolate coating. I use high-quality candy melts because they set beautifully and have that smooth, glossy finish that makes cake pops look professional. And I add just a tiny bit of coconut oil to thin it out—this makes dipping so much easier and gives you that perfect, even coating.
What you’ll love about this perfect red velvet cake pops recipe:
- They hold their shape perfectly—no more cake pops falling off the stick!
- The flavor is balanced—not too sweet, with that classic red velvet tang
- They’re surprisingly easy to make once you know the tricks
- They freeze beautifully, so you can make them ahead of time
- They’re endlessly customizable with different toppings and drizzles
Trust me, once you master this recipe, you’ll be the cake pop hero at every gathering. And the best part? They taste even better than they look!
Ingredients for Your Perfect Red Velvet Cake Pops
Alright, let’s gather our ingredients! One of the things I love about this perfect red velvet cake pops recipe is that most of these items are probably already in your pantry. But I’ve included a few special ingredients that really make a difference.
For the cake:
- 1 ½ cups all-purpose flour (spooned and leveled, don’t pack it!)
- ¼ cup unsweetened cocoa powder (I prefer Dutch-processed for richer color)
- 1 teaspoon baking soda
- ½ teaspoon salt
- 1 cup granulated sugar
- ½ cup vegetable oil
- 2 large eggs, at room temperature
- 1 tablespoon red food coloring (I use gel for more vibrant color)
- 1 teaspoon vanilla extract
- 1 teaspoon white vinegar
- 1 cup buttermilk, at room temperature
For the frosting and assembly:
- 4 ounces cream cheese, softened
- 2 tablespoons unsalted butter, softened
- 1 cup powdered sugar
- ½ teaspoon vanilla extract
- 12 ounces red candy melts (or white chocolate tinted red)
- 1 teaspoon coconut oil (for thinning the chocolate)
- 24 lollipop sticks
- Sprinkles, crushed nuts, or additional melted chocolate for decorating
A few notes from my kitchen: Make sure your eggs and buttermilk are at room temperature—this helps everything mix together smoothly and gives you a more even bake. For the food coloring, I really recommend gel over liquid. The gel gives you that deep, rich red color without adding extra liquid to the batter. And for the candy melts, you can find them at most craft stores or online. If you can’t find red ones, white chocolate works beautifully—just add a bit of red oil-based food coloring.
Don’t worry if you don’t have all the exact ingredients. I’ve made substitutions many times. No buttermilk? Mix 1 cup milk with 1 tablespoon lemon juice or vinegar and let it sit for 5 minutes. Out of cream cheese? You can use store-bought cream cheese frosting in a pinch (about ½ cup). The important thing is to have fun with it!
Step-by-Step Guide to Making Perfect Red Velvet Cake Pops
Ready to get your hands a little messy? This is where the fun begins! I’ll walk you through each step of this perfect red velvet cake pops recipe, sharing all my little tips and tricks along the way.
Step 1: Bake the cake. Preheat your oven to 350°F (175°C). Grease an 8-inch round cake pan and line it with parchment paper. In a medium bowl, whisk together the flour, cocoa powder, baking soda, and salt. In a large bowl, whisk the sugar, oil, eggs, food coloring, vanilla, and vinegar until smooth. Alternate adding the flour mixture and buttermilk to the wet ingredients, starting and ending with flour. Mix until just combined—don’t overmix! Pour into your prepared pan and bake for 30-35 minutes, until a toothpick comes out clean. Let it cool completely in the pan.
Step 2: Make the cake crumbs. Once your cake is completely cool, crumble it into a large bowl. You want fine crumbs, so take your time here. I like to use my hands—it’s therapeutic! Make sure there are no large chunks left.
Step 3: Prepare the frosting. In a medium bowl, beat the cream cheese and butter until smooth. Gradually add the powdered sugar and vanilla, beating until creamy. Now, here’s the important part: add the frosting to the cake crumbs a little at a time. Start with about ¾ of the frosting, then mix with your hands. You want the mixture to hold together when you squeeze it, but not be too wet. Add more frosting if needed, but be careful—too much will make your pops soggy.
Step 4: Form the balls. Using a small cookie scoop or tablespoon, portion the mixture and roll into 1-inch balls. Place them on a parchment-lined baking sheet. This recipe makes about 24 balls. Once all formed, pop them in the freezer for 15-20 minutes. Don’t skip this step! It helps them hold their shape when dipping.
Step 5: Dip and decorate. Melt the candy melts with the coconut oil in a deep, narrow cup or bowl. I microwave in 30-second intervals, stirring between each, until smooth. Take your cake balls from the freezer. Dip about ½ inch of a lollipop stick into the melted chocolate, then insert it into a cake ball—this acts like glue. Now dip the entire cake pop into the chocolate, swirling gently to coat. Let excess drip off, then decorate with sprinkles while the chocolate is still wet. Stick them upright in a styrofoam block or cake pop stand to set.
My pro tips: Work in small batches—keep most cake balls in the freezer while you work. If your chocolate starts to thicken, reheat it briefly. And if you get cracks in your coating, don’t panic! Just give them a second quick dip once the first layer sets. They’ll still taste amazing.
Creative Variations on Your Perfect Red Velvet Cake Pops
Once you’ve mastered the basic perfect red velvet cake pops recipe, the real fun begins! These treats are like blank canvases just waiting for your creative touch. Over the years, I’ve experimented with so many variations, and I’m excited to share my favorites with you.
First, let’s talk coatings. While red candy melts are classic, you can use so many different options:
- White chocolate gives you that beautiful contrast with the red cake inside
- Dark chocolate adds a rich, sophisticated flavor
- Pastel-colored candy melts are perfect for baby showers or Easter
- You can even mix colors to create marble effects or ombre designs
For toppings, the sky’s the limit! I love keeping a variety of sprinkles on hand. Here are some of my go-to combinations:
- Valentine’s Day: Red and pink sprinkles with heart-shaped confetti
- Christmas: Green and red sprinkles with edible gold dust
- Birthdays: Rainbow sprinkles or themed sprinkles to match the party
- Elegant events: Crushed pistachios, toasted coconut, or pearl sprinkles
But my absolute favorite variation is the stuffed cake pop. Yes, you heard that right! After forming your cake balls, make a small indentation with your thumb, add a little surprise inside, then seal it back up. Some delicious filling ideas:
- A small piece of cream cheese frosting (for extra tangy goodness)
- A chocolate chip or two
- A tiny marshmallow (it gets all melty when you bite in!)
- Even a small piece of caramel or fruit preserve
You can also play with shapes. While balls are traditional, I’ve made heart-shaped ones for Valentine’s Day using small heart-shaped molds. For Halloween, you can form them into little ghosts or pumpkins. And for Christmas, tree shapes are adorable!
Remember, the beauty of this perfect red velvet cake pops recipe is how adaptable it is. Don’t be afraid to experiment and make them your own. Some of my best creations came from happy accidents in the kitchen!
Storing and Serving Your Perfect Red Velvet Cake Pops
You’ve made these beautiful treats—now what? Proper storage and serving can make all the difference in keeping your perfect red velvet cake pops looking and tasting their best. Let me share what I’ve learned over the years.
First, let them set completely. After dipping, I leave my cake pops upright in their stand at room temperature for at least an hour. This gives the chocolate coating time to harden properly. If you try to move them too soon, you might get fingerprints or smudges in that beautiful glossy finish.
For short-term storage (up to 3 days), you can keep them at room temperature in an airtight container. I like to use those plastic cake pop containers you can find at craft stores, but a large tupperware with parchment paper between layers works too. Just make sure they’re not touching each other—you don’t want them sticking together!
If you need to store them longer, the freezer is your best friend. Once completely set, place them in a single layer on a baking sheet and freeze until solid. Then transfer to an airtight container or freezer bag. They’ll keep for up to 2 months this way. When you’re ready to serve, just let them come to room temperature for about 30 minutes. The texture stays perfect!
Now, for serving ideas. Of course, they’re amazing just as they are, but here are some ways to make them extra special:
- Arrange them in a pretty vase or flower pot filled with styrofoam—it makes a stunning centerpiece
- Create a cake pop tree by sticking them into a foam cone covered in pretty paper
- For parties, set up a decorating station with different sprinkles and let guests customize their own
- Package them individually in clear bags with pretty ribbons for party favors
A few important notes: Keep them away from direct sunlight or heat—the chocolate coating can melt or get discolored. And if you’re transporting them, make sure they’re secure and won’t bounce around. I usually transport mine in their stand, then place the whole thing in a box.
One last tip: These make amazing gifts! I’ve given them to teachers, neighbors, and friends for all sorts of occasions. Just package them prettily, and you’ve got a homemade gift that’s sure to impress. Seriously, who wouldn’t love receiving a batch of these perfect red velvet cake pops?
Conclusion
Well, my friend, we’ve come to the end of our cake pop adventure together. I hope you’re as excited to try this perfect red velvet cake pops recipe as I am to share it with you. Remember, baking should be fun—don’t stress if your first batch isn’t absolutely perfect. Mine certainly weren’t! The important thing is that you’re creating something delicious with your own two hands.
What I love most about these cake pops is how they bring people together. There’s something about those little red treats on sticks that makes everyone smile. Whether you’re making them for a special occasion or just because it’s Tuesday, they have a way of turning an ordinary day into something a little more sweet.
I want you to feel confident in your baking. If you run into any trouble—maybe your chocolate is too thick or your cake balls are crumbling—just take a deep breath and remember that even the most experienced bakers have off days. That’s why I’ve included all my tips and tricks throughout this recipe. They come from real experience, from all those times I had to figure things out myself.
So go ahead, preheat that oven, and get ready to make some magic. I can’t wait for you to experience the joy of pulling that first batch of perfect red velvet cake pops out of the freezer, all glossy and beautiful and ready to delight whoever’s lucky enough to try them. Share them with friends, bring them to parties, or heck, keep them all for yourself—I won’t judge!
Happy baking, and may your cake pops be as perfect and delicious as I know they can be. Don’t forget to come back and tell me how they turned out!
Frequently Asked Questions
Q: Can I make cake pops without a stand?
Absolutely! While a cake pop stand or styrofoam block makes things easier, you can definitely improvise. I've used an upside-down egg carton with holes poked in it, a colander turned upside down, or even just a piece of cardboard with holes cut out. The important thing is to have something that will hold your pops upright while the chocolate sets. If you're really in a pinch, you can lay them on their sides on parchment paper—just be prepared for a flat spot on one side.
Q: Why did my cake pops crack after dipping?
Oh, I've been there! Cracking usually happens when there's a temperature difference between the cake ball and the chocolate coating. If your cake balls are too cold from the freezer and your chocolate is too warm, the expansion can cause cracks. To prevent this, make sure your cake balls aren't frozen solid—15-20 minutes in the freezer is perfect. Also, let your melted chocolate cool slightly before dipping. If you do get cracks, don't worry! Just give them a second quick dip once the first layer sets to cover any imperfections.
Q: How far in advance can I make cake pops?
These hold up really well! You can make them up to 3 days in advance if stored properly at room temperature in an airtight container. For longer storage, freeze them for up to 2 months. I actually prefer making them a day ahead—the flavors have time to meld together, and the texture becomes even better. Just make sure they're completely set before storing, and keep them away from heat and humidity. If you're freezing them, let them come to room temperature for about 30 minutes before serving.
Q: Can I use box cake mix for this recipe?
You sure can! While I love the from-scratch version for its perfect flavor and texture, box mix works in a pinch. Use one red velvet cake mix and prepare it according to package directions. Once baked and cooled, crumble it and mix with about ¾ cup of cream cheese frosting (store-bought or homemade). The rest of the process is exactly the same. The flavor won't be quite as rich as the homemade version, but they'll still be delicious and much better than store-bought cake pops!
Q: What's the best way to melt chocolate for cake pops?
I've tried every method, and here's what works best for me: Use a deep, narrow microwave-safe bowl (a tall coffee mug works great too). Chop your candy melts or chocolate into small, even pieces for faster melting. Microwave in 30-second intervals at 50% power, stirring well between each interval. Stop when there are just a few small lumps left—the residual heat will melt them as you stir. Never melt chocolate on high power or for too long—it can seize up and become unusable. If your chocolate is too thick for dipping, add a teaspoon of coconut oil or vegetable shortening to thin it out.
PrintPerfect Red Velvet Cake Pops
- Total Time: 55
- Yield: 24 cake pops 1x
Description
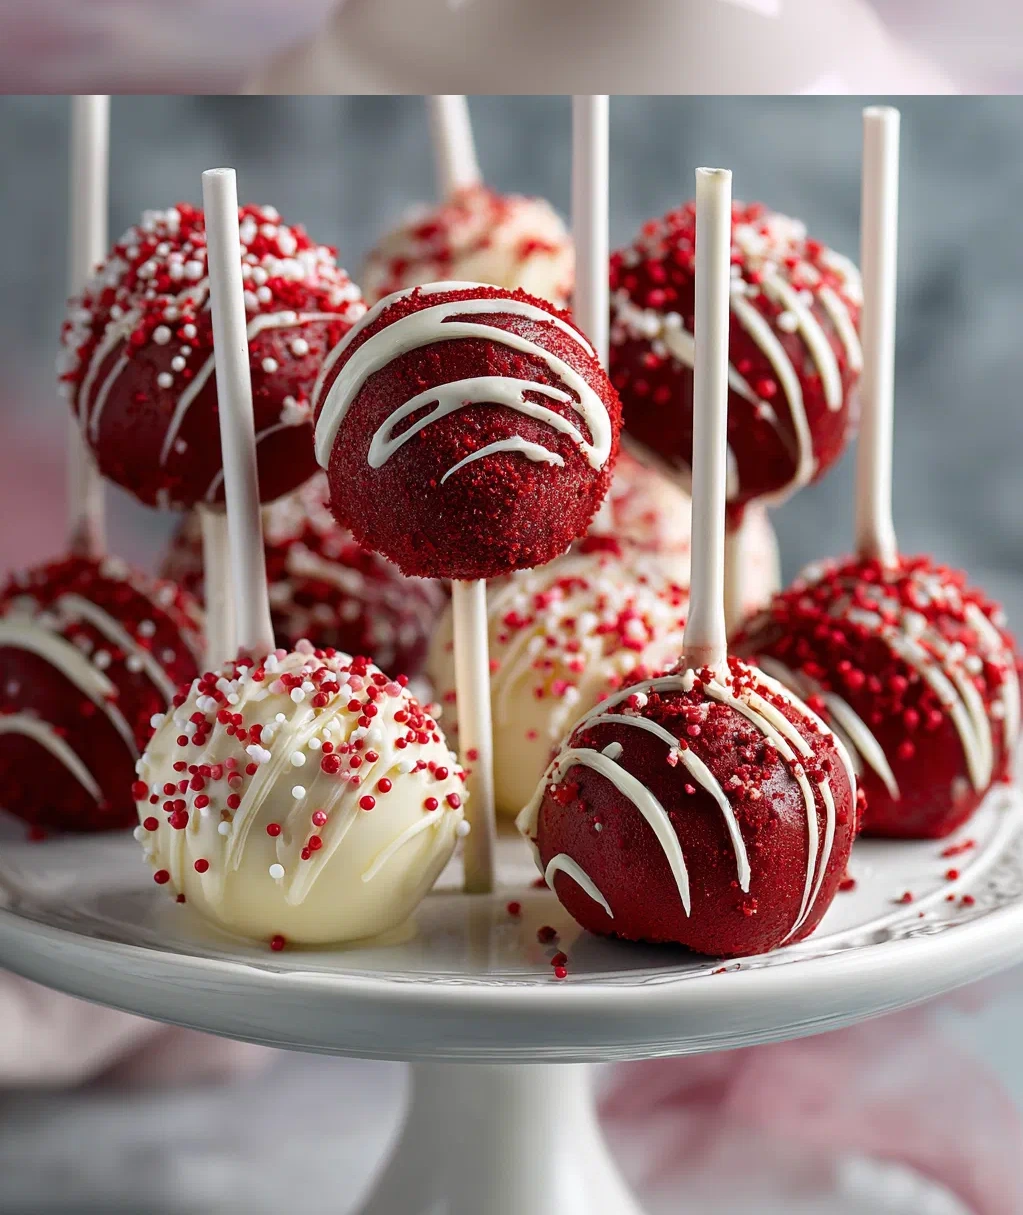
Moist red velvet cake balls dipped in creamy white chocolate, creating irresistible bite-sized treats perfect for parties or gifts.
Ingredients
1 box red velvet cake mix (plus required oil, eggs, and water)
1 cup cream cheese frosting
2 cups white chocolate chips
2 tablespoons vegetable oil
Red velvet cake crumbs for garnish (optional)
24 lollipop sticks
Instructions
Step 1: Prepare and bake the red velvet cake according to package directions in a 9×13 inch pan. Let cool completely.
Step 2: Crumble the cooled cake into fine crumbs in a large bowl using your hands or a fork.
Step 3: Mix cream cheese frosting into the cake crumbs until fully combined and the mixture holds together when pressed.
Step 4: Roll the mixture into 1-inch balls and place on a parchment-lined baking sheet. Chill in refrigerator for 30 minutes.
Step 5: Melt white chocolate chips with vegetable oil in a microwave-safe bowl in 30-second intervals, stirring until smooth.
Step 6: Insert a lollipop stick into each chilled cake ball, then dip into melted chocolate, tapping gently to remove excess.
Step 7: Sprinkle with red velvet crumbs if desired, then stand upright in a styrofoam block or cake pop holder to set.
- Prep Time: 30
- Cook Time: 25
- Category: Dessert
Nutrition
- Calories: 180
- Fat: 9g
- Carbohydrates: 23g
- Protein: 2g