Spring Pot Painting: Transform Your Garden with Delightful DIY Projects
As the winter frost melts away and the first buds begin to appear, there’s an undeniable urge to refresh our living spaces—both indoors and out. One of the most rewarding ways to welcome the season is through spring pot painting, a creative activity that blends artistry with gardening. This delightful practice transforms ordinary plant containers into vibrant expressions of seasonal joy, allowing you to infuse color and personality into your outdoor spaces.
Spring pot painting matters because it extends beyond mere decoration. It's about creating containers that complement your blooming flowers and emerging greenery, enhancing the natural beauty of your garden. Unlike store-bought pots that often lack character, hand-painted containers tell a story and reflect your personal style. They become focal points in your outdoor arrangements, drawing the eye to your carefully cultivated plants.
This activity is accessible to everyone, regardless of artistic experience. With simple materials and basic techniques, you can create stunning pieces that elevate your garden's aesthetic. The process itself is therapeutic, offering a mindful break from digital screens and daily stresses. As you brush colors onto clay or ceramic surfaces, you're not just decorating pots—you're participating in a seasonal ritual that connects you to nature's renewal cycle. The satisfaction of placing your painted creation in the garden, then watching plants thrive within it, makes this more than just a craft project. It's a celebration of spring's arrival and your creative spirit.

Essential Materials for Spring Pot Painting Success
Before beginning your spring pot painting project, gathering the right materials ensures smooth, enjoyable results. Start with the pots themselves. Terra cotta clay pots are ideal beginners' choices because their porous surface accepts paint well and they're widely available. Ceramic and concrete containers also work beautifully but may require different preparation. For painting, acrylic craft paints offer excellent coverage and weather resistance when sealed properly. Choose colors that reflect spring's palette—soft pastels, vibrant greens, sunny yellows, and floral hues.
You'll need quality brushes in various sizes. Flat brushes cover large areas efficiently, while round brushes handle details and edges. Don't forget painter's tape for creating clean lines and geometric patterns. A pencil for sketching designs lightly onto the pot surface helps prevent mistakes. For sealing and protection, outdoor-grade polyurethane or specialized ceramic sealant protects your artwork from rain and sun exposure. A primer designed for porous surfaces ensures paint adheres properly and lasts longer.
Consider your workspace setup. Work on a protected surface with newspaper or a drop cloth. Have containers of water for rinsing brushes and paper towels handy for quick cleanups. If painting multiple pots, organize materials so colors don't mix unintentionally. Remember that preparation matters as much as painting itself. Clean pots thoroughly to remove dust and debris, then let them dry completely before applying primer or paint. With these materials ready, you're set to create spring pot painting masterpieces that withstand the season's elements while adding beauty to your garden.
Creative Techniques for Spring Pot Painting Designs
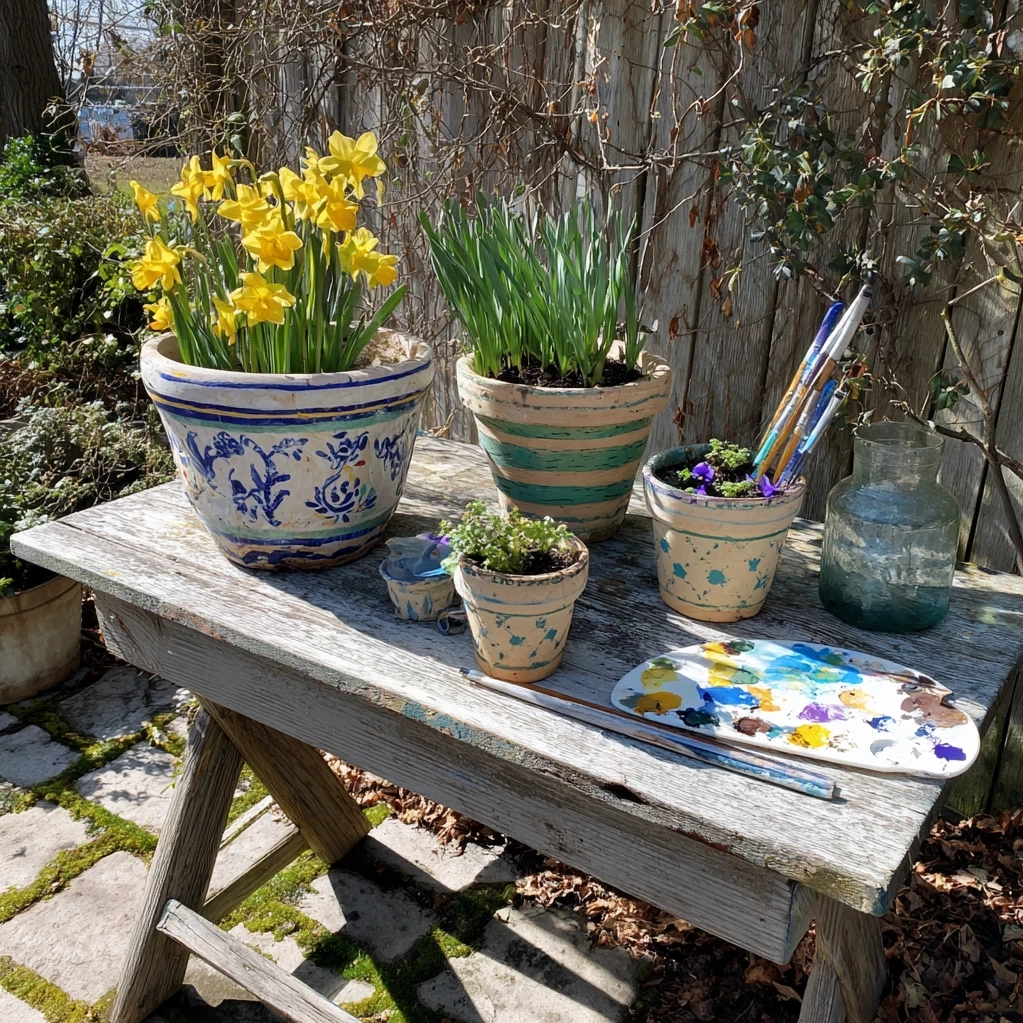
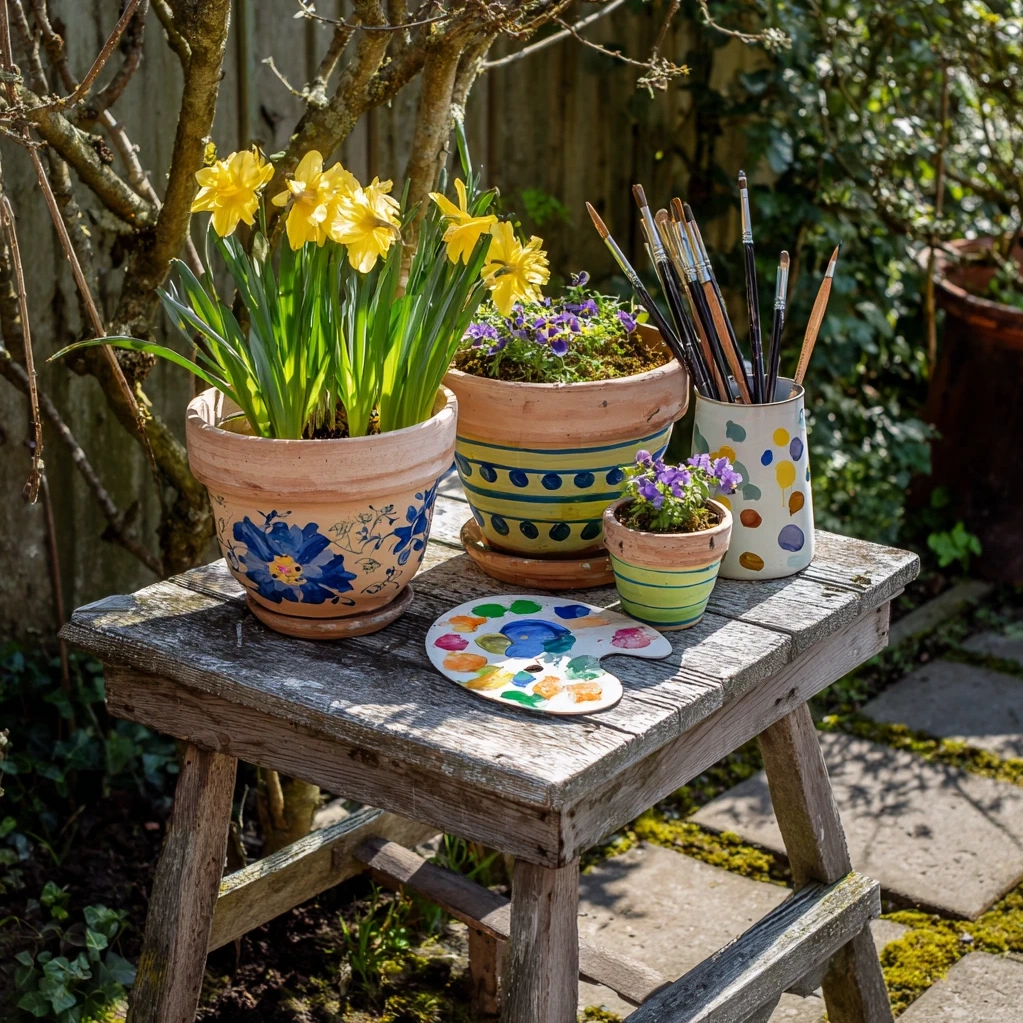
Spring pot painting offers endless design possibilities, from simple patterns to intricate artworks. One popular approach involves embracing nature-inspired motifs. Paint delicate flowers, fluttering butterflies, or abstract leaf patterns using spring's signature colors. These designs complement the plants growing in the containers, creating harmonious garden displays. Another technique focuses on color blocking with painter's tape. Create clean geometric sections in complementary spring hues—like mint green paired with coral or lavender with butter yellow.
For those seeking texture, try sponge painting. Dab different colored paints with a natural sea sponge to create mottled, organic effects resembling stone or weathered surfaces. This technique works particularly well for pots housing succulents or herbs. If you enjoy detailed work, consider hand-lettering inspirational words or garden labels on your pots. Phrases like 'grow,' 'bloom,' or plant names add personal touches while serving practical purposes.
Don't overlook the power of simple elegance. A single color wash in robin's egg blue or sage green, topped with a contrasting rim, creates sophisticated containers that let your plants shine. For families, involve children in creating polka dots, stripes, or fingerprint flowers—these joyful designs capture spring's playful spirit. Whatever technique you choose, remember that spring pot painting should reflect your personality. Mix methods within a single pot or create coordinated sets using similar color schemes. The goal isn't perfection but expression, creating containers that make you smile every time you see them in your garden.
Displaying Your Spring Pot Painting Creations
Once your spring pot painting projects are complete and properly sealed, thoughtful placement maximizes their visual impact. Consider creating tiered arrangements by grouping painted pots of varying heights. Place taller containers at the back or center, with smaller ones in front. This layered approach adds depth to your garden displays, allowing each painted design to be visible. For patios and decks, arrange pots along edges or in corners to define spaces while adding color pops.
Think about color coordination with your plants. A pot painted in soft peach tones beautifully showcases purple petunias, while a blue-green container makes yellow marigolds glow. Don't be afraid to mix painted pots with natural terra cotta ones—the contrast can highlight your hand-painted pieces. Create focal points by placing your most elaborate spring pot painting creations near seating areas or entryways where guests will appreciate them.
For smaller spaces like balconies or windowsills, painted pots add vertical interest when hung with brackets or placed on shelves. Consider painting matching saucers beneath pots to complete the look. In vegetable gardens, use painted pots for herbs or edible flowers, making functional spaces more attractive. Remember that spring pot painting isn't just about individual containers—it's about creating cohesive displays. Group pots with complementary color schemes or themes, like all-blue containers with white designs or pots featuring similar floral patterns. As plants grow and change throughout the season, your painted backgrounds will provide consistent beauty, enhancing every stage of your garden's spring transformation.
Maintaining Your Spring Pot Painting Projects Through the Season
Proper care ensures your spring pot painting creations remain vibrant through changing weather conditions. Start with a quality sealant application immediately after paints dry completely. Apply two to three thin coats of outdoor polyurethane or ceramic sealant, allowing proper drying time between applications. This protective layer prevents colors from fading in sunlight and repels moisture from rain and watering.
When placing painted pots outdoors, consider their exposure. Direct afternoon sun can accelerate fading, so position containers where they receive morning light or filtered shade. If pots must be in full sun, choose fade-resistant paints and reapply sealant mid-season for added protection. During heavy rains, ensure pots have adequate drainage holes to prevent water from pooling inside, which can cause paint to peel from the exterior.
Regular cleaning maintains your spring pot painting projects' appearance. Gently wipe containers with a soft cloth to remove dust and pollen. Avoid abrasive cleaners or brushes that might scratch the painted surface. If you notice minor chips or scratches, touch them up with matching paint and reseal the affected area. For winter storage in colder climates, bring painted pots indoors or place them in protected areas like garages or sheds.
Remember that part of spring pot painting's charm is embracing natural weathering. Some fading or subtle patina adds character, telling the story of seasons passed. However, proper maintenance extends your creations' lifespan, allowing you to enjoy them for multiple springs. Consider documenting your pots with photos at the season's start—this helps you appreciate their beauty and track any changes over time. With these simple care practices, your hand-painted containers will continue enhancing your garden year after year, becoming cherished elements of your spring traditions.
Conclusion
Spring pot painting represents more than just a seasonal craft—it's a meaningful way to engage with nature's renewal while expressing personal creativity. Throughout this article, we've explored how this accessible activity transforms ordinary containers into garden treasures, from gathering materials and mastering techniques to displaying and maintaining finished pieces. The beauty of spring pot painting lies in its flexibility, welcoming both beginners and experienced artists to create containers that reflect their unique styles.
As you embark on your own projects, remember that perfection isn't the goal. Each brushstroke captures a moment in spring's unfolding story, whether you're painting delicate florals, bold geometric patterns, or simple color washes. These hand-painted pots become more than plant containers—they're personal statements in your garden, conversation starters on your patio, and daily reminders of creativity's joys.
Looking forward, consider making spring pot painting an annual tradition. Each year, you can experiment with new color palettes inspired by that particular spring's blooms or try different techniques as your skills grow. Involve family members to create multigenerational garden art, or host painting gatherings with friends to share inspiration. As seasons change, your painted pots will evolve too, developing character through weather and use while continuing to enhance your outdoor spaces.
Ultimately, spring pot painting connects us to gardening's deeper pleasures—the satisfaction of creating beauty, the mindfulness of working with our hands, and the celebration of seasonal cycles. Pick up a brush, choose your colors, and let your garden containers blossom with personality this spring and for many seasons to come.
Frequently Asked Questions
Q: What type of paint works best for spring pot painting projects?
Acrylic craft paints are ideal for spring pot painting because they offer excellent coverage, dry quickly, and come in a wide range of spring-appropriate colors. When properly sealed with outdoor-grade polyurethane or ceramic sealant, acrylic paints withstand weather conditions well. For best results, choose paints labeled for outdoor use or add a weatherproof sealant. Avoid watercolor or tempera paints, as they aren't durable enough for outdoor containers. Always clean and prime pots before painting to ensure proper paint adhesion and longevity.
Q: How long should I wait before planting in newly painted pots?
After completing your spring pot painting project, allow paints to dry completely—typically 24 hours. Then apply 2-3 coats of outdoor sealant, waiting the manufacturer's recommended drying time between coats (usually 2-4 hours). After the final sealant coat, wait at least 48-72 hours before adding soil and plants. This ensures all layers cure properly, creating a durable surface that won't be damaged by moisture or planting activities. If possible, test the sealant by sprinkling water on the pot; if it beads up, your pot is ready for planting.
Q: Can I paint pots that already have plants in them?
It's best to remove plants before beginning spring pot painting. Working with empty containers allows you to paint all surfaces evenly, including the interior rim and bottom edges if desired. Carefully transplant your plants to temporary containers, then clean and dry the pot thoroughly before painting. This prevents paint from getting on plant roots or leaves, which could harm them. Once your painted pot is completely dry and sealed, you can safely replant. If you must paint with plants present, shield them completely with plastic sheeting and work carefully to avoid paint contact.