
Christmas Sugar Cookie: 7 Magical Secrets for the Best Holiday Treats
Hey there, friend! I’m so excited you’re here because today we’re talking about one of my absolute favorite holiday traditions – making Christmas sugar cookies. There’s just something magical about filling my kitchen with the sweet, buttery scent of baking cookies while holiday music plays in the background. I’ve been making these for years, starting with my grandma’s old recipe and adding my own little twists along the way.
You know, it’s not just about the cookies themselves (though they’re delicious!). It’s about the whole experience – the rolling, the cutting, the decorating. It’s one of those activities that brings everyone together, whether you’re baking with kids, friends, or just enjoying some peaceful solo kitchen time. And trust me, once you get the hang of it, you’ll want to make these every year.
What I love most about Christmas sugar cookies is how versatile they are. You can keep them simple with a sprinkle of colored sugar, or go all out with royal icing and intricate designs. They’re the perfect canvas for your creativity, and they always taste amazing. So grab your apron, and let’s make some holiday magic together!
Why These Christmas Sugar Cookies Will Become Your Holiday Favorite
Let me tell you why I think these Christmas sugar cookies are so special. First off, they have that perfect balance – crisp edges with a slightly soft center that just melts in your mouth. The vanilla flavor shines through, and the texture is just right for decorating.
Here’s what makes them stand out:
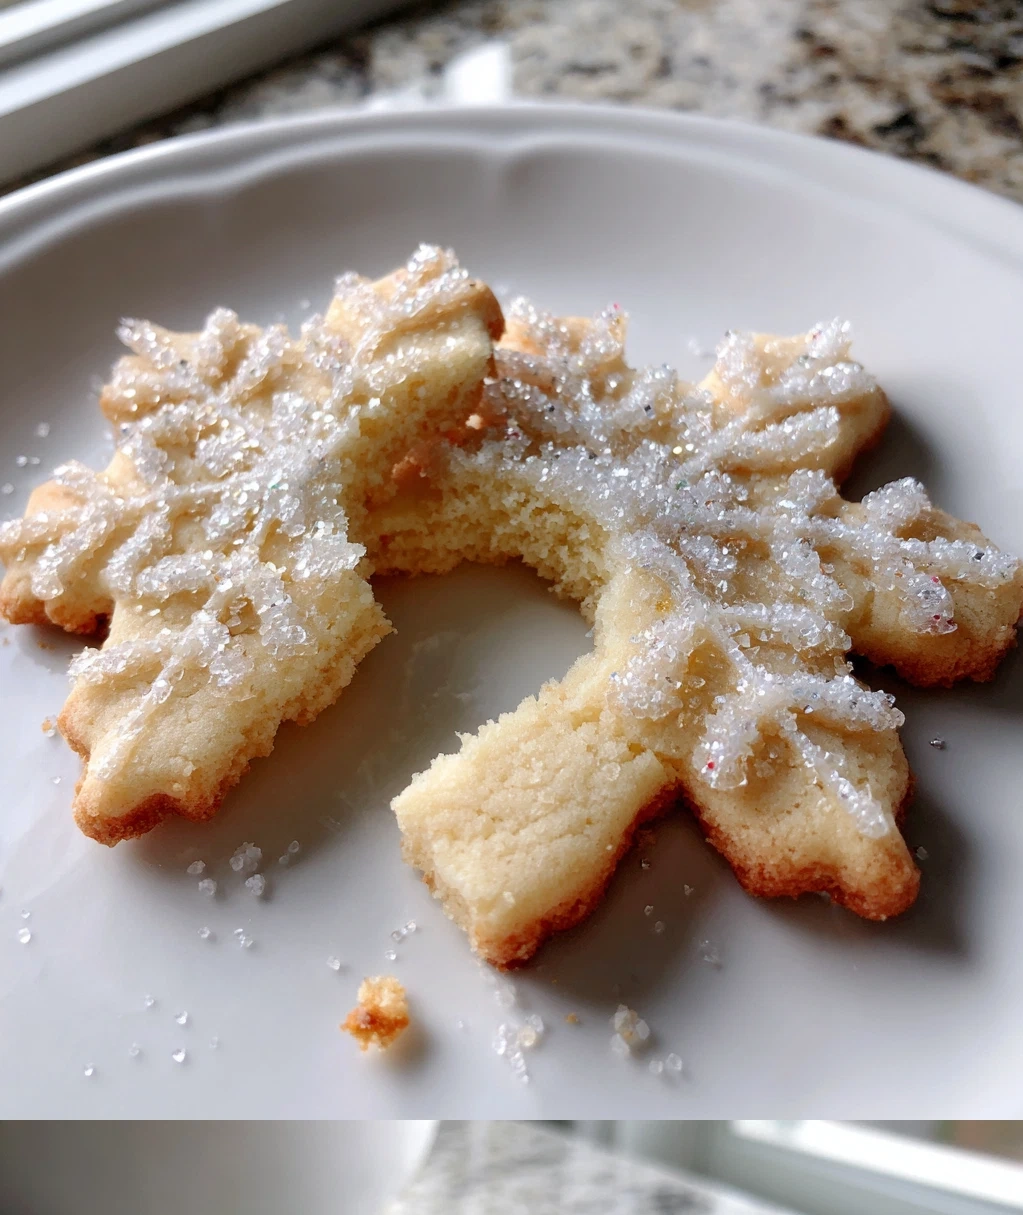
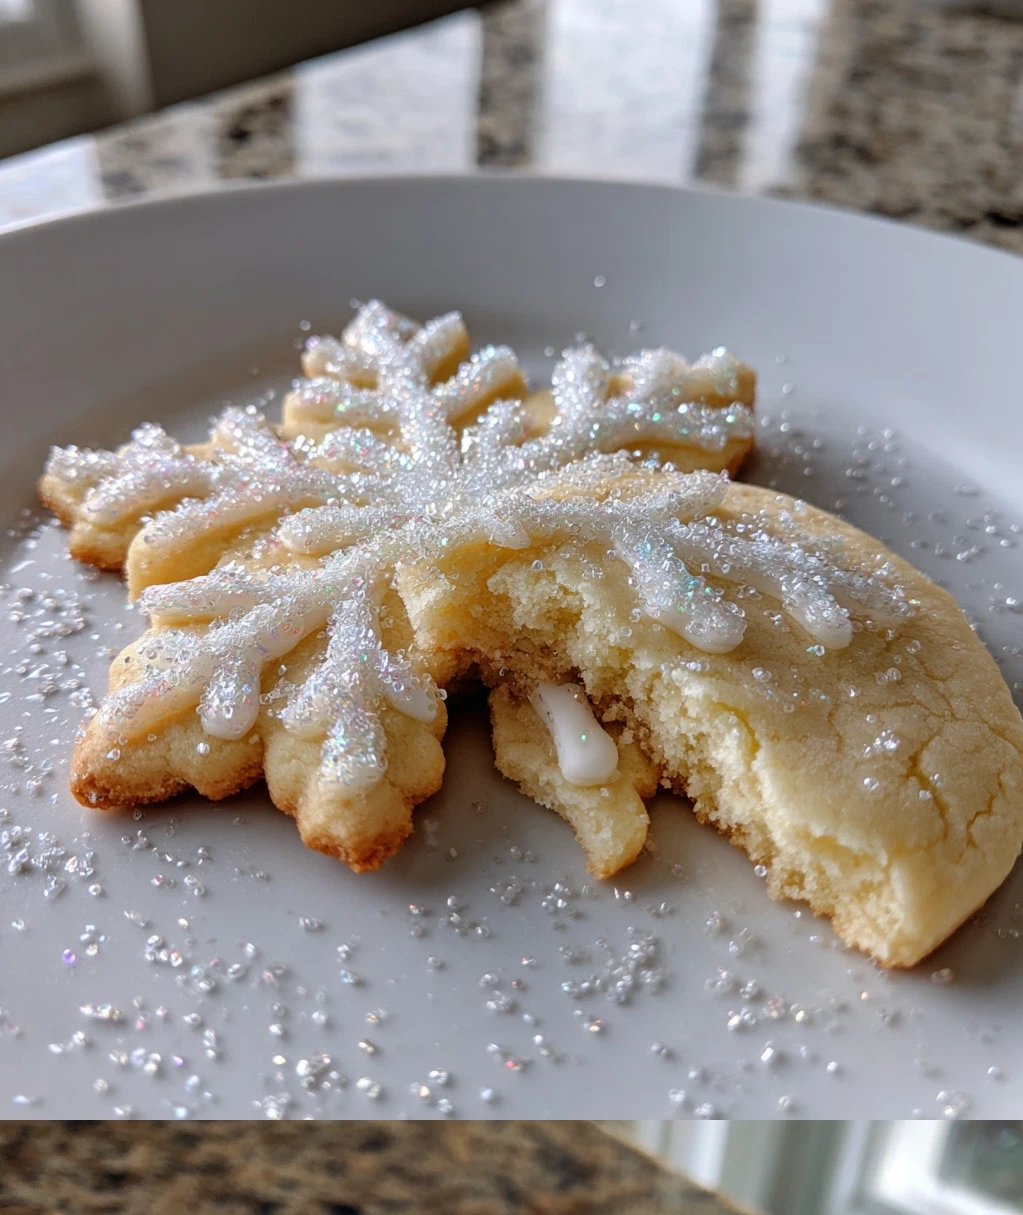
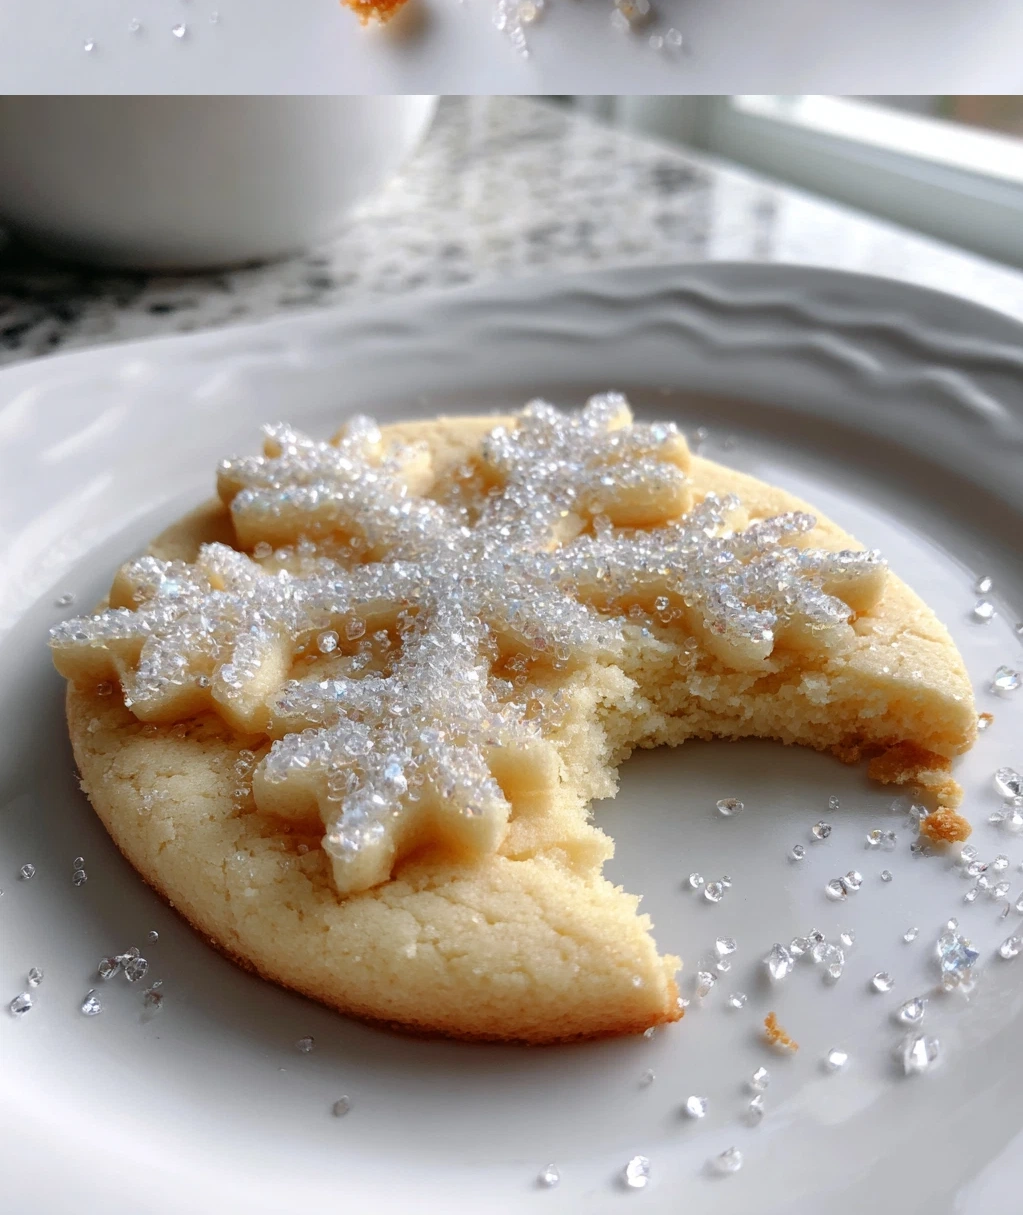
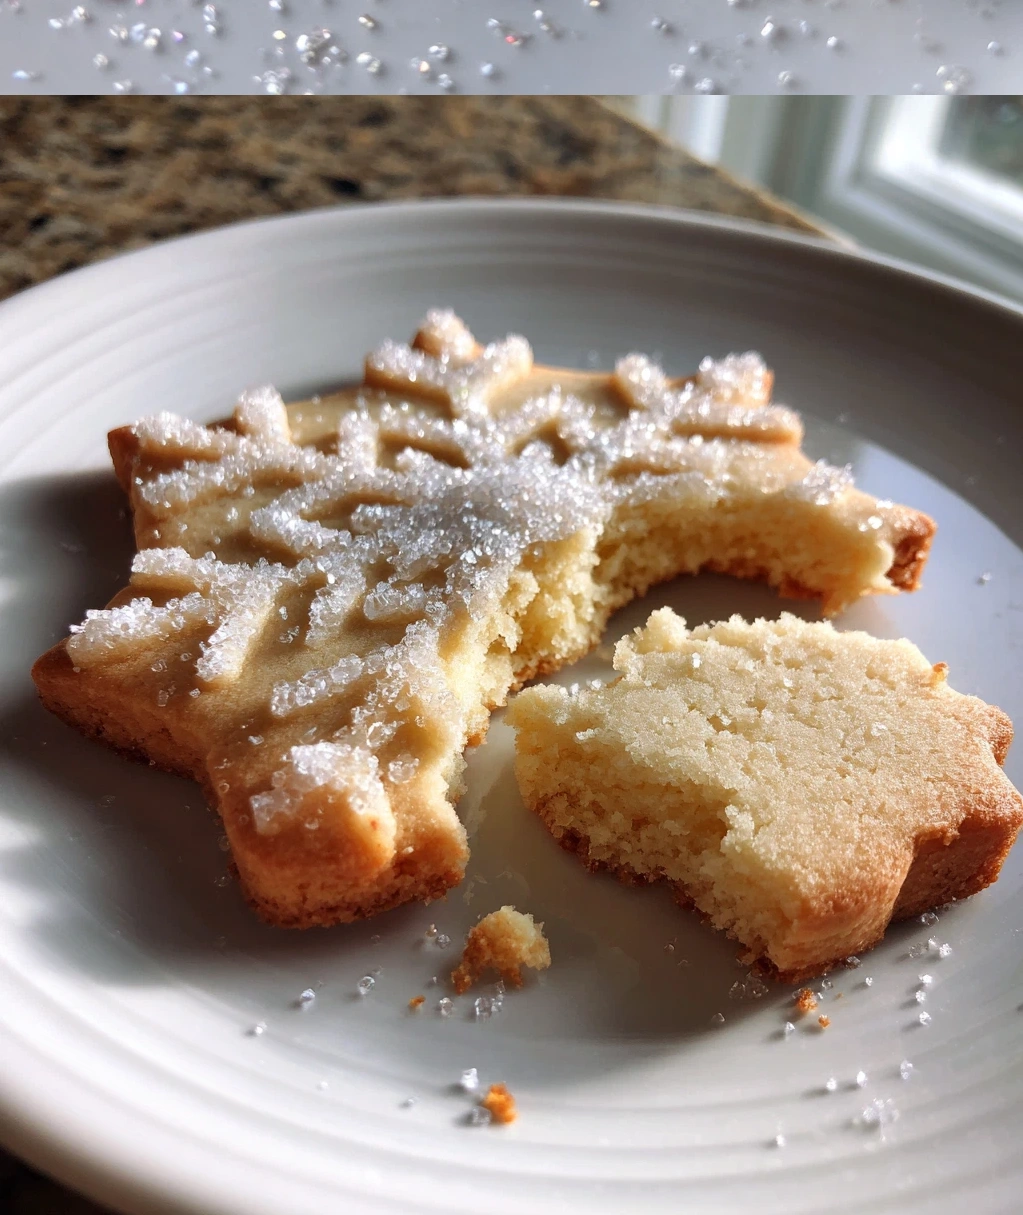
- Perfect for decorating: They hold their shape beautifully when baked, so your Christmas trees and snowflakes stay crisp and defined
- Family-friendly: Kids love helping with the cookie cutters and sprinkles – it’s a fun holiday activity for everyone
- Make-ahead magic: You can prepare the dough days in advance and freeze it, making holiday baking less stressful
- Gift-worthy: These cookies look and taste so good, they make perfect homemade gifts for neighbors and friends
- Versatile: The same dough works for all your favorite holiday shapes – stars, bells, gingerbread men, you name it!
My favorite part is watching people’s faces light up when they bite into one. There’s just something about a homemade Christmas sugar cookie that store-bought versions can’t match. The love and care you put into them really comes through in every bite.
Your Essential Christmas Sugar Cookie Ingredients
Okay, let’s talk ingredients! The beauty of Christmas sugar cookies is that you probably have most of these in your pantry already. I always use real butter – it makes all the difference in flavor and texture. Don’t substitute with margarine if you can help it!
Here’s what you’ll need:
- 2 3/4 cups all-purpose flour (plus extra for rolling)
- 1 teaspoon baking powder
- 1/4 teaspoon salt
- 1 cup (2 sticks) unsalted butter, softened at room temperature
- 1 1/2 cups granulated sugar
- 1 large egg
- 2 teaspoons pure vanilla extract
- Optional: 1 teaspoon almond extract (my secret ingredient for extra flavor!)
For decorating, you’ll want:
- Royal icing or simple glaze (I’ll share my easy recipes below)
- Food coloring in holiday colors
- Sprinkles, sanding sugar, edible glitter – whatever makes you happy!
A quick safety tip: make sure your baking powder isn’t expired. Old baking powder won’t give you that lovely lift, and your cookies might spread too much. Give it a sniff – if it doesn’t fizz when you add a little to hot water, it’s time for a fresh container.
Step-by-Step Guide to Perfect Christmas Sugar Cookies
Ready to bake? Let’s do this! I’ve broken it down into simple steps so you can follow along easily. The key is to take your time and not rush the chilling step – it really makes a difference.
Making the Dough
First, whisk together your dry ingredients – flour, baking powder, and salt. Set this aside. In your mixer bowl, cream the butter and sugar until it’s light and fluffy. This takes about 2-3 minutes on medium speed. Don’t skimp on this step – it creates air pockets that make your cookies tender.
Add the egg and vanilla (and almond extract if using), mixing until just combined. Now gradually add your dry ingredients, mixing on low speed until the dough comes together. It should be soft but not sticky. If it feels too soft, you can add another tablespoon or two of flour.
Chilling and Rolling
Here’s the important part: divide your dough into two discs, wrap them in plastic wrap, and chill for at least 2 hours. You can even do this overnight! When you’re ready to bake, preheat your oven to 375°F (190°C) and line baking sheets with parchment paper.
Roll out one disc at a time on a lightly floured surface. Aim for about 1/4-inch thickness – not too thin, not too thick. Use your favorite Christmas cookie cutters, and place the shapes about 1 inch apart on your baking sheets. Bake for 7-9 minutes, until the edges are just starting to turn golden. Let them cool completely before decorating.
7 Creative Ways to Decorate Your Christmas Sugar Cookies
This is where the real fun begins! Decorating Christmas sugar cookies is my favorite part of the whole process. Here are my top 7 decorating ideas that always impress:
- The Classic Royal Icing: Mix 2 cups powdered sugar with 2 tablespoons meringue powder and 3-4 tablespoons water. Divide into bowls and add food coloring. Use piping bags for outlines, then flood with thinner icing.
- Easy Glaze: For a simpler option, mix 1 cup powdered sugar with 1-2 tablespoons milk or cream. Add food coloring if desired. Dip cookies or brush it on.
- Sprinkle Magic: Brush unbaked cookies with egg wash or milk, then press on sprinkles before baking. The sprinkles bake right into the cookie!
- Sandwich Cookies: Spread frosting between two cookies for a special treat. Raspberry jam works beautifully too!
- Edible Glitter: After icing sets, brush with a little corn syrup and dust with edible glitter for a sparkling effect.
- Chocolate Dip: Melt chocolate chips and dip half of each cookie. Let them set on parchment paper – so pretty and delicious!
- Stencil Technique: Place a paper stencil over a frosted cookie, dust with powdered sugar or cocoa, then carefully remove the stencil.
My pro tip: let kids decorate their own cookies with sprinkles and colored sugars. It keeps them engaged and creates sweet memories. And don’t worry about perfection – handmade cookies have charm!
Storing and Gifting Your Christmas Sugar Cookies
You’ve made beautiful Christmas sugar cookies – now let’s make sure they stay fresh and look great when you share them! Proper storage makes all the difference.
For short-term storage (up to 5 days), place your decorated cookies in a single layer in an airtight container. If you need to stack them, put parchment paper between layers to protect the decorations. Keep them at room temperature away from direct sunlight.
Want to freeze them? You have options:
- Freeze undecorated cookies: Bake and cool completely, then freeze in airtight containers for up to 3 months. Decorate after thawing.
- Freeze decorated cookies: Place decorated cookies on a baking sheet and freeze until solid, then transfer to freezer bags. Thaw at room temperature.
- Freeze dough: Wrap dough discs tightly and freeze for up to 3 months. Thaw overnight in the refrigerator before rolling.
For gifting, I love using clear cellophane bags tied with festive ribbon. You can also layer cookies in decorative tins with parchment between layers. Add a cute tag with storage instructions. If you’re shipping cookies, choose sturdy ones (like round shapes rather than delicate points) and pack them tightly with plenty of cushioning.
One last tip: if your cookies get a little soft, you can crisp them up by placing them in a 300°F oven for 3-5 minutes. Just watch them carefully!
Conclusion
Well, there you have it – my complete guide to making the most wonderful Christmas sugar cookies! From the first whiff of vanilla in the mixing bowl to that final sprinkle of edible glitter, every step is part of the holiday magic. I hope you feel inspired to try these this season.
Remember, the best Christmas sugar cookies aren’t necessarily the most perfect ones – they’re the ones made with love and shared with people you care about. Don’t stress if your snowflakes aren’t symmetrical or your icing isn’t flawless. Those little imperfections are what make them uniquely yours.
I’d love to hear how your baking adventure goes! Maybe you’ll discover a new favorite decorating technique or create a family tradition that lasts for years. However you choose to make them, I hope these cookies bring as much joy to your kitchen as they’ve brought to mine. Happy baking, and may your holidays be sweet and bright!
Frequently Asked Questions
Q: Can I make Christmas sugar cookie dough ahead of time?
Absolutely! In fact, I recommend it. You can prepare the dough up to 3 days in advance and keep it wrapped in the refrigerator. For longer storage, freeze the dough discs for up to 3 months. Just thaw overnight in the fridge before rolling. The chilling time actually improves the flavor and texture.
Q: Why do my sugar cookies spread too much when baking?
This usually happens for a few reasons. First, make sure your dough is properly chilled – warm dough spreads more. Second, check your baking powder isn't expired. Also, don't over-cream the butter and sugar – just until light and fluffy. And finally, make sure your oven is fully preheated before baking.
Q: What's the best icing for decorating Christmas cookies?
It depends on what you're going for! Royal icing gives that smooth, professional look and dries hard, perfect for detailed designs. Simple glaze (powdered sugar and milk) is easier and has a softer finish. For kids, I often use buttercream frosting – it's delicious and easy to spread. You can even use melted chocolate for dipping!
Q: How long do homemade sugar cookies stay fresh?
Properly stored in an airtight container at room temperature, decorated Christmas sugar cookies stay fresh for about 5 days. Undecorated cookies can last up to a week. If you freeze them, they'll keep for 2-3 months. Just make sure they're completely cooled before storing to prevent condensation.
Q: Can I make these cookies without a mixer?
You sure can! I've made them by hand many times. Just make sure your butter is properly softened, and use a sturdy wooden spoon to cream it with the sugar. It takes a bit more elbow grease, but the results are just as delicious. Mix in the dry ingredients gradually to avoid flour flying everywhere!
PrintClassic Christmas Sugar Cookies with Royal Icing
- Total Time: 180
- Yield: 24 cookies 1x
Description
Buttery, tender sugar cookies decorated with smooth royal icing for festive holiday treats.
Ingredients
2 3/4 cups all-purpose flour
1 tsp baking powder
1/2 tsp salt
1 cup unsalted butter, softened
1 1/2 cups granulated sugar
1 large egg
1 tsp vanilla extract
1/2 tsp almond extract
3 cups powdered sugar
3 tbsp meringue powder
1/3 cup warm water
Food coloring (red, green, optional)
Instructions
Step 1: In medium bowl, whisk together flour, baking powder, and salt. Set aside.
Step 2: In large bowl, beat butter and sugar until light and fluffy, about 3 minutes.
Step 3: Add egg, vanilla, and almond extract; beat until combined.
Step 4: Gradually add flour mixture, mixing until just incorporated.
Step 5: Divide dough in half, flatten into discs, wrap in plastic, and chill for at least 2 hours.
Step 6: Preheat oven to 375°F (190°C) and line baking sheets with parchment paper.
Step 7: On floured surface, roll dough to 1/4-inch thickness and cut with cookie cutters.
Step 8: Place cookies 1 inch apart on baking sheets and bake 8-10 minutes until edges are light golden.
Step 9: Cool cookies completely on wire racks before decorating.
Step 10: For icing, combine powdered sugar, meringue powder, and water; beat until stiff peaks form.
Step 11: Divide icing into bowls, tint with food coloring if desired, and decorate cooled cookies.
- Prep Time: 30
- Cook Time: 10
- Category: Dessert
Nutrition
- Calories: 180
- Fat: 7g
- Carbohydrates: 28g
- Protein: 2g