
Best Homemade KFC Gravy: The Incredible Secret Recipe That Actually Tastes Better
Hey there, friend! Let me tell you about my little kitchen victory last week. I was craving that rich, savory, peppery gravy from KFC—you know the one that makes their mashed potatoes absolutely sing? But I didn’t want to drive across town or pay for takeout. So I did what any determined home cook would do: I rolled up my sleeves and decided to crack the code for the best homemade KFC gravy.
And you know what? After a few experiments (and one slightly burned batch that I’m not proud of), I found it. The perfect balance of flavors that captures that familiar taste but somehow tastes even better because you made it yourself. There’s something magical about stirring that dark roux, watching it transform into that beautiful brown gravy that smells like comfort in a pot.
This isn’t some complicated restaurant trick either. It’s simple ingredients you probably already have in your pantry, combined in just the right way. The secret isn’t in fancy equipment or hard-to-find spices—it’s in the technique and timing. And I’m going to walk you through every single step so you can make this best homemade KFC gravy tonight. Trust me, once you taste it over your mashed potatoes or poured over chicken, you’ll never look at store-bought gravy the same way again.
Why This Best Homemade KFC Gravy Beats the Original
You might be wondering why bother making it at home when you can just buy it. Well, let me tell you—this version has some serious advantages that make it worth every minute you spend in the kitchen.
- You control the ingredients: No mystery additives or preservatives. Just real, simple food that you can feel good about serving to your family.
- It’s fresher: There’s nothing like gravy made from scratch that’s still warm from the stove. That just-cooked flavor makes all the difference.
- You can customize it: Love more pepper? Add it! Want it thicker or thinner? Adjust it to your perfect consistency. This recipe gives you the freedom to make it exactly how you like it.
- It’s surprisingly easy: Don’t let the idea of making gravy from scratch intimidate you. With my clear instructions, you’ll have it down in no time.
- It tastes amazing: Seriously, my family says this best homemade KFC gravy tastes even better than what we get at the restaurant. The flavors are richer and more balanced.
The best part? You probably have everything you need already. No special trip to the store required. Just grab your basic pantry staples and let’s get cooking.
What You'll Need for the Best Homemade KFC Gravy
Gather these simple ingredients—I bet you have most of them already. The beauty of this recipe is its simplicity. No fancy stuff, just good basics.
- 4 tablespoons unsalted butter (that’s half a stick)
- 4 tablespoons all-purpose flour
- 2 cups chicken broth (use the good stuff—it matters!)
- 1 cup whole milk or half-and-half
- 1 teaspoon freshly ground black pepper
- 1/2 teaspoon salt (adjust to taste)
- 1/4 teaspoon garlic powder
- 1/4 teaspoon onion powder
- 1/4 teaspoon paprika
- A pinch of ground sage (trust me on this one)
- Optional: 1/4 teaspoon of MSG or Accent seasoning for that authentic restaurant flavor
A few quick notes before we start: Use real butter, not margarine. That rich flavor makes a difference. And for the chicken broth, homemade is fantastic if you have it, but a good quality store-bought works great too. Just avoid the super salty ones—you can always add more salt later. The milk should be at room temperature if possible, but don’t stress if it’s cold from the fridge.
You’ll also need a medium saucepan, a whisk (a fork works in a pinch), and a measuring cup. That’s it! No special equipment needed for this best homemade KFC gravy.
Step-by-Step Guide to Making Your Best Homemade KFC Gravy
Ready to make magic? Follow these steps and you’ll have perfect gravy every time. I’ll walk you through each part with all my little tips and tricks.
- Start with the roux: Melt the butter in your saucepan over medium heat. Once it’s melted and bubbling slightly, add the flour all at once. Whisk constantly for about 2-3 minutes until it turns a light golden brown. This is called a roux, and it’s the base that thickens your gravy. Don’t rush this step—that toasty flavor is important!
- Add your broth: Slowly pour in the chicken broth while whisking continuously. I mean it—keep whisking! This prevents lumps from forming. The mixture will thicken immediately. Keep whisking until it’s smooth and bubbly.
- Incorporate the milk: Now add the milk in the same way—slowly while whisking. The gravy will thin out a bit at first, then thicken as it heats. Bring it to a gentle simmer, still whisking occasionally.
- Season it up: Add all your spices—the pepper, salt, garlic powder, onion powder, paprika, and that pinch of sage. If you’re using MSG, add it now too. Whisk everything together and let it simmer for another 3-5 minutes. Taste it! Need more salt? More pepper? Adjust to your liking.
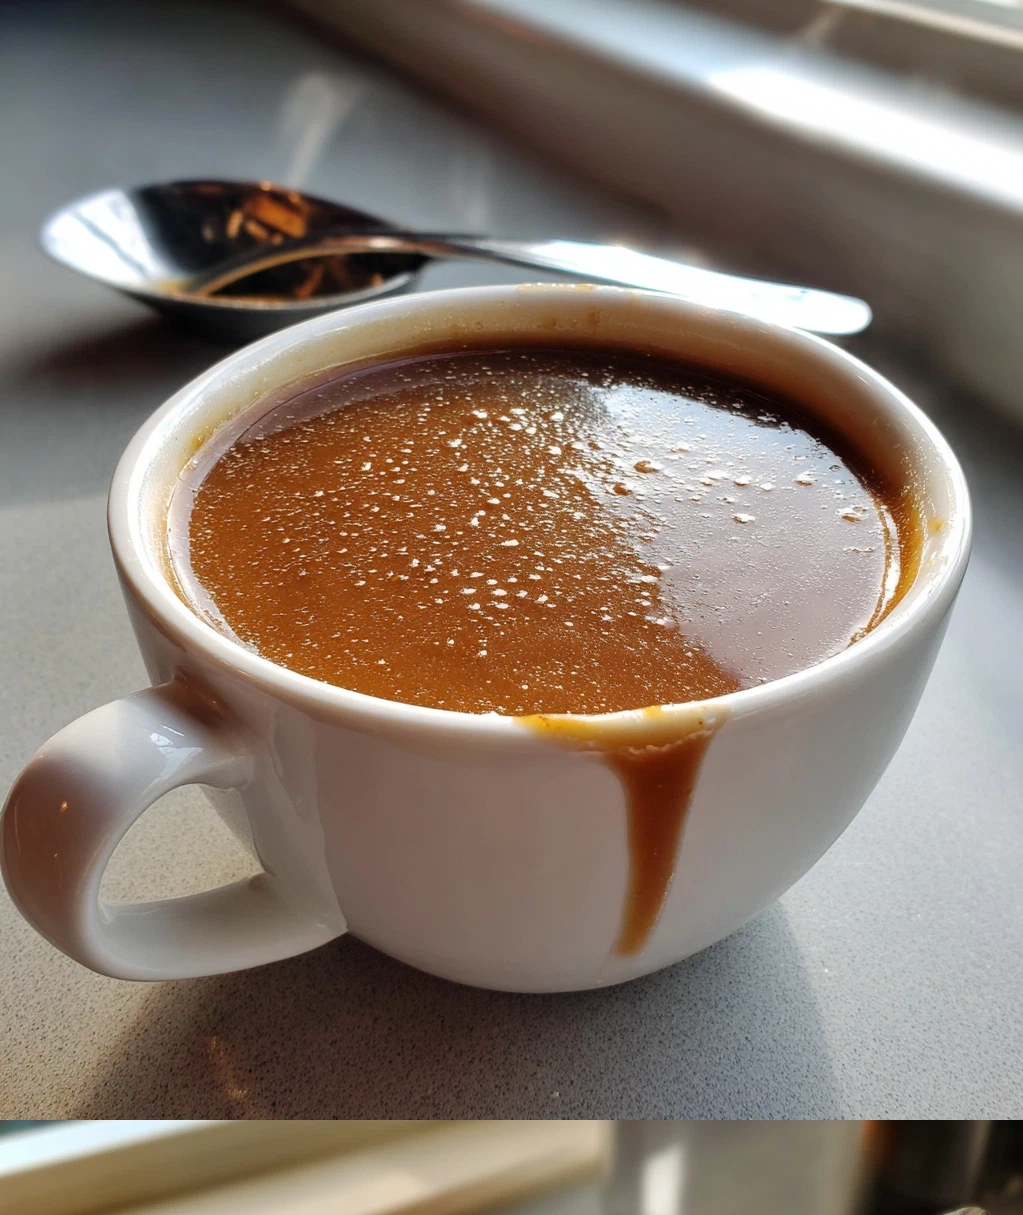
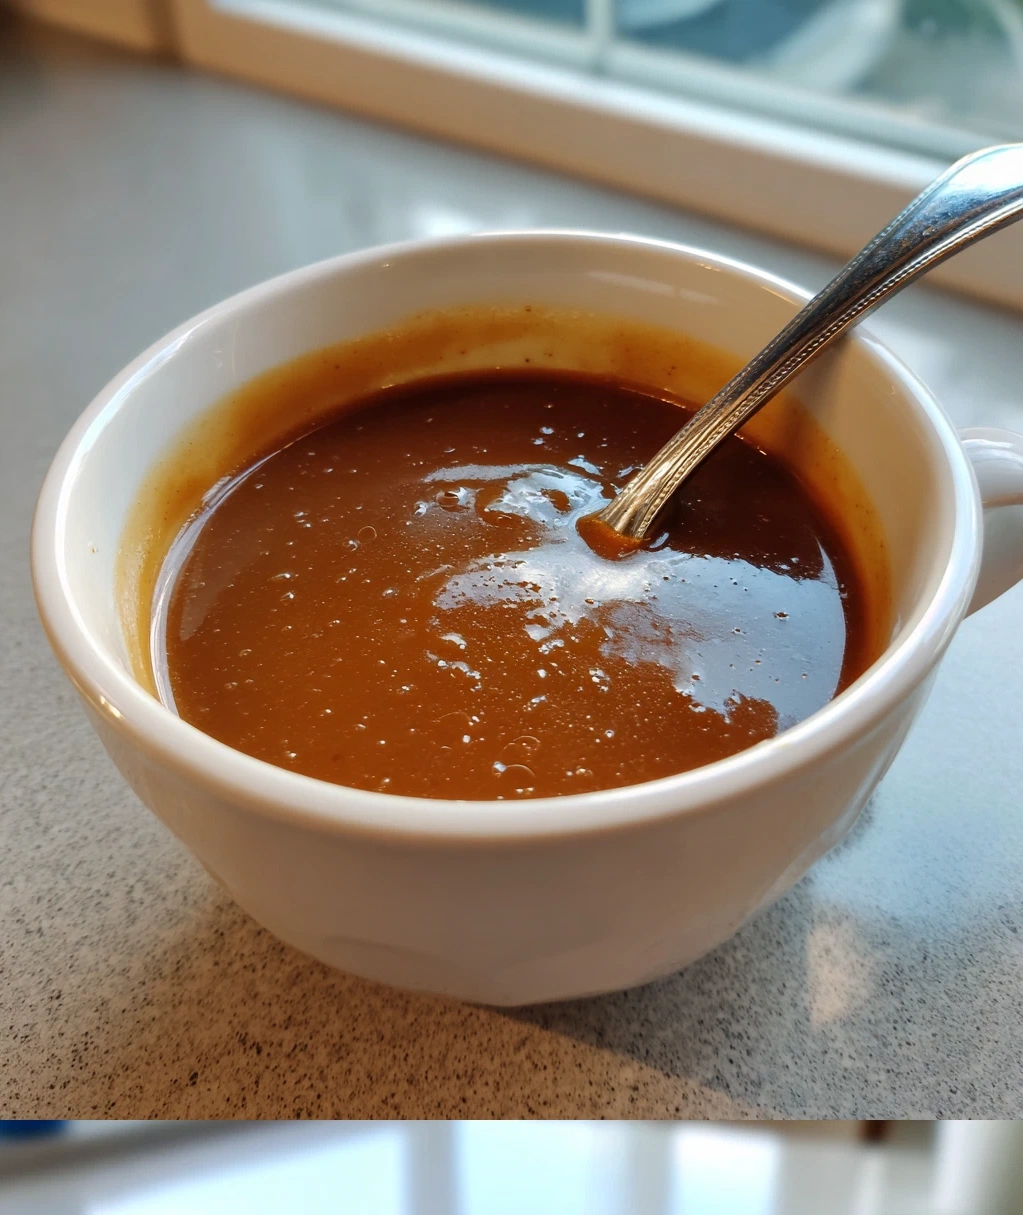
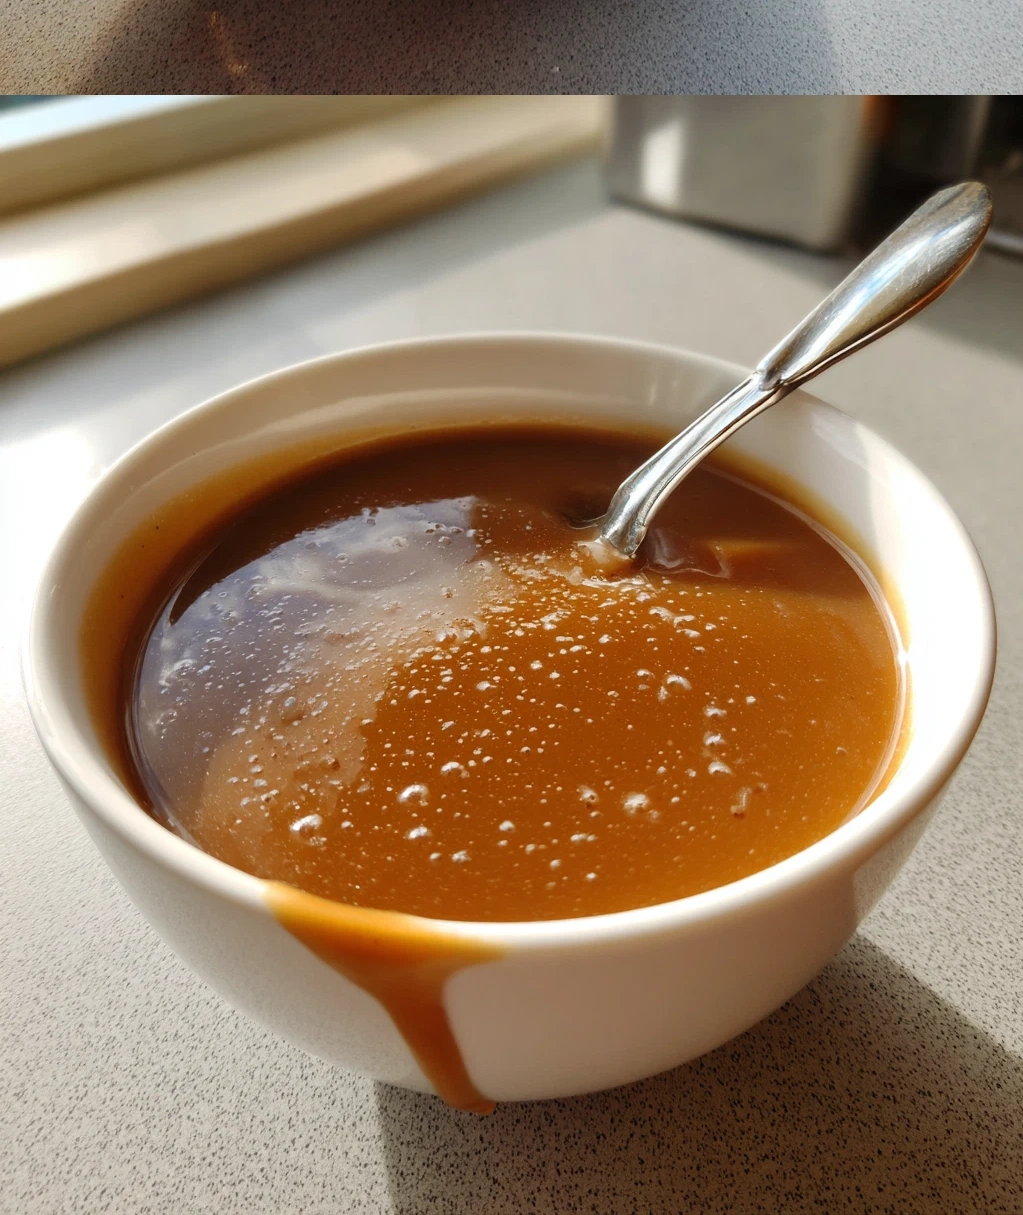
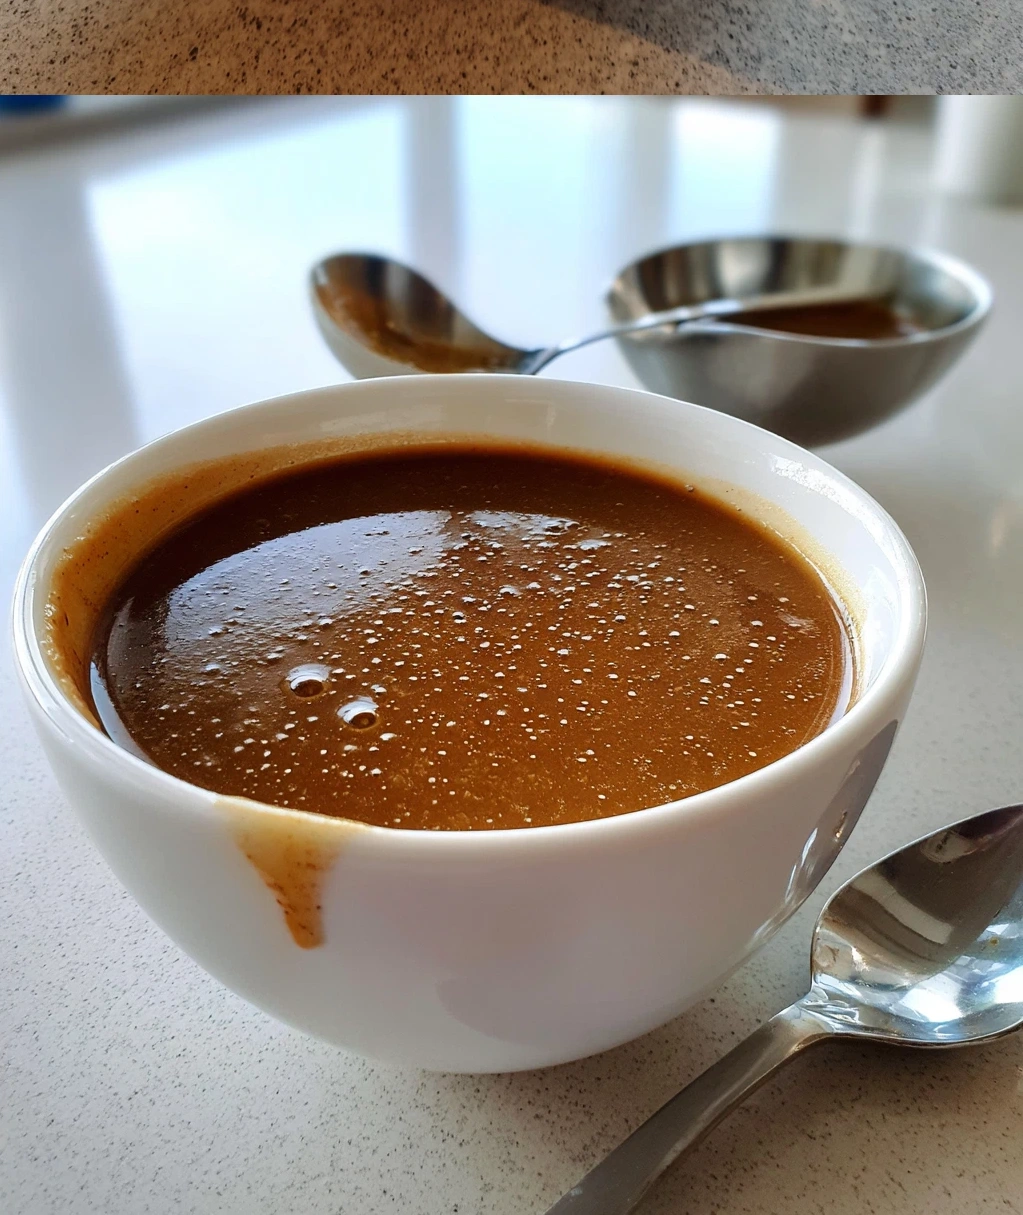
- Finish and serve: Once it’s reached your desired thickness (it should coat the back of a spoon nicely), take it off the heat. It will thicken a bit more as it cools. Serve it immediately over mashed potatoes, chicken, biscuits—anything you like!
My favorite part is watching that roux transform from pale paste to rich, brown gravy. It smells incredible as it cooks—that warm, savory aroma fills your whole kitchen. And when you taste that first spoonful? Pure comfort.
Tips for Perfecting Your Best Homemade KFC Gravy Every Time
After making this dozens of times (yes, we really love gravy in my house), I’ve learned some tricks that guarantee success. Here’s what makes the difference between good gravy and great gravy.
First, temperature matters. Don’t crank the heat too high—medium is perfect. If you cook it too fast, you might burn the roux or cause the milk to separate. Patience pays off with gravy. And that constant whisking in the beginning? It’s not just busywork. It prevents lumps, and nobody wants lumpy gravy.
If your gravy does get lumpy (it happens to everyone), don’t panic! You can strain it through a fine mesh sieve or blend it with an immersion blender. But honestly, if you whisk properly from the start, you shouldn’t have this problem.
Thickness is personal. Like it thinner? Add a splash more broth or milk. Prefer it thicker? Let it simmer a bit longer, or make a slurry with 1 tablespoon of cornstarch mixed with 2 tablespoons of cold water, then whisk it into the simmering gravy. It will thicken almost immediately.
Storage is easy too. This best homemade KFC gravy keeps in the fridge for 3-4 days in an airtight container. When reheating, do it gently over low heat, whisking as it warms. You might need to add a splash of broth or milk if it’s too thick after chilling.
One last safety tip: When adding liquids to hot roux, do it slowly to avoid splatters. And always taste before serving—seasonings can settle, so a final adjustment might be needed.
Creative Ways to Serve Your Best Homemade KFC Gravy
Sure, you could just pour it over mashed potatoes (which is delicious), but let’s get creative! This gravy is so versatile, you’ll want to use it on everything.
My absolute favorite is over crispy fried chicken with a side of buttery biscuits. The combination of crunchy chicken and rich gravy is heaven. But don’t stop there—try it over roasted chicken, turkey, or even pork chops. It transforms simple proteins into something special.
Breakfast gets an upgrade too. Pour it over biscuits with sausage for the ultimate comfort meal. Or try it on breakfast potatoes—trust me on this one. The peppery gravy with crispy potatoes is a game-changer.
For a quick dinner, make open-faced sandwiches with leftover roast beef or turkey, toast, and a generous ladle of this best homemade KFC gravy. It’s cozy, satisfying, and ready in minutes.
Vegetarian? Use vegetable broth instead of chicken broth, and you’ve got a delicious gravy for mashed cauliflower, roasted vegetables, or vegetarian meatloaf. The flavors work beautifully with plant-based dishes too.
And don’t forget about leftovers! This gravy reheats beautifully, so make a double batch. You’ll thank yourself later when you can have gravy-ready meals all week. Just store it in the fridge and reheat gently when needed.
The beauty of this recipe is how it elevates simple foods. Whether you’re dressing up weeknight dinners or making Sunday supper special, this gravy adds that touch of homemade love that makes meals memorable.
Conclusion
So there you have it—my tried-and-true recipe for the best homemade KFC gravy that’s become a staple in my kitchen. It’s one of those recipes that seems simple (and it is!) but delivers incredible flavor that makes everyone at the table happy. The first time I made it, my husband took one bite and said, ‘This tastes familiar… but better.’ And that’s exactly what we’re going for, right?
What I love most about this recipe is how it demystifies something that feels like a restaurant secret. Once you realize how easy it is to make gravy from scratch, you’ll never go back to the jarred stuff. The difference in flavor is night and day, and you get the satisfaction of knowing exactly what’s in your food.
Give it a try this week. Pick a night when you’re making chicken or mashed potatoes, and whip up a batch. I promise it will take less time than driving to get takeout, and the results will make you feel like a kitchen superstar. Once you taste that rich, peppery, perfectly seasoned gravy over your favorite foods, you’ll understand why this has become my go-to recipe. Happy cooking, and enjoy every delicious bite!
Frequently Asked Questions
Q: Can I make this gravy ahead of time?
Absolutely! This gravy stores really well. Let it cool completely, then transfer it to an airtight container and refrigerate for up to 4 days. When you're ready to use it, reheat gently over low heat on the stove, whisking as it warms. You might need to add a splash of broth or milk if it's thickened too much in the fridge.
Q: What can I use if I don't have chicken broth?
No problem! You can use vegetable broth for a vegetarian version, or even beef broth if that's what you have. The flavor will be slightly different but still delicious. In a pinch, you can use water with a teaspoon of chicken bouillon or Better Than Bouillon. The key is having that savory base.
Q: My gravy turned out too thin. How can I thicken it?
Don't worry—this happens! Let it simmer a bit longer to reduce and thicken. If you need it thicker quickly, make a slurry by mixing 1 tablespoon of cornstarch with 2 tablespoons of cold water until smooth. Whisk this into the simmering gravy, and it will thicken almost immediately. Just be sure to cook it for another minute after adding.
Q: Can I freeze homemade gravy?
You can, but the texture might change slightly when thawed. Dairy-based gravies can sometimes separate when frozen and reheated. If you do freeze it, use it within 2 months and thaw in the refrigerator overnight. Reheat gently on the stove, whisking well to recombine. For best results, I recommend making it fresh or storing in the fridge.
Q: Is there a way to make this gravy gluten-free?
Yes! Simply substitute the all-purpose flour with a gluten-free flour blend that's meant for thickening. Cornstarch or arrowroot powder also work—use 2 tablespoons instead of 4 tablespoons of flour, and mix with cold water to make a slurry before adding to the melted butter. The method stays the same otherwise.
PrintCopycat KFC Gravy
- Total Time: 20
- Yield: 2 cups (about 4 servings) 1x
Description
A rich, savory gravy with deep flavor, perfect for mashed potatoes, biscuits, or fried chicken.
Ingredients
1/4 cup unsalted butter
1/4 cup all-purpose flour
2 cups chicken broth
1/2 cup whole milk
1/4 teaspoon black pepper
1/4 teaspoon garlic powder
1/4 teaspoon onion powder
1/4 teaspoon dried sage
1/4 teaspoon dried thyme
Salt to taste
Instructions
Step 1: Melt butter in a medium saucepan over medium heat.
Step 2: Whisk in flour and cook, stirring constantly, for 2-3 minutes until golden brown.
Step 3: Gradually whisk in chicken broth until smooth.
Step 4: Stir in milk, black pepper, garlic powder, onion powder, sage, and thyme.
Step 5: Bring to a simmer, then reduce heat to low and cook for 10-12 minutes, stirring occasionally, until thickened.
Step 6: Season with salt to taste and serve warm.
- Prep Time: 5
- Cook Time: 15
- Category: Sauce
Nutrition
- Calories: 120
- Fat: 8g
- Carbohydrates: 9g
- Protein: 3g