
Brown Butter Fudge: The Irresistible, Soul-Warming Treat You Need Right Now

Hey there! I’m so excited you’re here because I’ve been dying to share my absolute favorite dessert discovery with you. Let me tell you about brown butter fudge – it’s the stuff dreams are made of, and I’m not exaggerating one bit. I first stumbled upon this recipe when I was looking for something special to bring to a friend’s holiday party, and let me just say, it was a total game-changer. The entire tray vanished in minutes, and I’ve been making it regularly ever since.
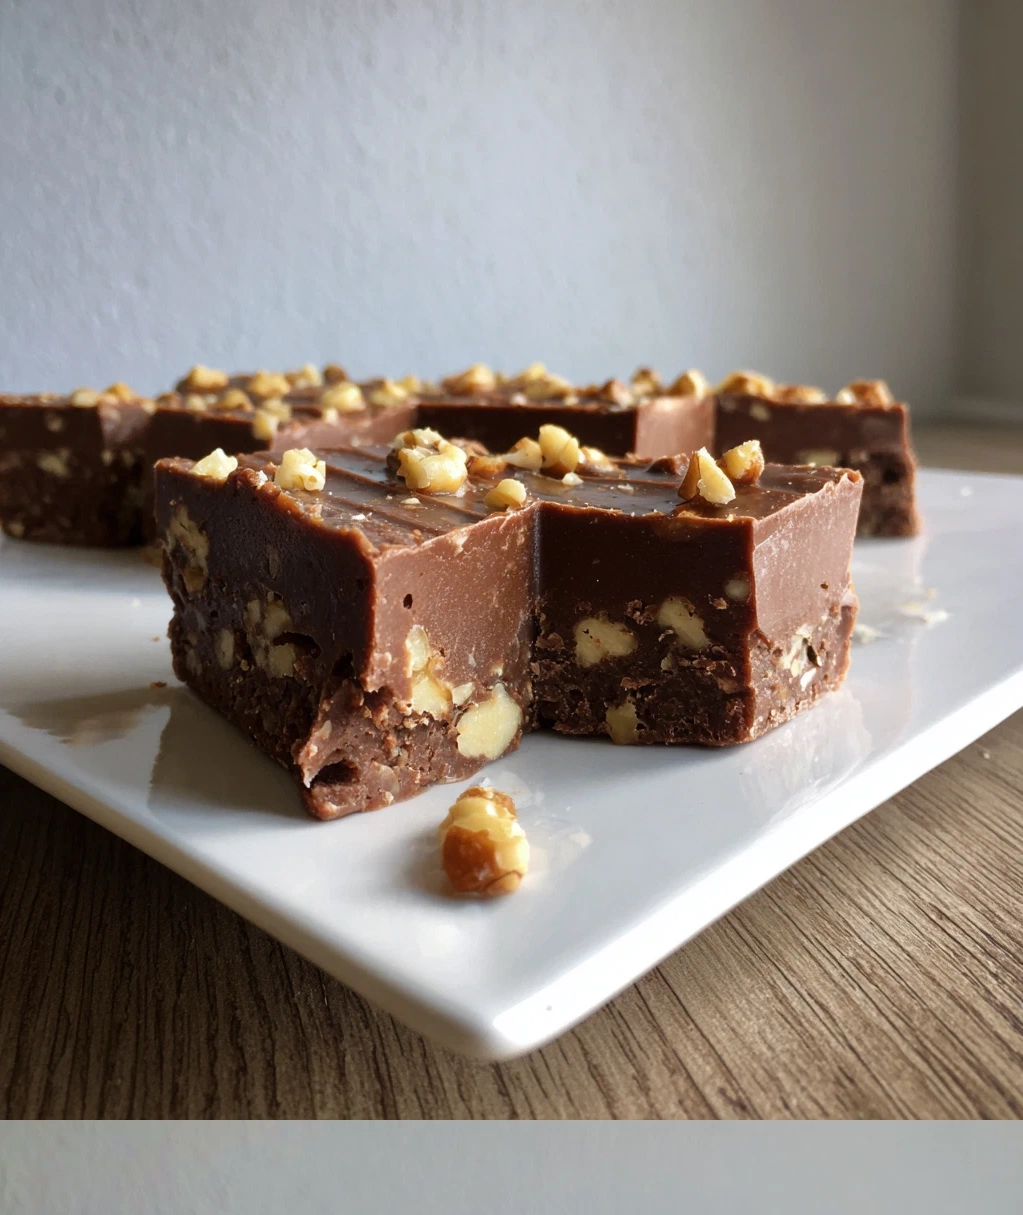
What makes this brown butter fudge so incredible? It’s that magical combination of simple ingredients transforming into something truly extraordinary. That nutty, caramel-like flavor from the browned butter combined with creamy sweetness creates a texture that’s smooth, rich, and utterly addictive. I’ve tried plenty of fudge recipes over the years, but nothing compares to this version. It’s become my go-to for everything from holiday gifts to just-because treats.
The best part is how approachable it is. You don’t need any fancy equipment or hard-to-find ingredients. If you can melt butter and stir, you can make this brown butter fudge. I love how forgiving it is too – even if you’re a bit nervous in the kitchen, this recipe will make you feel like a pro. So grab your apron, and let’s make some magic happen together!
Why This Brown Butter Fudge Recipe Will Become Your New Favorite
Let me tell you why I’m so obsessed with this particular brown butter fudge recipe. First, the flavor is out of this world. When you brown the butter, it develops this incredible nutty, almost caramel-like taste that takes regular fudge from good to absolutely unforgettable. It adds a depth you just can’t get from regular melted butter. My husband says it tastes like a hug in dessert form – and I think he’s right!
Here’s what makes this recipe special:
- Simple ingredients: You probably have everything in your pantry right now – butter, sugar, chocolate, and a few other basics
- Foolproof method: No candy thermometer needed if you follow my timing tips
- Versatile: Perfect for gifting, parties, or just treating yourself
- Quick to make: From start to finish, you’re looking at about 30 minutes of active time
- Beginner-friendly: I’ve walked so many friends through this, and they all nail it on the first try
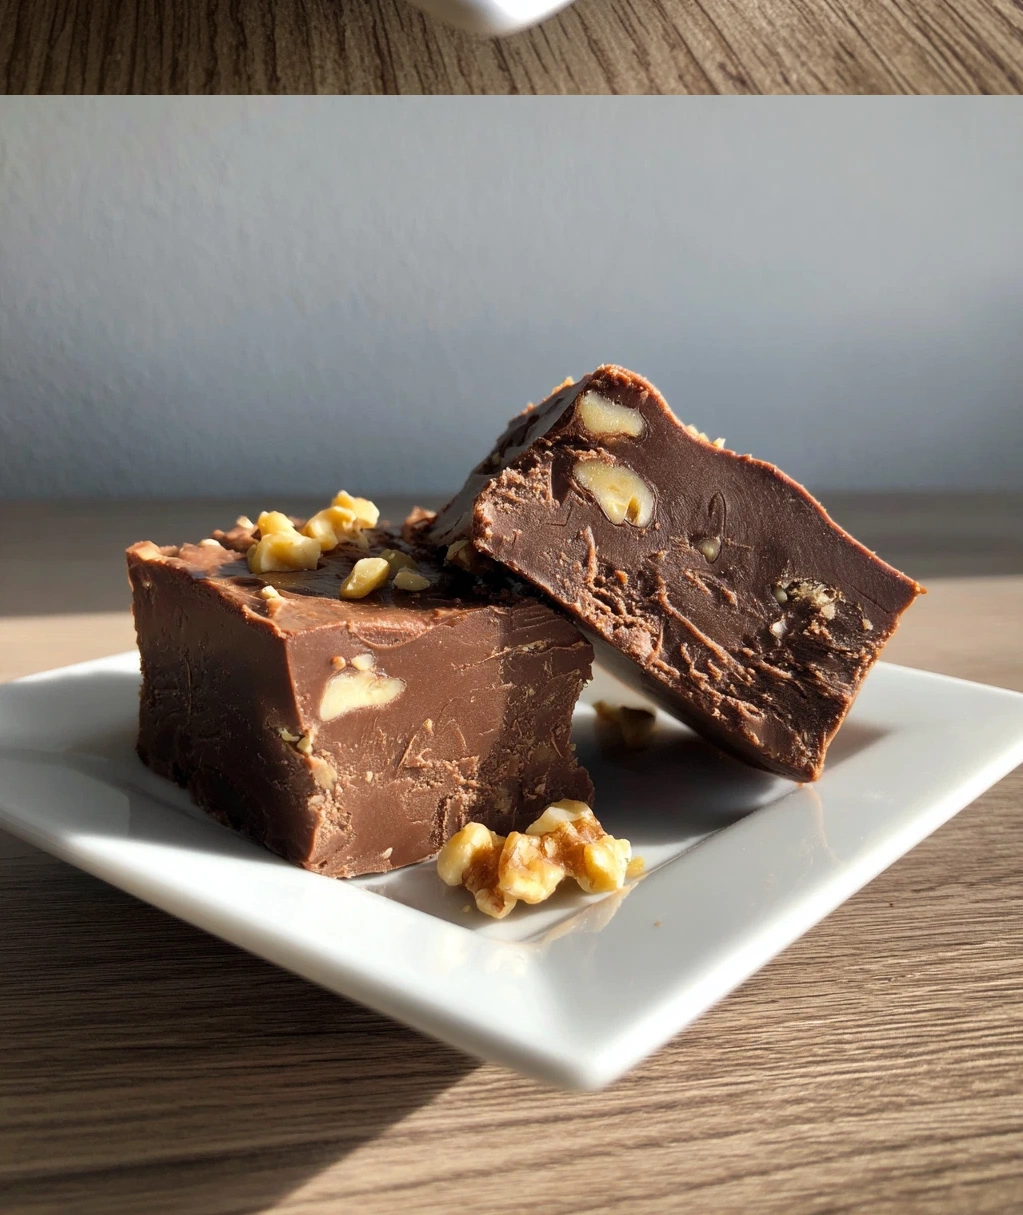
Trust me when I say this brown butter fudge has a way of making people feel special. I’ve brought it to potlucks, given it as teacher gifts, and even mailed it to family across the country. Every single time, I get rave reviews. The texture is smooth and creamy, not grainy like some fudge can be, and it melts perfectly in your mouth.
Ingredients for Perfect Brown Butter Fudge Every Time
One of the things I love most about this brown butter fudge is how simple the ingredient list is. No weird specialty items here – just good, honest pantry staples. Let’s go through what you’ll need and why each one matters.
For the brown butter fudge:
- 1 cup (2 sticks) unsalted butter – I always use unsalted so I can control the salt level
- 2 cups granulated sugar
- 1 cup evaporated milk – not sweetened condensed milk, they’re different!
- 12 ounces semi-sweet chocolate chips – you can use chopped chocolate too if you prefer
- 1 jar (7 ounces) marshmallow creme – this gives that amazing creamy texture
- 1 teaspoon pure vanilla extract
- 1 cup chopped walnuts or pecans (optional) – I love the crunch they add
- ¼ teaspoon salt – trust me, it makes the flavors pop
A few important notes about the ingredients. First, use real butter – margarine won’t brown properly. Second, make sure your evaporated milk is fresh. I once tried to use a can that had been in my pantry for ages, and the fudge didn’t set right. Lesson learned! The chocolate chips should be good quality but don’t break the bank – the brown butter does most of the flavor work here.
My favorite part of gathering these ingredients is knowing that each one plays a specific role. The butter gets that gorgeous brown color and nutty flavor. The sugar and milk create the base. The chocolate and marshmallow creme give that smooth, creamy texture we all love in fudge. And the vanilla? Well, that’s just pure happiness in a bottle.
Step-by-Step Guide to Making Brown Butter Fudge
Ready to make some magic? Let’s walk through this step by step. Don’t worry – I’ll be with you every step of the way. I’ve made this brown butter fudge so many times I could probably do it in my sleep, but I still check my notes every time to make sure I don’t miss anything.
Step 1: Brown the Butter
This is the most important step, so take your time. Melt the butter in a medium saucepan over medium heat. You’ll want to use a light-colored pan so you can see the color change. Once melted, keep cooking and stirring constantly. The butter will foam up, then settle down. Keep going until you see little brown bits at the bottom and it smells amazing – like toasted nuts. This takes about 5-7 minutes. Remove from heat immediately and pour into a large bowl to stop the cooking. Safety tip: Be careful! The butter will be very hot.
Step 2: Cook the Sugar Mixture
In the same saucepan (no need to wash it), combine the sugar and evaporated milk. Bring to a boil over medium heat, stirring constantly. Once boiling, reduce heat to medium-low and cook for 5 minutes exactly. Set a timer! Keep stirring the whole time – this prevents burning and ensures everything cooks evenly.
Step 3: Combine Everything
Pour the hot sugar mixture over the browned butter. Add the chocolate chips, marshmallow creme, vanilla, and salt. Stir like crazy until everything is melted and smooth. This might take a minute or two – don’t rush it. If you’re adding nuts, stir them in now.
Step 4: Set and Cut
Pour the mixture into a greased 9×13 inch pan. Let it cool at room temperature for about 2 hours, then refrigerate for at least 2 more hours before cutting. I like to score lines in the fudge after about 30 minutes of cooling so it cuts neatly later.
My biggest tip? Don’t skip the browning step! That’s what makes this brown butter fudge special. And don’t worry if you see little brown specks – those are flavor gold!
Creative Variations on Classic Brown Butter Fudge
Once you’ve mastered the basic brown butter fudge recipe, it’s so much fun to play around with variations. I love experimenting with different add-ins and flavors – it keeps things interesting and lets me customize for different occasions. Here are some of my favorite twists on this classic treat.
Sea Salt Caramel Brown Butter Fudge: Add ½ cup of soft caramels when you mix everything together. Sprinkle flaky sea salt on top before it sets. The sweet-salty combination is absolutely divine.
Peanut Butter Brown Butter Fudge: Replace half the chocolate chips with peanut butter chips. You could also swirl in ¼ cup of creamy peanut butter at the end. This version is my nephew’s favorite – he asks for it every birthday.
Espresso Brown Butter Fudge: Add 2 teaspoons of instant espresso powder to the sugar mixture. It enhances the chocolate flavor without making it taste like coffee. Perfect for adult gatherings!
Holiday Brown Butter Fudge: Mix in ½ cup of crushed candy canes or peppermint candies. The red and white looks so festive, and the minty flavor pairs beautifully with the rich chocolate.
Toasted Coconut Brown Butter Fudge: Stir in 1 cup of toasted coconut flakes. The coconut adds wonderful texture and a tropical twist that’s surprisingly delicious.
Remember, when you’re experimenting with your brown butter fudge, start with small changes. Add one new ingredient at a time so you can see how it affects the texture and flavor. And always make sure any add-ins are at room temperature – cold ingredients can cause the fudge to seize up. Have fun with it! That’s what home cooking is all about.
How to Store and Gift Your Brown Butter Fudge
You’ve made this amazing brown butter fudge – now what? Proper storage is key to keeping it fresh and delicious. And if you’re planning to gift it (which I highly recommend), I’ve got some cute packaging ideas for you too.
Storage Tips:
Once your brown butter fudge is completely set and cut, store it in an airtight container. I like to layer it with wax or parchment paper between layers so the pieces don’t stick together. Keep it in the refrigerator for up to 2 weeks – though honestly, mine never lasts that long! You can also freeze it for up to 3 months. Just wrap it well in plastic wrap, then foil, and place in a freezer bag. Thaw in the refrigerator overnight before serving.
Gifting Ideas:
This brown butter fudge makes the most wonderful gift. Here’s how I like to package it:
- Use small gift boxes or tins lined with colorful tissue paper
- Stack pieces neatly and tie with a pretty ribbon
- Add a handwritten tag with storage instructions
- For holiday gifts, I sometimes sprinkle edible glitter on top before it sets
- Package individual pieces in small cellophane bags for party favors
Presentation Tips:
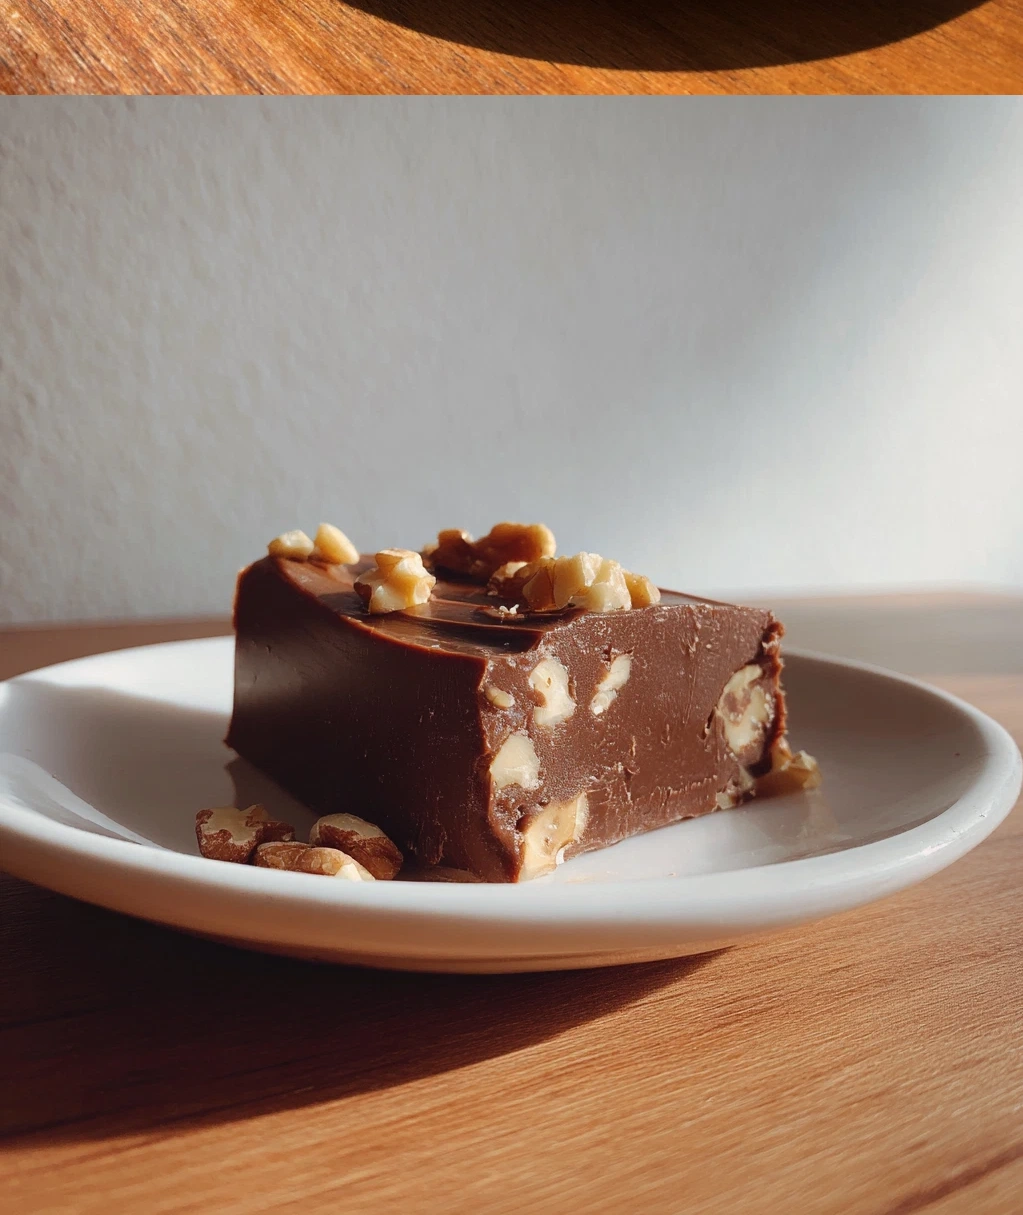
When serving at home, I like to arrange the brown butter fudge on a pretty platter. Let it sit at room temperature for about 15 minutes before serving – this brings out the full flavor and makes it just the right texture. If I’m taking it to a party, I’ll often cut it into different shapes – squares for adults, smaller rectangles or even hearts for special occasions.
One last pro tip: Always include a note about nuts if you’ve added them. You never know about allergies, and it’s better to be safe. Your brown butter fudge will be the hit of any gathering – I promise!
Conclusion
Well, there you have it – my complete guide to making the most delicious brown butter fudge you’ll ever taste. I hope you’re as excited to try it as I was when I first discovered this recipe. There’s something so satisfying about creating something this special from such simple ingredients. Every time I make a batch, my kitchen fills with that incredible nutty, chocolatey smell, and I know I’m about to make someone’s day a little brighter.
Remember, the key to great brown butter fudge is taking your time with that browning step. Don’t rush it – let the butter develop those beautiful golden-brown tones and that amazing aroma. And don’t be afraid to make it your own with different add-ins or variations. That’s the joy of home cooking!
I’d love to hear how your brown butter fudge turns out. Did you try any fun variations? Was it a hit at your gathering? This recipe has brought so much joy to my kitchen and to the people I’ve shared it with, and I hope it does the same for you. Now go warm up that butter – your new favorite treat is waiting to be made!
Frequently Asked Questions
Q: Can I use salted butter instead of unsalted for brown butter fudge?
You can, but I recommend sticking with unsalted butter. Here's why: when you brown salted butter, the milk solids can burn more easily because of the salt content. Also, using unsalted butter lets you control exactly how much salt goes into your fudge. If you only have salted butter on hand, just reduce or omit the additional salt in the recipe. The browning process might be a bit trickier though – watch it carefully!
Q: My brown butter fudge didn't set properly. What went wrong?
Don't worry – this happens sometimes! The most common reasons are not cooking the sugar mixture long enough, or not letting the fudge cool completely before cutting. Make sure you cook the sugar and evaporated milk for the full 5 minutes after it comes to a boil. Also, give it plenty of time to set – at least 2 hours at room temperature plus 2 hours in the refrigerator. If it's still too soft, you can try refrigerating it longer. Sometimes humidity can affect setting too.
Q: How long does homemade brown butter fudge last?
Properly stored in an airtight container in the refrigerator, your brown butter fudge will stay fresh for about 2 weeks. I like to separate layers with wax paper to prevent sticking. You can also freeze it for up to 3 months – just wrap it well in plastic wrap, then foil, and place in a freezer bag. Thaw overnight in the refrigerator before serving. Always store it in the fridge, as it can become too soft at room temperature.
Q: Can I make brown butter fudge without a candy thermometer?
Absolutely! That's one of the things I love about this recipe – no special equipment needed. Just follow the timing exactly: 5-7 minutes to brown the butter, then 5 minutes of cooking the sugar mixture after it comes to a boil. The visual cues are your friends here – look for those brown bits in the butter and make sure the sugar mixture is bubbling actively during cooking. I've made this dozens of times without a thermometer and it always turns out perfect.
Q: What's the difference between evaporated milk and sweetened condensed milk in fudge?
This is super important! Evaporated milk is just milk with about 60% of the water removed – it's not sweetened. Sweetened condensed milk has sugar added and is much thicker and sweeter. For this brown butter fudge recipe, you need evaporated milk. If you use sweetened condensed milk instead, your fudge will be way too sweet and the texture will be off. They're usually right next to each other in the grocery store, so double-check that label!
PrintBrown Butter Fudge
- Total Time: 40
- Yield: 64 pieces 1x
Description
A rich, decadent fudge with deep nutty brown butter flavor and smooth, melt-in-your-mouth texture.
Ingredients
1 cup (2 sticks) unsalted butter
3 cups granulated sugar
1 cup heavy cream
1 teaspoon vanilla extract
1/4 teaspoon salt
1 cup semi-sweet chocolate chips
Instructions
Step 1: In a medium saucepan over medium heat, melt butter and cook, stirring frequently, until it turns golden brown and smells nutty (about 5-7 minutes).
Step 2: Add sugar, heavy cream, and salt to the browned butter. Stir until sugar dissolves.
Step 3: Bring mixture to a boil, then reduce heat to medium-low. Cook without stirring until it reaches 235°F on a candy thermometer (soft-ball stage), about 10-15 minutes.
Step 4: Remove from heat and let cool for 5 minutes. Stir in vanilla extract and chocolate chips until smooth and glossy.
Step 5: Pour into an 8×8-inch pan lined with parchment paper. Let cool completely at room temperature, then refrigerate for 2 hours to set.
Step 6: Cut into 1-inch squares and store in an airtight container.
- Prep Time: 15
- Cook Time: 25
- Category: Dessert
Nutrition
- Calories: 120
- Fat: 6g
- Carbohydrates: 16g
- Protein: 0g