
Chocolate Crème Brûlée: An Irresistibly Decadent Dessert You’ll Adore
If you’ve ever felt that classic crème brûlée was missing something, let me tell you, I did too. That’s why I started making chocolate crème brûlée years ago, and honestly, it’s become my absolute favorite dessert to serve when I want to impress friends or treat myself to something truly special. There’s something magical about that rich, creamy chocolate custard hiding beneath that perfectly crackled caramelized sugar top. It feels fancy but it’s actually quite simple to make at home.
I remember the first time I tried making chocolate crème brûlée – I was so nervous about getting that sugar crust just right. But you know what? It worked perfectly on the first try, and my friends couldn’t believe I’d made it myself. Now it’s my go-to dessert for dinner parties, and I’ve shared the recipe with so many people who’ve had the same success. The best part is you don’t need any fancy equipment – just some ramekins, a baking dish, and a little patience.
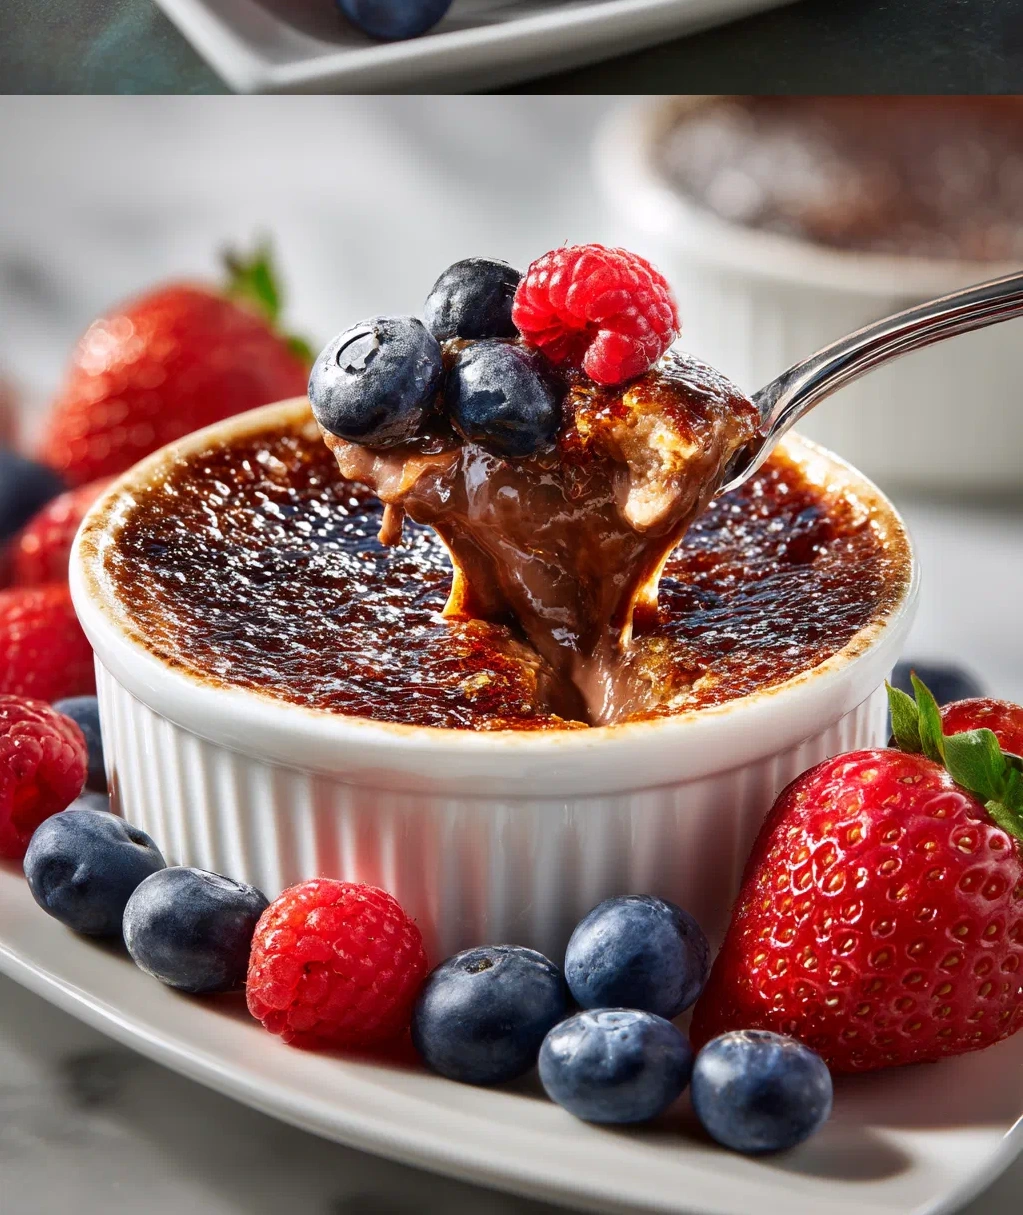
What I love most about this dessert is how it balances elegance with comfort food vibes. That smooth chocolate custard is like the most luxurious chocolate pudding you’ve ever tasted, but then you get that satisfying crack when your spoon breaks through the sugar crust. It’s a complete sensory experience that makes any meal feel like a special occasion. Trust me, once you try making chocolate crème brûlée at home, you’ll wonder why you ever ordered it at restaurants.
Why Chocolate Crème Brûlée Will Become Your New Favorite Dessert
Let me tell you why this dessert is such a winner. First, it looks incredibly impressive but is surprisingly easy to make. When you bring out those little ramekins with that perfect caramelized sugar top, people will think you spent hours in the kitchen. But the truth is, most of the time is hands-off while it bakes and chills. Second, the texture is absolutely divine – that smooth, creamy chocolate custard contrasts perfectly with the crisp sugar shell. It’s like getting two desserts in one.
Here are my favorite things about chocolate crème brûlée:
- It’s versatile – serve it at fancy dinner parties or enjoy it as a cozy weeknight treat
- Make-ahead friendly – you can prepare it a day or two in advance
- Customizable – use different types of chocolate to change the flavor
- Always impressive – people are genuinely wowed by homemade crème brûlée
- Perfect portion control – each ramekin is just the right amount of indulgence
What really makes chocolate crème brûlée special is how it feels like a restaurant-quality dessert that you can actually make at home. I’ve served this to everyone from my foodie friends to my kids’ picky friends, and it’s always a hit. The combination of rich chocolate and that signature crispy top is just irresistible.
Everything You Need for Perfect Chocolate Crème Brûlée
Gathering your ingredients is the first step to chocolate crème brûlée success. I like to use high-quality chocolate since it’s the star of the show, but you don’t need to break the bank. The key is using real chocolate bars rather than chocolate chips, since chips have stabilizers that can affect the texture.
Here’s what you’ll need for 6 servings:
- 2 cups heavy cream (don’t substitute with milk or half-and-half)
- 4 ounces semi-sweet chocolate, finely chopped (about ⅔ cup)
- 5 large egg yolks
- ½ cup granulated sugar, plus extra for caramelizing
- 1 teaspoon vanilla extract
- Pinch of salt
For equipment, you’ll need:
- 6 ramekins (6-ounce size works perfectly)
- 9×13 inch baking dish or similar
- Fine mesh strainer
- Mixing bowls
- Whisk
- Kitchen torch (or your broiler will work too!)
A quick note about the chocolate: I usually use semi-sweet because I love that balance of sweet and bitter, but you can use dark chocolate if you prefer a more intense chocolate flavor. Just don’t use milk chocolate – it’s too sweet and won’t give you that rich chocolate taste you want in your chocolate crème brûlée. Also, make sure your eggs are at room temperature – it helps everything blend together smoothly.
How to Make Chocolate Crème Brûlée: Step-by-Step Instructions
Ready to make some magic? Don’t worry if this is your first time – I’ll walk you through every step. The process is straightforward, and as long as you take your time, you’ll end up with perfect chocolate crème brûlée every time.
- Prepare your baking setup: Preheat your oven to 325°F. Place your ramekins in a 9×13 inch baking dish. Bring a kettle of water to boil – you’ll need this for the water bath later.
- Heat the cream and chocolate: In a medium saucepan, heat the heavy cream over medium heat until it just begins to simmer (you’ll see small bubbles around the edges). Remove from heat and add the chopped chocolate. Let it sit for a minute, then whisk until completely smooth and combined.
- Whisk the egg mixture: In a separate bowl, whisk together the egg yolks, ½ cup sugar, vanilla, and salt until well combined and slightly pale in color. This should take about 2 minutes of vigorous whisking.
- Combine everything: Slowly pour the warm chocolate cream into the egg mixture while whisking constantly. This is important – you want to temper the eggs so they don’t scramble. Go slow at first, then you can pour faster once about half is incorporated.
- Strain and pour: Strain the mixture through a fine mesh strainer into a pouring jug or bowl with a spout. This catches any little bits of cooked egg or unmelted chocolate. Divide the mixture evenly among your ramekins.
- Bake in water bath: Carefully pour the boiling water into the baking dish around the ramekins, filling it about halfway up the sides of the ramekins. Bake for 35-40 minutes, until the edges are set but the center still jiggles slightly when shaken.
- Chill completely: Remove from oven and carefully take the ramekins out of the water bath. Let them cool to room temperature, then cover with plastic wrap and refrigerate for at least 4 hours, preferably overnight.
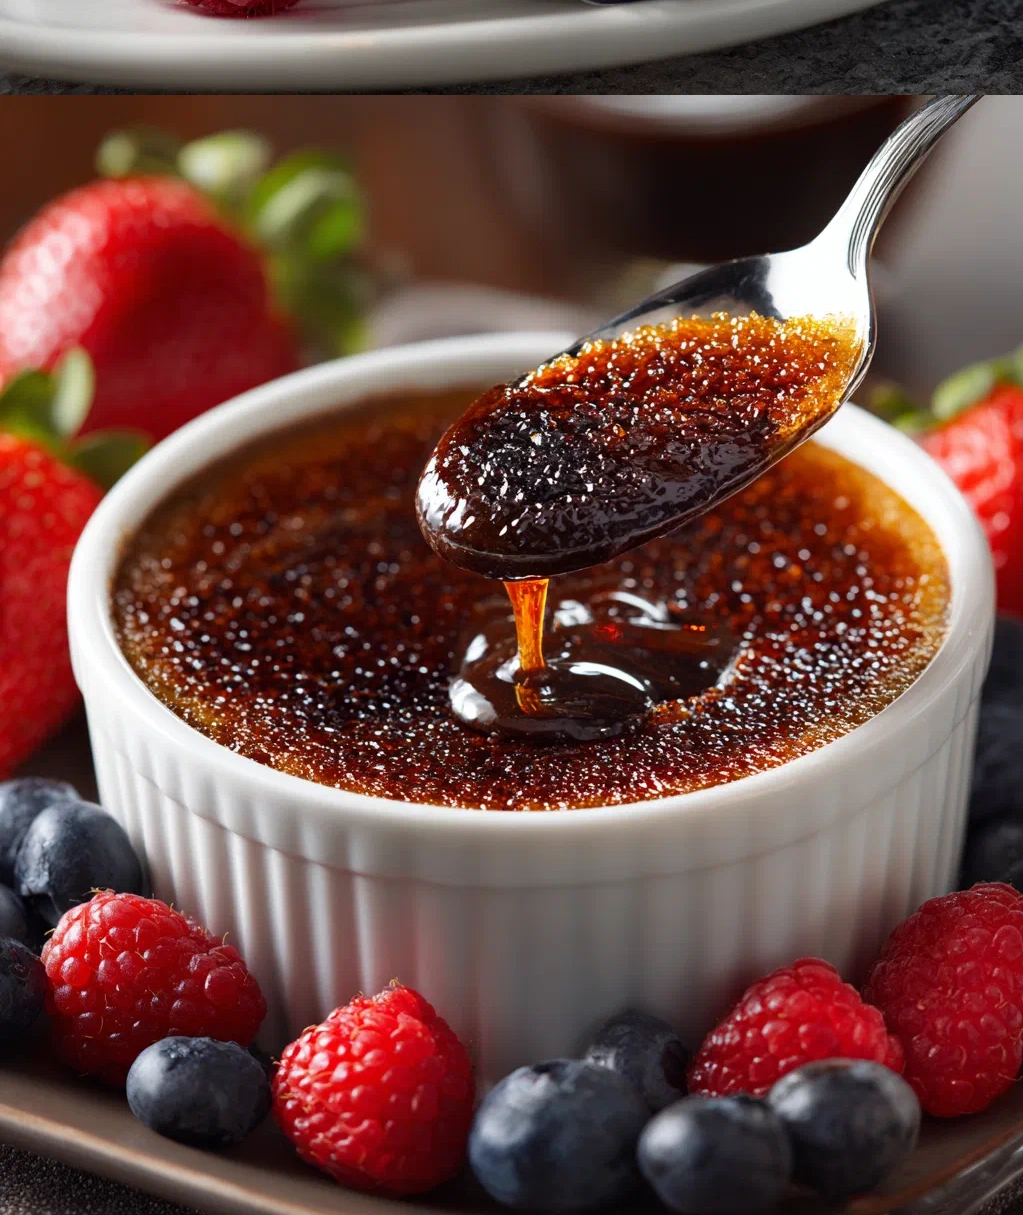
- Caramelize the sugar: When ready to serve, sprinkle about 1 teaspoon of sugar evenly over each custard. Use a kitchen torch to melt and caramelize the sugar until golden brown and bubbly. If using a broiler, place ramekins on a baking sheet and broil for 1-2 minutes, watching closely so they don’t burn.
My biggest tip: don’t skip the water bath! It ensures gentle, even cooking so your chocolate crème brûlée stays creamy and smooth. And be patient with the chilling – it really makes a difference in the texture.
Creative Variations for Your Chocolate Crème Brûlée
Once you’ve mastered the basic chocolate crème brûlée recipe, it’s fun to play around with different flavors. I love experimenting with these variations depending on who I’m serving or what season it is.
Here are some of my favorite twists:
- Orange chocolate crème brûlée: Add 1 tablespoon of orange zest to the cream as it heats, and use dark chocolate instead of semi-sweet. The citrus cuts through the richness beautifully.
- Mint chocolate version: Steep ¼ cup fresh mint leaves in the warm cream for 10 minutes before straining them out and adding the chocolate. Perfect for holiday dinners!
- Espresso chocolate crème brûlée: Dissolve 1 tablespoon instant espresso powder in the warm cream before adding the chocolate. Coffee enhances chocolate flavor so well.
- Spiced chocolate crème brûlée: Add ½ teaspoon cinnamon and a pinch of cayenne to the sugar mixture. Sounds unusual, but the warmth is incredible.
- Berry topping: Instead of plain sugar on top, sprinkle a mixture of sugar and crushed freeze-dried raspberries before caramelizing. The tartness pairs wonderfully with the sweet chocolate.
You can also play with the chocolate itself. I’ve made this with milk chocolate for my kids (though it’s sweeter), and with 70% dark chocolate for true chocolate lovers. White chocolate crème brûlée is also delicious if you’re feeling adventurous – just reduce the sugar since white chocolate is sweeter.
Remember, the basic technique stays the same no matter what flavors you add. That’s what makes chocolate crème brûlée such a great dessert to have in your repertoire – once you know the method, you can get creative with the flavors.
Serving and Storing Your Chocolate Crème Brûlée
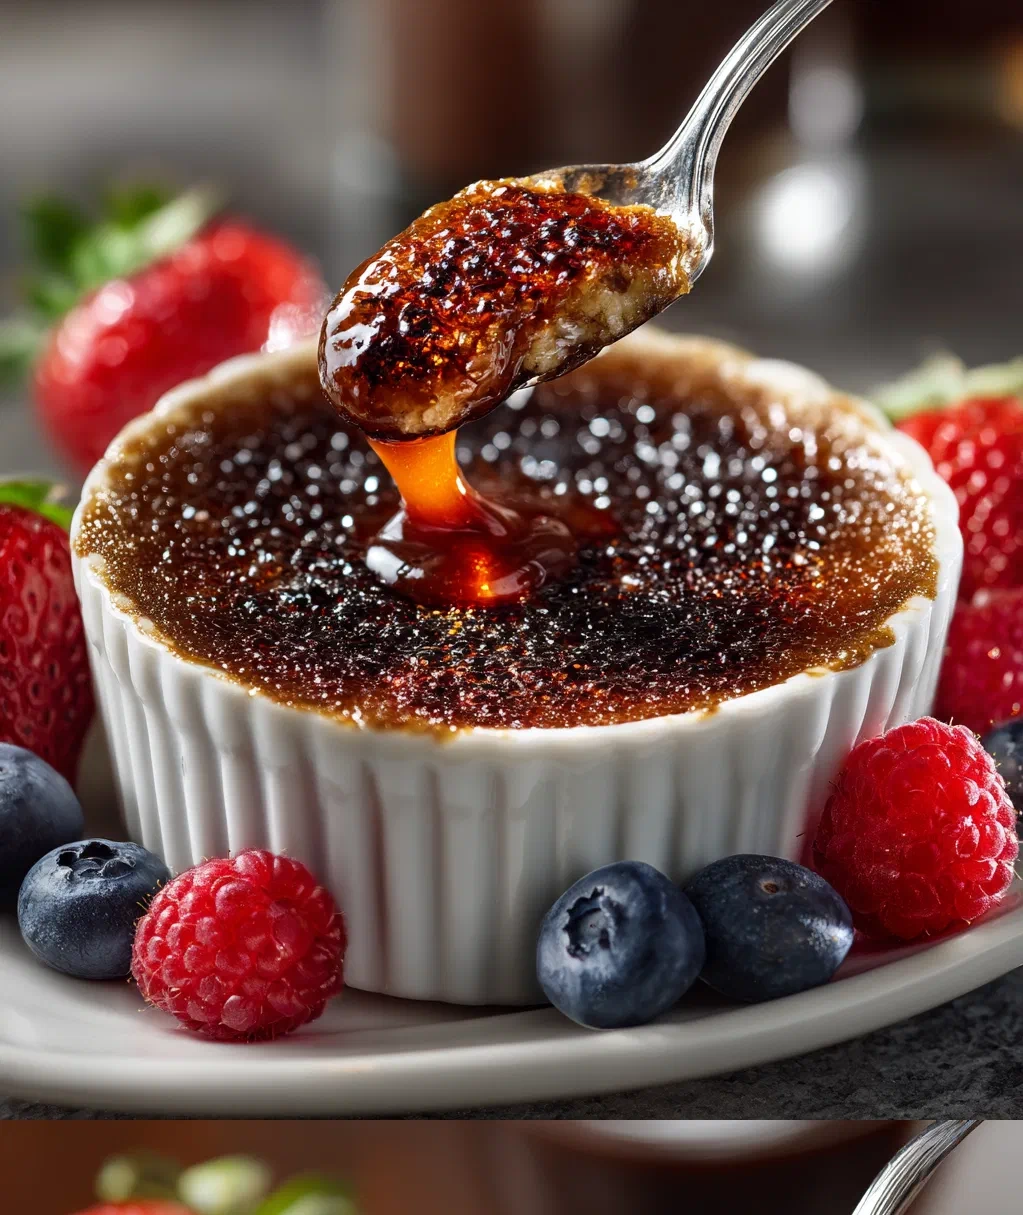
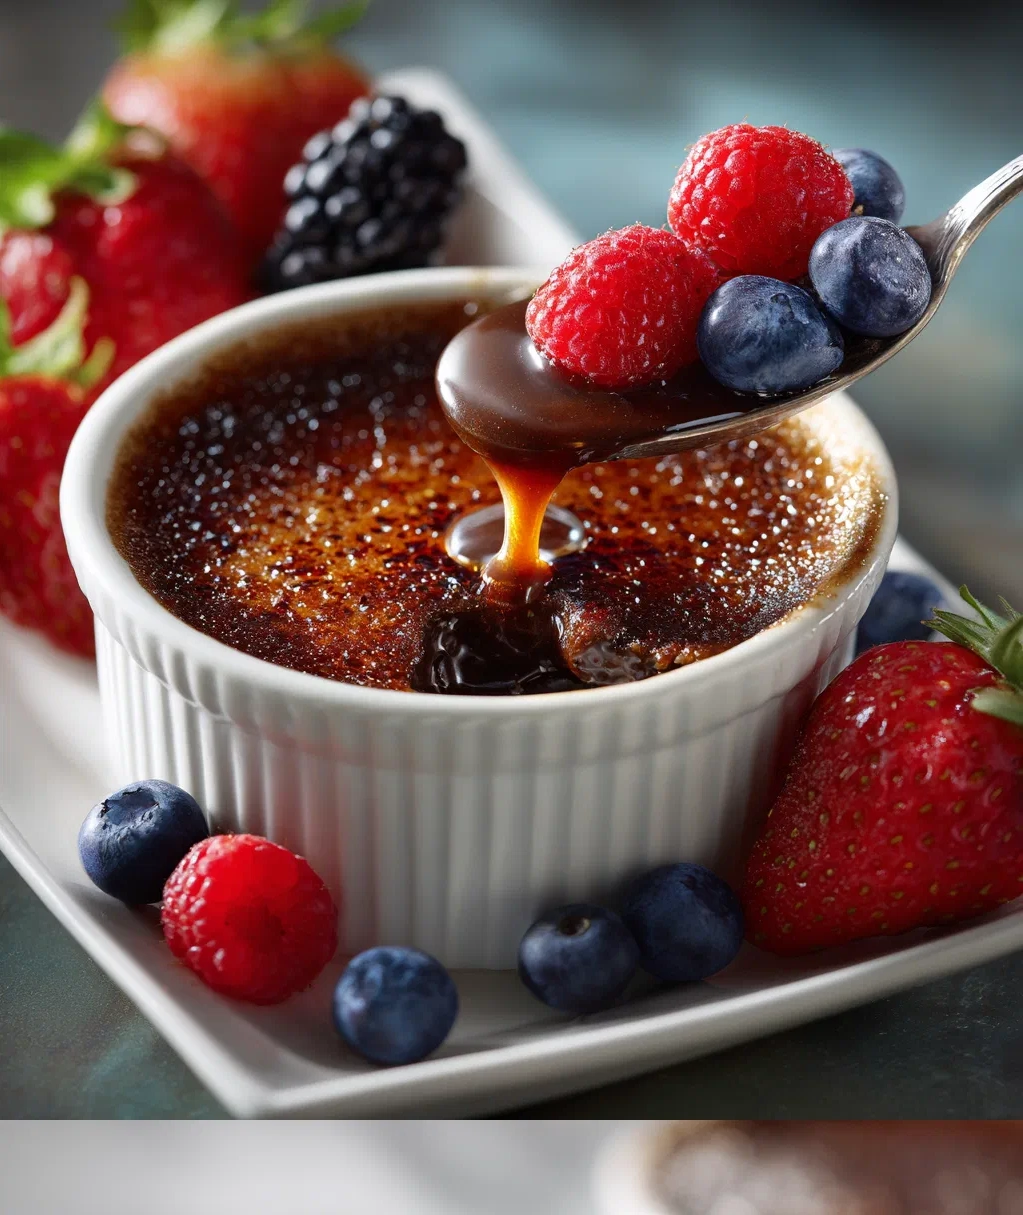
Presentation matters with chocolate crème brûlée! Since it’s such a visually appealing dessert, take a moment to serve it beautifully. I like to place each ramekin on a small plate with a doily or decorative napkin underneath. Add a fresh berry or two on the side, and maybe a sprig of mint if I have it. The contrast of colors makes the golden sugar top really pop.
For serving, I always provide both a spoon and a small dessert fork. Some people like to crack the sugar top with the back of the spoon, while others use the fork. There’s no right way – it’s all part of the fun! Just make sure to serve chocolate crème brûlée immediately after caramelizing the sugar, while that top is still crisp. The contrast between the hot, crackly sugar and the cold, creamy custard is what makes it so special.
Now, let’s talk storage because you might not eat all six servings at once (though I won’t judge if you do!).
- Before caramelizing: The custards can be stored in the refrigerator, covered with plastic wrap, for up to 3 days. This is actually ideal for planning ahead for parties.
- After caramelizing: Eat immediately! The sugar topping will start to soften and lose its crispness after about 30 minutes.
- Freezing: I don’t recommend freezing chocolate crème brûlée. The texture of the custard changes when frozen and thawed, and you can’t properly caramelize frozen custards.
If you need to make chocolate crème brûlée ahead of time, prepare the custards through step 7 (chilling), then caramelize the sugar right before serving. That way you get the best of both worlds – convenience and that perfect crisp top.
Conclusion
Making chocolate crème brûlée at home has brought me so much joy over the years, and I hope it does the same for you. There’s something truly special about creating a dessert that feels so luxurious yet is completely achievable in your own kitchen. Every time I hear that satisfying crack of the sugar crust, followed by the smooth, rich chocolate custard beneath, I’m reminded why this dessert has earned a permanent spot in my recipe collection.
What I love most is how chocolate crème brûlée adapts to any occasion. It’s fancy enough for anniversary dinners yet comforting enough for a rainy Sunday afternoon. It impresses guests but doesn’t stress out the cook. And once you’ve made it a few times, you’ll develop your own little tweaks and preferences – maybe you like your sugar crust a bit thicker, or you discover your perfect chocolate-to-cream ratio.
So go ahead – gather those ingredients, heat up that cream, and whisk those egg yolks. Don’t be intimidated by the fancy name or restaurant reputation. Chocolate crème brûlée is waiting to become your new signature dessert, and I can’t wait for you to experience that moment when your spoon breaks through that perfect caramelized crust into the creamy chocolate beneath. It’s pure dessert magic, and you absolutely deserve to enjoy it.
Frequently Asked Questions
Q: Can I make chocolate crème brûlée without a kitchen torch?
Absolutely! While a kitchen torch gives you the most control, you can use your oven's broiler instead. Just place the sugared custards on a baking sheet and broil for 1-2 minutes, watching closely so they don't burn. Rotate the pan if needed for even browning. Some ovens have hot spots, so keep an eye on them – it happens fast!
Q: Why does my crème brûlée sometimes get watery?
Wateriness usually happens for two reasons. First, if you overbake the custards, the eggs can separate and release liquid. That's why it's crucial to pull them out when the edges are set but the center still jiggles. Second, if water gets into the ramekins during the water bath, it can thin out the custard. Make sure your water level stays below the rim of the ramekins, and pour carefully.
Q: What's the best chocolate to use for chocolate crème brûlée?
I recommend using semi-sweet or dark chocolate bars (not chocolate chips) with 50-70% cocoa content. The higher quality your chocolate, the better your dessert will taste. Avoid milk chocolate as it's too sweet and won't give you that rich chocolate flavor. My go-to is a good semi-sweet baking chocolate – it melts beautifully and has the perfect balance of sweetness and chocolate intensity.
Q: How long should I chill chocolate crème brûlée before serving?
At least 4 hours, but overnight is even better. The chilling time allows the custard to set properly and develop its signature creamy texture. If you try to serve it too soon, it might be too soft. I often make mine the day before I plan to serve it – it actually improves with that extra chilling time and makes party planning so much easier.
Q: Can I use different sized ramekins for this recipe?
Yes, but you'll need to adjust the baking time. For smaller ramekins (4-ounce), check at 25-30 minutes. For larger ones (8-ounce), it might take 45-50 minutes. The key is that visual test – the edges should be set while the center still jiggles slightly. Just make sure all your ramekins are the same size so they bake evenly, and adjust your water bath accordingly.
PrintChocolate Crème Brûlée
- Total Time: 295
- Yield: 4 servings 1x
Description
A rich and creamy chocolate custard dessert with a crisp caramelized sugar topping that’s surprisingly easy to make at home.
Ingredients
2 cups heavy cream
1/2 cup granulated sugar
4 large egg yolks
1 tsp vanilla extract
4 oz high-quality dark chocolate (60-70% cacao), finely chopped
Additional granulated sugar for caramelizing (about 1/4 cup)
Instructions
Step 1: Preheat oven to 325°F (160°C). Place 4 ramekins in a large baking dish.
Step 2: In a saucepan, heat cream and sugar over medium heat until steaming but not boiling, stirring to dissolve sugar.
Step 3: Remove from heat, add chopped chocolate, and whisk until completely melted and smooth.
Step 4: In a separate bowl, whisk egg yolks and vanilla until pale and slightly thickened.
Step 5: Slowly pour the warm chocolate cream into the egg yolks while whisking constantly to prevent curdling.
Step 6: Strain the mixture through a fine-mesh sieve into a pouring jug to ensure smoothness.
Step 7: Divide the mixture evenly among the ramekins.
Step 8: Pour hot water into the baking dish until it reaches halfway up the sides of the ramekins.
Step 9: Bake for 30-35 minutes until edges are set but centers still jiggle slightly.
Step 10: Remove ramekins from water bath, cool to room temperature, then refrigerate for at least 4 hours or overnight.
Step 11: Before serving, sprinkle a thin, even layer of sugar (about 1 tbsp per ramekin) over each custard.
Step 12: Caramelize the sugar using a kitchen torch until golden brown and crisp, or broil for 1-2 minutes watching carefully.
Step 13: Let sit for 1-2 minutes to harden the sugar crust before serving.
- Prep Time: 20
- Cook Time: 35
- Category: Dessert
Nutrition
- Calories: 480
- Fat: 36g
- Carbohydrates: 38g
- Protein: 6g