
Chocolate Ganache Magic: Simple Secrets for Absolutely Amazing Desserts
Let me tell you something – chocolate ganache changed my dessert game forever. I remember the first time I tried making it at home, thinking it would be this fancy, complicated thing only pastry chefs could master. But you know what? It’s one of the easiest, most versatile treats you can whip up in your own kitchen. And once you’ve got it down, you’ll find yourself putting chocolate ganache on everything from cakes to fruit to morning toast (yes, really!).
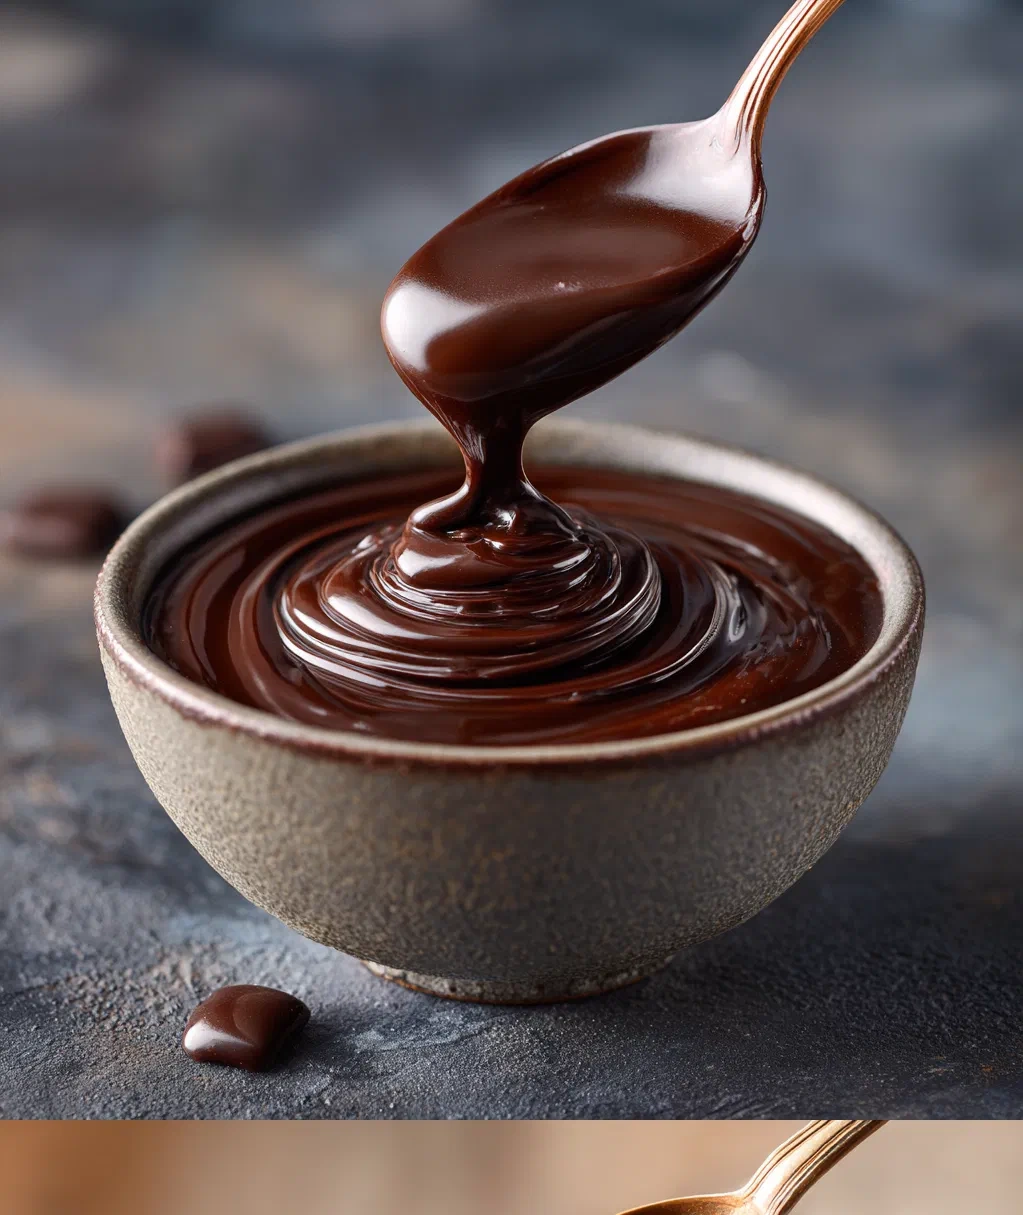
What I love about chocolate ganache is how forgiving it is. Don’t worry if you’re not a professional baker – I’m not either! This creamy, dreamy mixture of chocolate and cream comes together in minutes, and the results always feel special. Whether you’re dressing up a simple cake, filling tarts, or just dipping strawberries for a cozy night in, chocolate ganache makes everything taste like it came from a fancy bakery. The best part? You only need two ingredients and about 15 minutes. Trust me, once you try it, you’ll be hooked.
I’m going to walk you through my favorite basic recipe, plus some fun twists and ways to use it. We’ll keep things simple and stress-free because that’s how cooking should be. Ready to make some chocolate magic happen? Let’s dive in!
Why Chocolate Ganache Will Become Your Go-To Dessert
You’re going to fall in love with chocolate ganache for so many reasons. First, it’s incredibly versatile. You can use it as a glaze, a filling, a frosting, or even a dip. My favorite part is how it transforms simple desserts into something that looks and tastes fancy without much effort.
Here’s what makes chocolate ganache so amazing:
- Only two ingredients: Just chocolate and cream. That’s it! No fancy equipment or hard-to-find items.
- Works with any chocolate: Dark, milk, or white chocolate all make wonderful ganache with slightly different flavors.
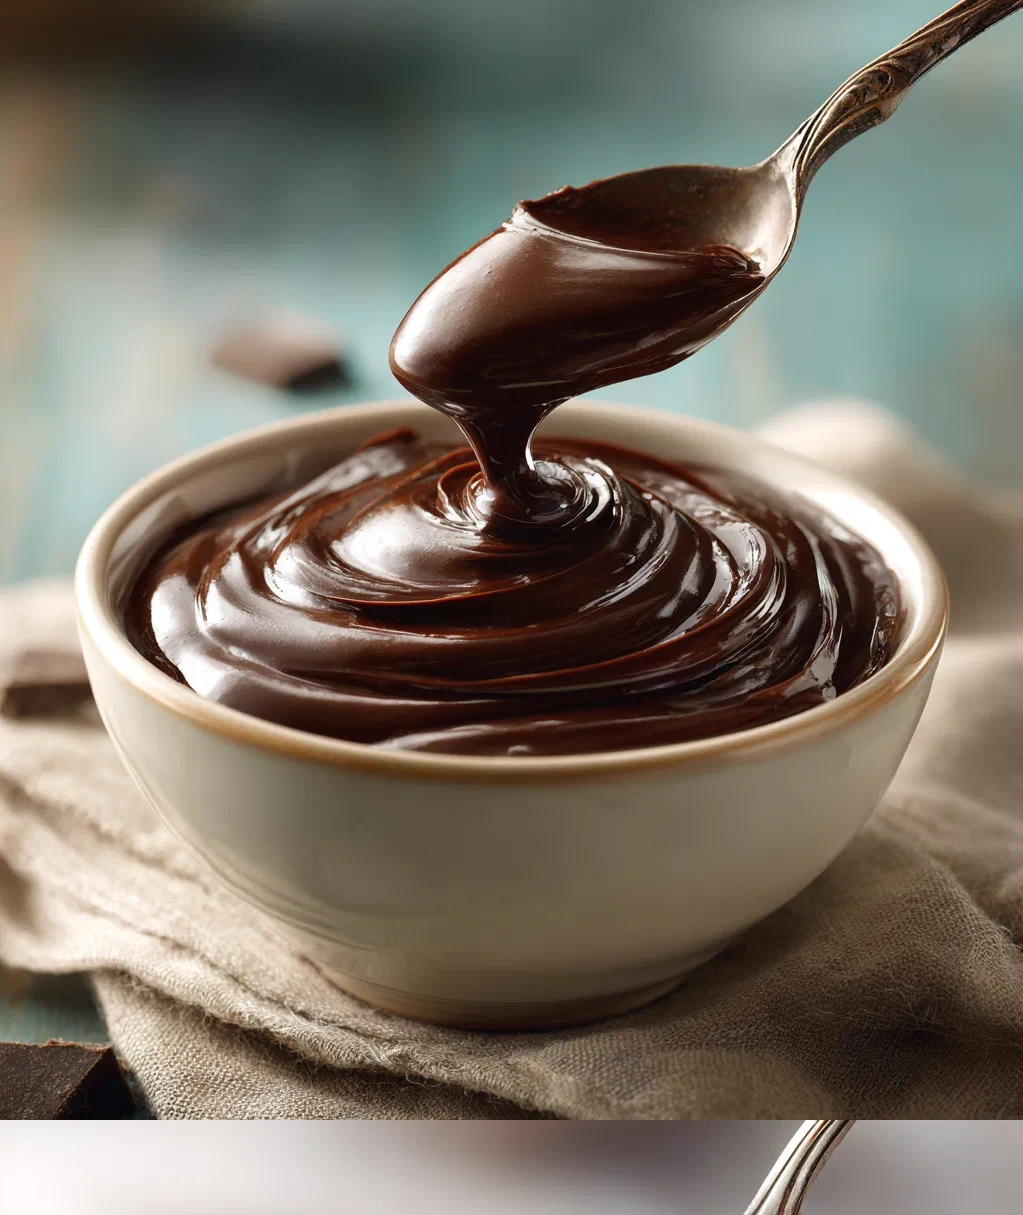
- Three textures in one: When warm, it’s pourable and perfect for glazing. As it cools, it becomes spreadable like frosting. Chilled, it firms up into truffle-like consistency.
- Keeps beautifully: Store it in the fridge for up to a week, or freeze it for months.
- Easy to customize: Add flavorings like vanilla, espresso powder, or liqueurs to make it your own.
I always keep the ingredients on hand because you never know when you’ll need a quick dessert fix. Last week, I poured warm chocolate ganache over store-bought pound cake and berries, and my family thought I’d spent hours baking. That’s the magic of ganache – it makes everything feel special.
The Perfect Chocolate Ganache Ingredients
Let’s talk about what you’ll need. The beauty of chocolate ganache is in its simplicity, but choosing the right ingredients makes all the difference. Don’t stress about getting everything perfect – I’ve made this with all sorts of chocolate, and it always turns out delicious.
What You’ll Need:
- 8 ounces (225g) good quality chocolate: That’s about 1 1/3 cups of chopped chocolate or chocolate chips. I prefer semi-sweet or dark chocolate (around 60% cocoa) for a rich, balanced flavor, but milk chocolate makes a sweeter, creamier ganache. Use what you love!
- 1 cup (240ml) heavy cream: Also called whipping cream. Don’t use half-and-half or milk – they don’t have enough fat content to create that smooth, glossy texture we want.
A Quick Note on Chocolate:
I like using chocolate bars that I chop myself because they melt more evenly, but chocolate chips work just fine in a pinch. Just make sure whatever you use is good quality – you’ll taste the difference. My go-to is a basic semi-sweet baking bar from the grocery store. No need for fancy French chocolate unless you’re feeling extra fancy!
That’s really all you need for basic chocolate ganache. See? I told you it was simple. The equipment is basic too: a saucepan, a heatproof bowl, a whisk or spoon, and maybe a measuring cup. Now let’s make some magic.
How to Make Chocolate Ganache Step-by-Step
Ready to make the easiest, most impressive dessert sauce of your life? Grab your ingredients and let’s get started. I’ll walk you through each step with all my favorite tips.
Step 1: Prepare Your Chocolate
First, chop your chocolate into small, even pieces if you’re using bars. This helps it melt evenly. If you’re using chocolate chips, you can skip the chopping – they’re already the perfect size. Place all your chocolate in a medium heatproof bowl. Glass or metal bowls work best.
Step 2: Heat the Cream
Pour your heavy cream into a small saucepan. Heat it over medium heat until it just starts to simmer. You’ll see little bubbles forming around the edges and maybe a bit of steam. Don’t let it boil vigorously – we want it hot but not scorched. This usually takes 3-5 minutes.
Step 3: Combine and Melt
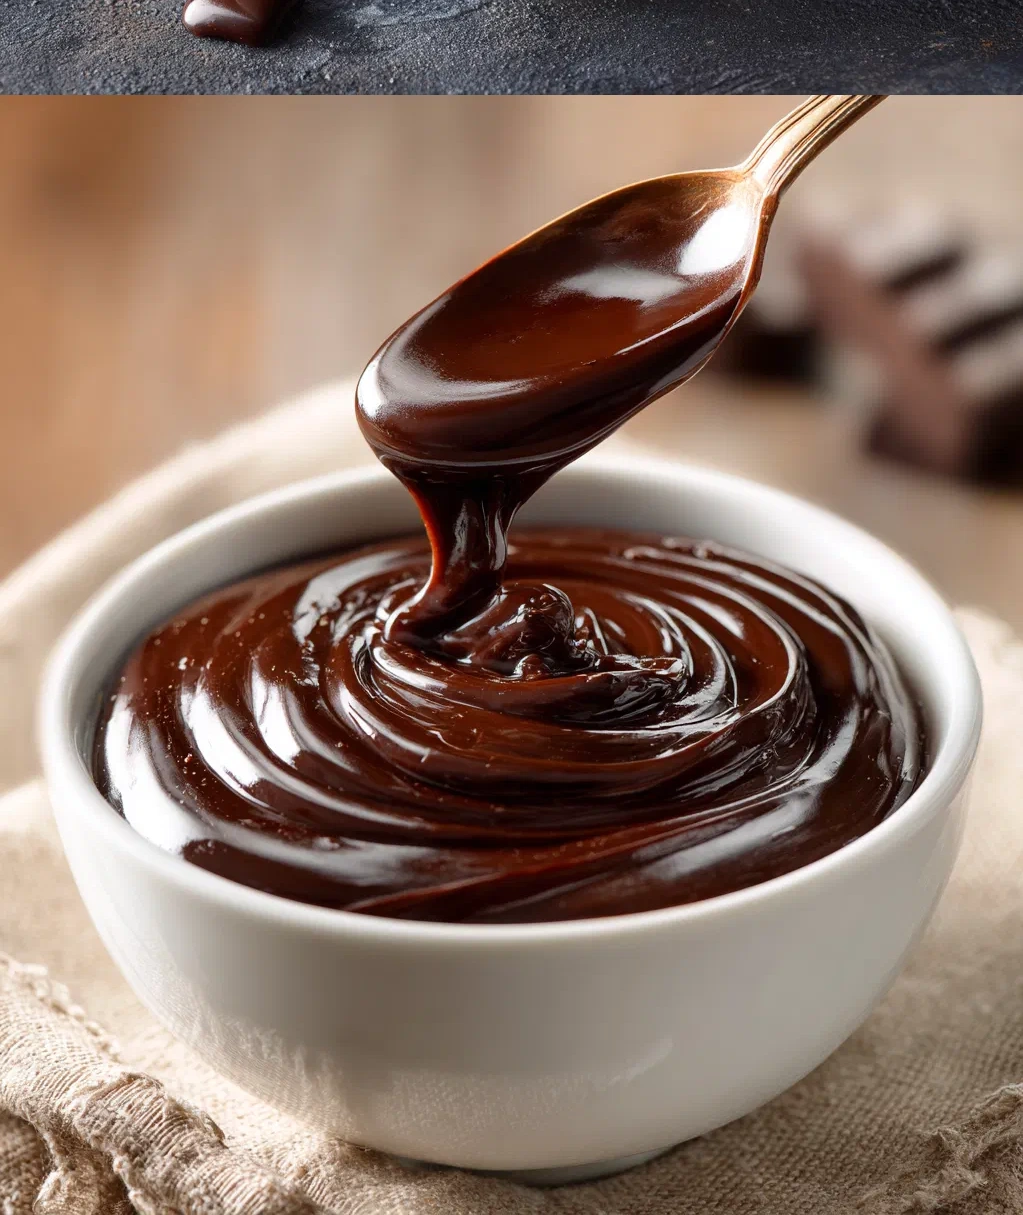
Here’s the magical part. Pour the hot cream over your chopped chocolate. Let it sit for 2-3 minutes without stirring. This allows the chocolate to start melting from the heat of the cream. Then, gently stir with a whisk or rubber spatula, starting from the center and working your way out. Keep stirring until everything is completely smooth and glossy. If you have a few stubborn chocolate pieces, you can place the bowl over a pot of simmering water (make sure the bowl doesn’t touch the water) for a minute to help them melt.
Step 4: Customize and Use
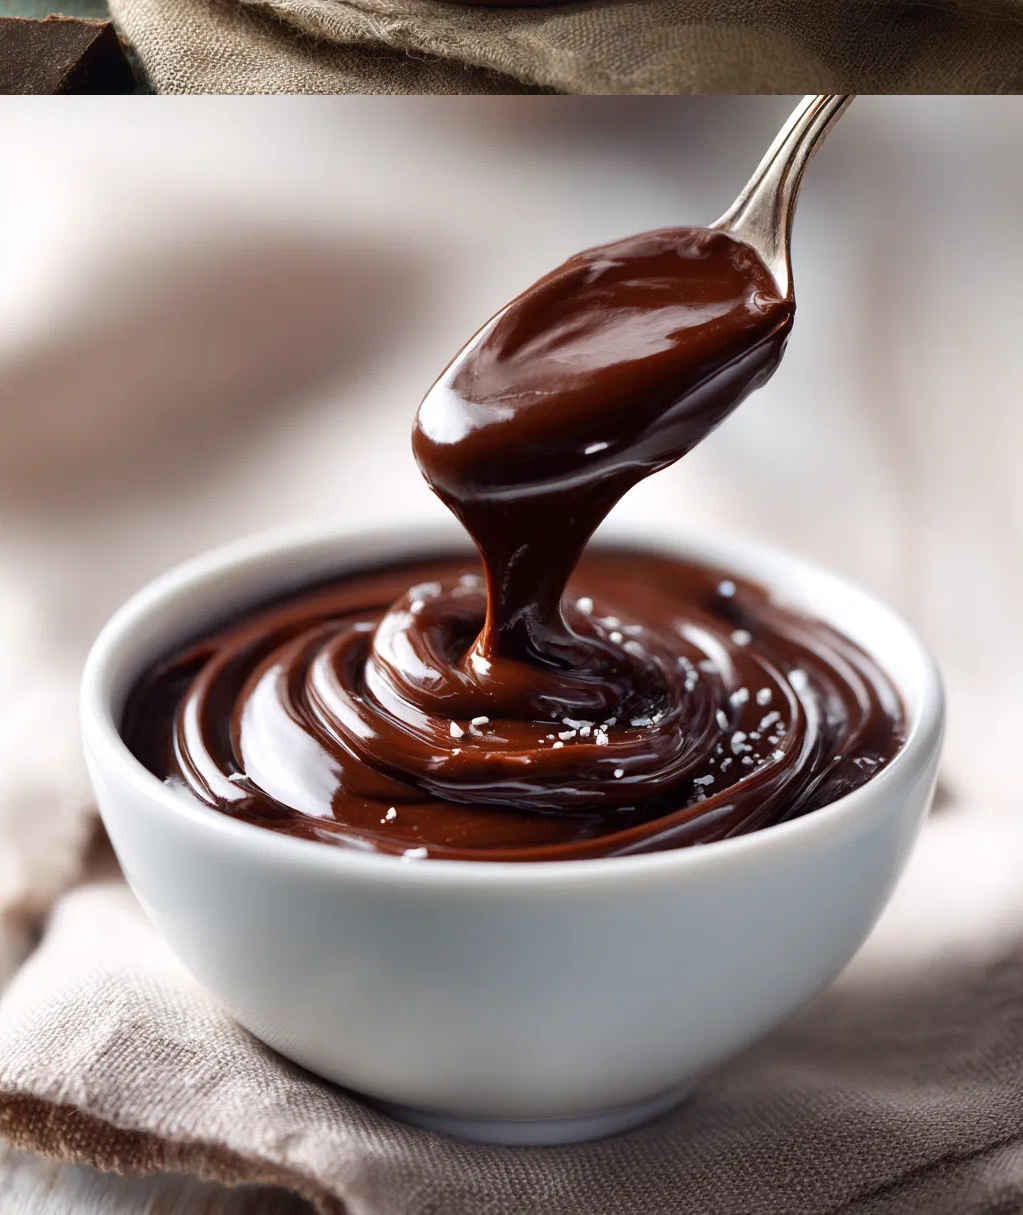
Now your chocolate ganache is ready to use! Want to add flavor? Stir in 1 teaspoon of vanilla extract, a pinch of sea salt, or a tablespoon of your favorite liqueur. For coffee lovers, dissolve 1-2 teaspoons of instant espresso powder in the cream before heating it.
Use warm ganache as a glaze by pouring it over cakes or pastries. Let it cool to room temperature for about an hour, stirring occasionally, and it will thicken to frosting consistency. For truffles, chill it completely, then scoop and roll into balls. Easy peasy!
Creative Ways to Use Your Chocolate Ganache
Now for the fun part – what to do with your beautiful chocolate ganache! This is where you can really get creative. I’ve tried so many variations over the years, and I’m excited to share my favorites with you.
As a Cake Frosting or Filling
Let your ganache cool until it’s thick but still spreadable (about room temperature, maybe 30-60 minutes). Then use it to frost cupcakes, layer cakes, or fill macarons. It spreads beautifully and sets with a gorgeous sheen. My tip: do a thin ‘crumb coat’ first, chill for 15 minutes, then add your final layer for super smooth results.
For Dipping and Drizzling
Keep your ganache warm and pourable for dipping strawberries, pretzels, or biscotti. Or drizzle it over ice cream, cheesecake, or fresh fruit. Last summer, I made a big bowl of mixed berries and poured warm chocolate ganache over the top – it disappeared in minutes!
Truffle Time
Chill your ganache completely (overnight is best), then use a small scoop or spoon to form balls. Roll them in cocoa powder, chopped nuts, or sprinkles. These make wonderful gifts or party treats. Store them in the fridge in an airtight container.
Unexpected Uses
Don’t limit yourself to desserts! I’ve stirred a spoonful of ganache into my morning coffee for a mocha treat, spread it on toast with banana slices, and even used it as a fruit dip for apple slices. When you have chocolate ganache in the fridge, the possibilities are endless.
Remember, the texture changes as it cools, so you get multiple desserts from one batch. Warm for glazing, room temperature for frosting, chilled for truffles. How cool is that?
Chocolate Ganache Troubleshooting and Storage Tips
Even the easiest recipes can have hiccups, so let’s talk about what to do if your ganache doesn’t look perfect. First, don’t panic! Chocolate ganache is very forgiving, and most issues are easy to fix.
Common Problems and Solutions
If your ganache is grainy or separated: This usually means the cream was too hot or you stirred too vigorously. Add a tablespoon of room temperature cream and whisk gently until smooth. If that doesn’t work, you can blend it briefly with an immersion blender.
If it’s too thin: Let it cool longer. As chocolate ganache cools, it thickens naturally. If you need it thicker right away, add a bit more chopped chocolate while it’s still warm and stir until melted.
If it’s too thick: Warm it gently with a tablespoon of cream. You can do this in the microwave in 10-second bursts or over a pot of simmering water.
Storing Your Chocolate Ganache
Store leftover ganache in an airtight container in the refrigerator for up to a week. It will firm up when cold. To use it again, let it come to room temperature, then warm it gently if needed. You can also freeze ganache for up to 3 months – thaw in the refrigerator overnight before using.
Safety tip: Always use clean utensils when handling ganache, especially if you’re dipping fruit or other items. And remember, ganache contains dairy, so keep it refrigerated when not in use.
My favorite storage trick: I often make a double batch and keep half in the fridge for immediate use and freeze the rest. That way, I always have chocolate ganache ready for last-minute desserts or cravings. It’s like having a secret dessert weapon!
Conclusion
Well, there you have it – everything I know about making and using chocolate ganache. From that first simple mixture of chocolate and cream, you can create so many beautiful desserts that will impress everyone. The best part is how approachable it all is. You don’t need special skills or equipment, just a little time and the desire to make something delicious.
I hope you’ll give chocolate ganache a try this week. Start with the basic recipe, then play around with different chocolates and add-ins. Make a batch for your next gathering, or just for yourself on a quiet evening. There’s something so satisfying about creating something this beautiful and tasty with your own hands.
Remember, cooking should be fun, not stressful. If your first attempt isn’t perfect, that’s okay! My early batches were far from flawless. The important thing is that you tried, and I promise it will still taste amazing. Chocolate has a way of making everything better. So grab some chocolate and cream, put on your favorite music, and make some kitchen magic. Your future self will thank you when you’re enjoying that first bite of something covered in rich, creamy chocolate ganache.
Frequently Asked Questions
Q: Can I make chocolate ganache with milk instead of cream?
I don't recommend using milk for traditional ganache. The higher fat content in heavy cream is what gives ganache its smooth, rich texture and helps it set properly. Milk will make it thinner and less stable. If you need a dairy-free option, full-fat coconut cream works beautifully as a substitute.
Q: How long does chocolate ganache take to set?
It depends on how you're using it! For pouring over cakes as a glaze, use it immediately while warm. For spreading like frosting, let it cool at room temperature for about an hour, stirring occasionally. For truffles, chill it in the refrigerator for at least 2-3 hours, or overnight for best results. The cooling time is your friend – it transforms the texture beautifully.
Q: Can I fix grainy or separated ganache?
Absolutely! This happens sometimes if the cream gets too hot. Add a tablespoon of room temperature cream and whisk gently until smooth. If that doesn't work, you can use an immersion blender for about 30 seconds. Don't over-blend though, or it might become too thin. Most ganache issues are fixable with a little patience.
Q: What's the best chocolate for ganache?
Use what you enjoy eating! Semi-sweet or dark chocolate (around 60% cocoa) gives a rich, balanced flavor that's not too sweet. Milk chocolate makes a sweeter, creamier ganache perfect for kids or those who prefer milder chocolate. White chocolate ganache is delicious too – just use 3 parts white chocolate to 1 part cream since it has more cocoa butter. Quality matters, so choose chocolate you'd be happy eating on its own.
Q: How do I store leftover ganache?
Store it in an airtight container in the refrigerator for up to a week. It will firm up when cold. To reuse, let it come to room temperature, then warm it gently if needed. You can also freeze ganache for up to 3 months – thaw in the fridge overnight. I often make extra to have on hand for quick desserts!
PrintClassic Chocolate Ganache Tart
- Total Time: 290
- Yield: 8 servings 1x
Description
A rich, silky chocolate ganache tart with a buttery shortcrust base – the ultimate elegant dessert that showcases ganache magic.
Ingredients
For the crust:
200g all-purpose flour
100g unsalted butter, cold and cubed
50g granulated sugar
1 large egg yolk
2 tbsp cold water
For the ganache filling:
300g dark chocolate (60-70% cocoa), finely chopped
300ml heavy cream (35% fat)
30g unsalted butter, softened
1 tsp vanilla extract
Pinch of sea salt
Optional garnish:
Fresh raspberries
Cocoa powder for dusting
Instructions
Step 1: Make the tart crust. In a food processor, pulse flour, cold butter, and sugar until mixture resembles coarse breadcrumbs.
Step 2: Add egg yolk and cold water, pulse until dough just comes together. Form into a disc, wrap in plastic, and refrigerate for 30 minutes.
Step 3: Preheat oven to 180°C (350°F). Roll out dough on a floured surface to fit a 23cm (9-inch) tart pan with removable bottom.
Step 4: Press dough into pan, trim edges, and prick base with a fork. Line with parchment paper and fill with baking weights or dried beans.
Step 5: Blind bake for 15 minutes, remove weights and parchment, then bake for another 10 minutes until golden. Let cool completely.
Step 6: Make the ganache. Place chopped chocolate in a heatproof bowl. Heat cream in a saucepan until just simmering.
Step 7: Pour hot cream over chocolate, let sit for 2 minutes, then gently stir until smooth and glossy.
Step 8: Stir in softened butter, vanilla extract, and sea salt until fully incorporated and ganache is silky.
Step 9: Pour ganache into cooled tart shell, smooth the top with a spatula, and refrigerate for at least 4 hours until set.
Step 10: Before serving, garnish with fresh raspberries and dust with cocoa powder. Serve at room temperature.
- Prep Time: 25
- Cook Time: 25
- Category: Dessert
Nutrition
- Calories: 420
- Fat: 28g
- Carbohydrates: 38g
- Protein: 6g