Flower Pot Painting: Transformative Joy for Your Garden Sanctuary
Flower pot painting is more than just a craft—it’s a gateway to personal expression and garden transformation. In today’s world where mass-produced items dominate our living spaces, hand-painted flower pots offer a refreshing alternative that infuses personality into your outdoor and indoor environments. This creative practice allows you to customize containers to match your home’s aesthetic, your garden’s color scheme, or even your current mood. The importance of flower pot painting extends beyond mere decoration. It creates connection—between you and your plants, between your indoor and outdoor spaces, and between your personal style and the natural world. Each painted pot becomes a unique art piece that tells a story, whether it’s a simple pattern, an intricate design, or a color wash that complements your flowers. Gardening enthusiasts, DIY lovers, and anyone seeking a creative outlet will find flower pot painting surprisingly accessible and deeply satisfying. You don’t need to be an experienced artist to create beautiful results. With basic supplies and a little guidance, you can transform ordinary terracotta, ceramic, or plastic pots into extraordinary containers that elevate your entire garden or home decor. This activity also makes for wonderful family projects, therapeutic solo sessions, or memorable gifts for fellow plant lovers. As we explore this topic, you’ll discover how flower pot painting can enhance your living spaces while providing countless hours of creative enjoyment.
Essential Flower Pot Painting Supplies for Beginners
Before you begin your flower pot painting adventure, gathering the right supplies is crucial for success. The foundation starts with choosing appropriate pots. Terracotta pots are ideal for beginners due to their porous surface that accepts paint well, but ceramic, concrete, and even plastic pots can work with proper preparation. You'll need several types of paint, with acrylic paints being the most versatile and beginner-friendly. Outdoor acrylic paints or paints specifically formulated for ceramics provide better durability against weather elements. Don't forget primers and sealers—these are essential for ensuring your artwork lasts. A quality primer helps paint adhere better, especially on slick surfaces, while a clear sealer protects your finished design from moisture, sun, and general wear. Brushes come in various sizes and shapes. Flat brushes cover large areas quickly, round brushes work well for details, and foam brushes create smooth finishes. Other essential tools include painter's tape for clean lines and patterns, stencils for consistent designs, and palette knives for mixing and textured effects. Surface preparation tools like sandpaper (for smoothing rough spots) and a clean cloth are equally important. Consider your workspace too—a well-ventilated area with good lighting makes the process more enjoyable. Many beginners start with just a few basic colors, but having a primary color palette plus white and black allows for endless mixing possibilities. Remember that flower pot painting doesn't require expensive equipment. Start with what you have and gradually expand your collection as you discover what techniques you enjoy most. Proper cleanup supplies—water containers, paper towels, and brush cleaner—will keep your tools in good condition for future projects. With these essentials gathered, you're ready to create your first masterpiece.
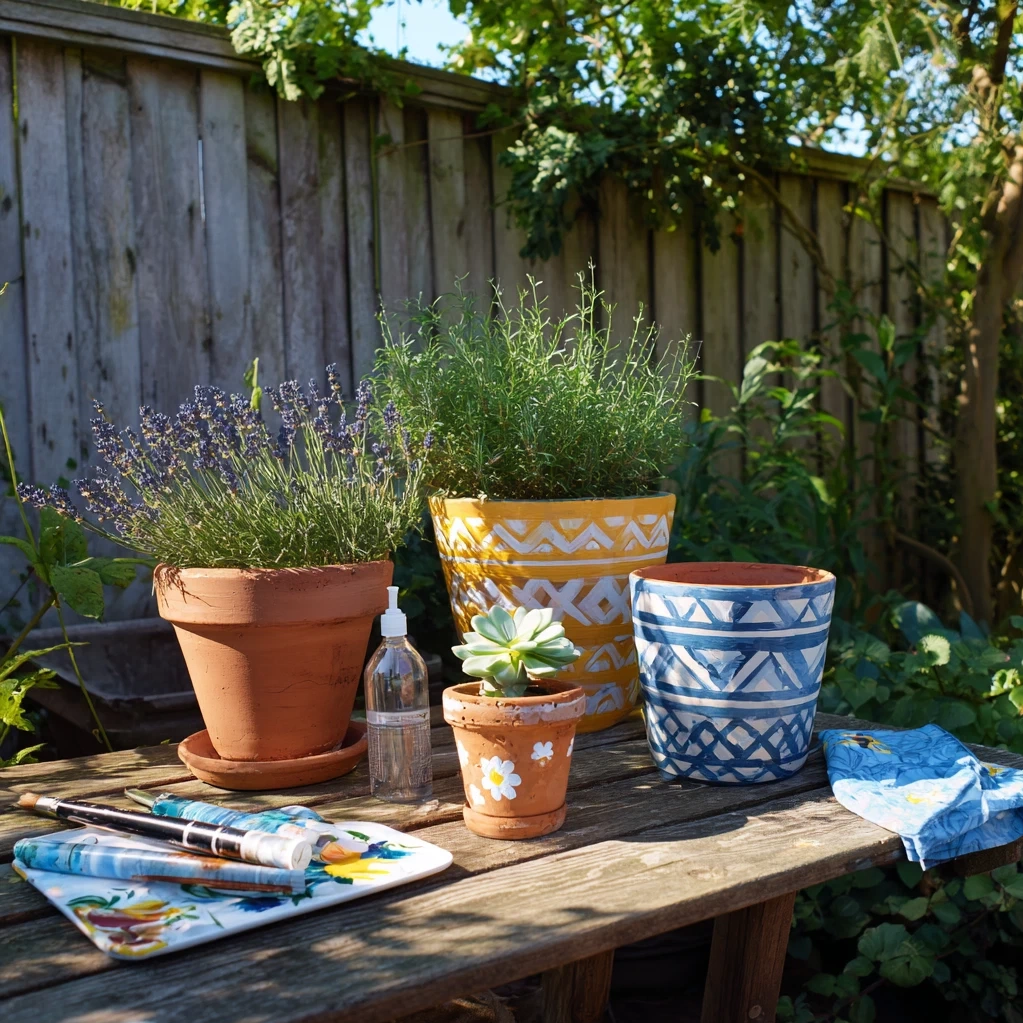
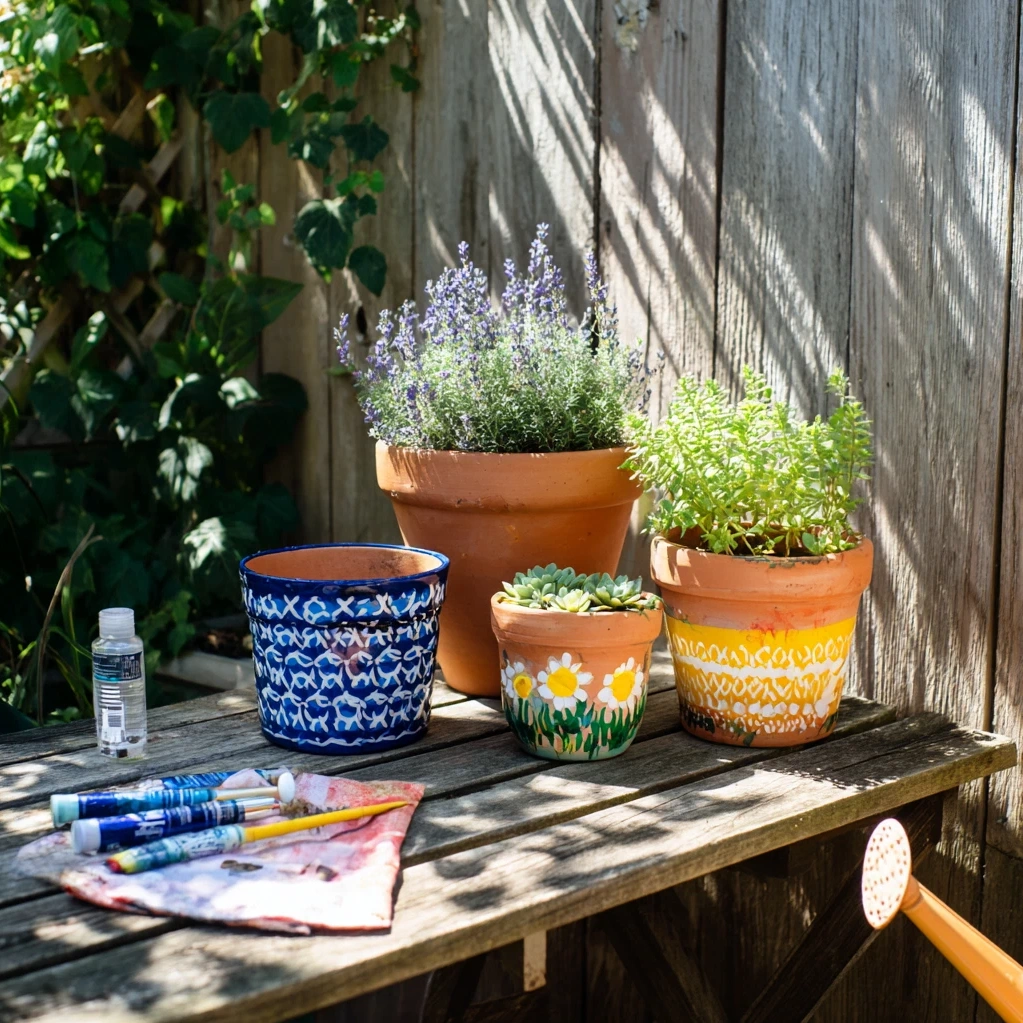
Creative Flower Pot Painting Techniques and Designs
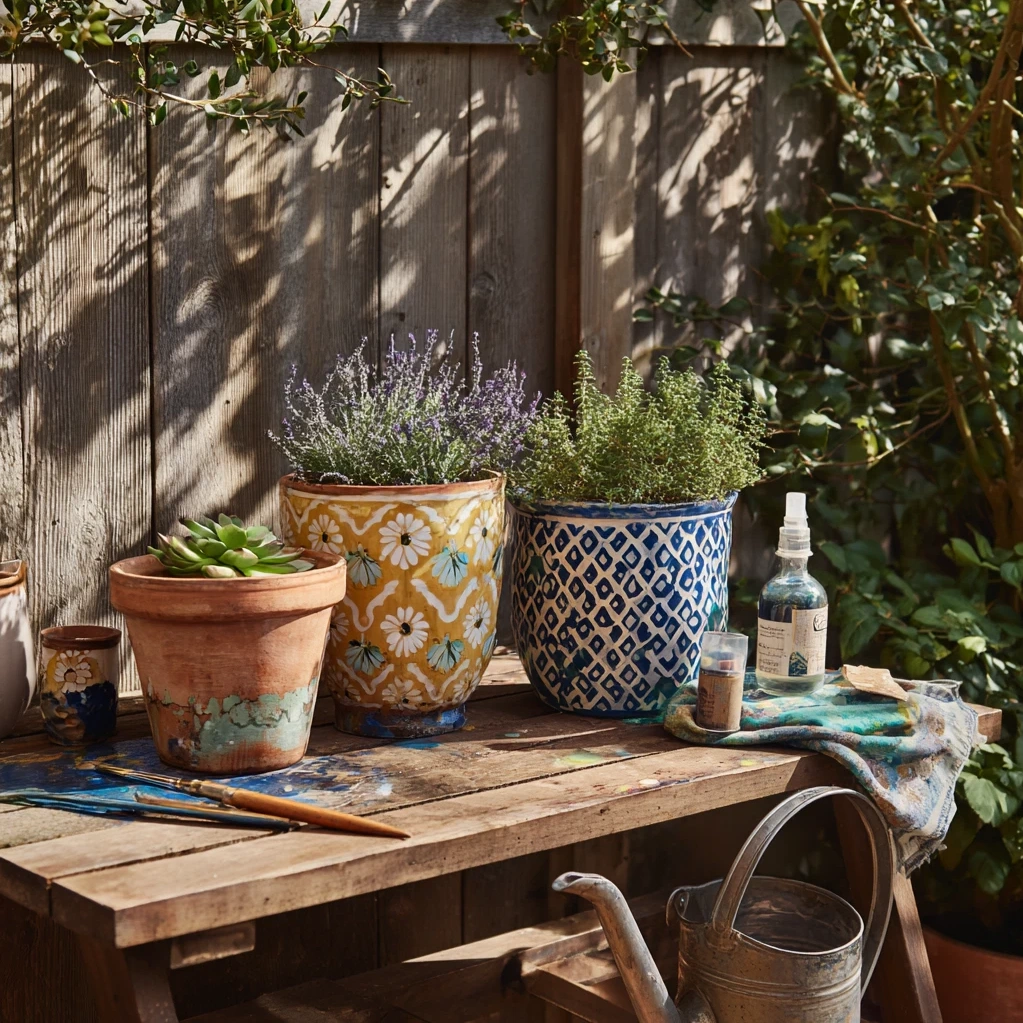
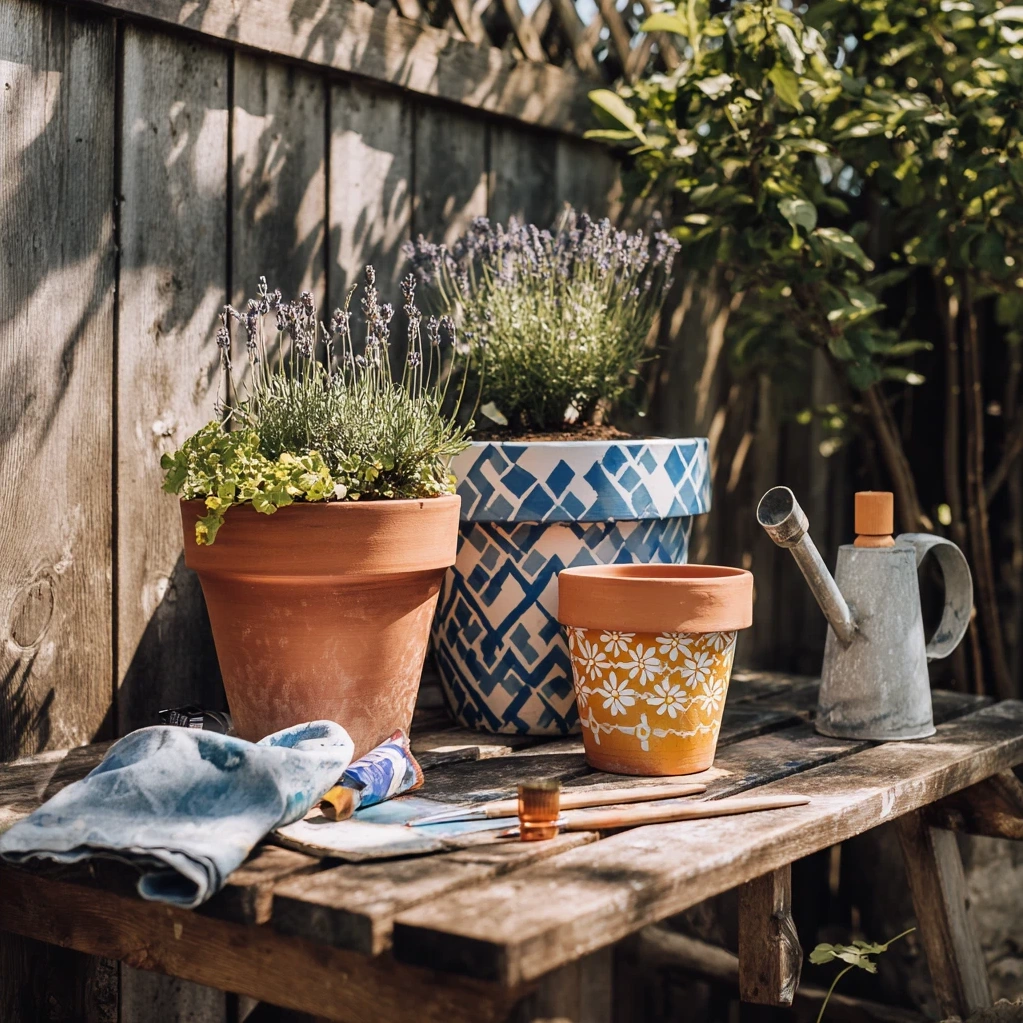
Flower pot painting offers endless creative possibilities, from simple techniques to elaborate designs. One popular approach is the ombre effect, where colors gradually transition from dark to light or between complementary hues. This creates a sophisticated look with minimal effort—simply blend wet paints where they meet. For those who prefer patterns, geometric designs using painter's tape create clean, modern looks. You can create stripes, chevrons, or even complex patterns by layering tape in different directions. Nature-inspired designs are another wonderful option for flower pot painting. You can paint realistic flowers, leaves, or abstract botanical patterns that complement the plants growing in your pots. Stencils make this approach accessible to everyone—simply secure your stencil and paint within the openings. For texture lovers, consider using sponges, rags, or even bubble wrap to create interesting surfaces. Dry brushing—using minimal paint on a dry brush—creates rustic, weathered effects perfect for cottage-style gardens. If you're feeling adventurous, try freehand painting. Start with simple motifs like dots, swirls, or basic shapes, then gradually work up to more complex illustrations. Lettering and quotes add personal touches to flower pot painting projects. You can paint plant names, inspirational words, or even humorous phrases. Remember to consider color theory when planning your designs. Complementary colors (opposites on the color wheel) create vibrant contrast, while analogous colors (neighbors on the wheel) offer harmonious blends. Think about your pot's final location too. Bright colors pop in shaded areas, while subtle tones work well in full sun. Don't be afraid to experiment—the beauty of flower pot painting is that you can always paint over designs you don't love. Layer different techniques for truly unique creations. A textured base with delicate painted details on top can produce stunning results. The key is to have fun and let your personal style shine through each brushstroke.
Durability Tips for Outdoor Flower Pot Painting
When your flower pot painting projects will live outdoors, durability becomes a primary concern. The right preparation and protection ensure your artwork withstands weather, watering, and seasonal changes. Start with proper surface preparation. Clean pots thoroughly to remove dirt, dust, and any residue. For porous materials like terracotta, consider soaking them briefly to prevent them from absorbing too much moisture from your paint. Light sanding creates better paint adhesion, especially on smooth surfaces. Priming is non-negotiable for outdoor flower pot painting. Use a primer specifically designed for your pot material—ceramic primers differ from those for plastic or concrete. Apply two thin coats rather than one thick coat, allowing proper drying time between applications. When selecting paints, choose products labeled for outdoor use. Exterior-grade acrylic paints, patio paints, or specialty ceramic paints offer superior weather resistance. Avoid regular craft paints unless you plan to keep pots indoors or under cover. Application technique affects durability too. Multiple thin coats create a more resilient finish than one thick coat. Allow each layer to dry completely before adding the next—rushing this process leads to cracking and peeling. The most critical step for outdoor flower pot painting is sealing. Use a clear, waterproof sealer designed for exterior use. Polyurethane or acrylic-based sealers work well, but ensure they're non-toxic if you're growing edible plants. Apply at least two coats of sealer, paying special attention to the rim and bottom where moisture accumulates. Consider your pot's drainage too. Never seal drainage holes, as this causes waterlogging that damages both plants and paint. For extra protection, elevate painted pots slightly using pot feet or stands to prevent moisture wicking from surfaces below. Seasonal maintenance extends your flower pot painting's lifespan. In harsh climates, consider bringing pots indoors during extreme weather or covering them with protective materials. Gentle cleaning with mild soap and water removes dirt without damaging designs. Touch up chips or scratches promptly with matching paint and fresh sealer. With these precautions, your flower pot painting creations will beautify your outdoor spaces for years, evolving gracefully with the elements rather than deteriorating quickly.
Conclusion
Flower pot painting transforms ordinary containers into personalized works of art that enhance both indoor and outdoor spaces. Throughout this exploration, we've discovered how this accessible craft combines creativity with practical gardening needs. From gathering basic supplies to mastering various techniques and ensuring outdoor durability, each step offers opportunities for self-expression and skill development. The true beauty of flower pot painting lies in its versatility—it adapts to any skill level, budget, or design preference while producing tangible results you can enjoy daily. As you continue your flower pot painting journey, remember that perfection isn't the goal. Each brushstroke contributes to a unique creation that reflects your personal style and enhances your living environment. Consider expanding your projects beyond individual pots. Create coordinated sets for your garden, design seasonal collections that change with the year, or develop signature styles that become your trademark. The future of flower pot painting looks bright as more people discover its therapeutic benefits and decorative potential. New materials and techniques continually emerge, offering even more creative possibilities. For your next step, start with one simple project. Choose a pot, select a color scheme that complements your space, and experiment with one of the techniques discussed. Share your creations with friends or gardening communities—your successes might inspire others to begin their own flower pot painting adventures. Whether you're creating a peaceful sanctuary on your balcony or adding personality to an extensive garden, painted pots bring joy that grows alongside your plants.
Frequently Asked Questions
Q: What type of paint works best for flower pot painting?
Acrylic paints are generally the best choice for flower pot painting due to their versatility, quick drying time, and wide color selection. For outdoor pots, use exterior-grade acrylic paints or paints specifically formulated for ceramics and outdoor use. These contain additives that resist fading from sunlight and weathering from moisture. Always pair paint with appropriate primers and sealers—a quality primer helps paint adhere better to different surfaces, while a waterproof sealer protects your finished design. For food-safe pots (like those containing herbs), ensure all materials are non-toxic once fully cured.
Q: How do I prepare old or used pots for painting?
Proper preparation ensures your flower pot painting adheres well and lasts longer. Start by cleaning pots thoroughly with warm soapy water to remove dirt, algae, and mineral deposits. For stubborn stains, use a mixture of water and white vinegar. Scrub with a stiff brush, then rinse completely. Allow pots to dry completely—this may take 24-48 hours for porous materials like terracotta. Lightly sand the surface with fine-grit sandpaper to create texture for better paint adhesion. Wipe away dust with a damp cloth. Apply a suitable primer before painting, especially on glossy or previously painted surfaces. This preparation creates the ideal canvas for your flower pot painting project.
Q: Can I paint plastic flower pots, and how do I make it last?
Yes, you can absolutely paint plastic flower pots, but they require special preparation. Clean the plastic thoroughly with soap and water, then use rubbing alcohol to remove any residues. Light sanding creates texture for paint to grip. Use a primer designed for plastic surfaces—this is crucial as paint doesn't adhere well to smooth plastic without it. Choose paints formulated for plastic or use multi-surface acrylic paints. Apply thin, even coats rather than thick layers to prevent peeling. Finish with a clear sealer compatible with both plastic and your paint type. Avoid placing freshly painted plastic pots in direct sunlight until fully cured (about a week) to prevent premature fading or damage.