
Grandma Dots Stuffing Balls – Heavenly Homemade Perfection That Will Transform Your Holiday Table
I have to tell you about my absolute favorite holiday side dish—it’s what I call Grandma Dots stuffing balls. You know how some recipes just transport you right back to your childhood kitchen? That’s exactly what these little golden-brown beauties do for me. I remember sitting at my grandma’s table, watching her shape these savory bundles with her hands, the whole house smelling like Thanksgiving magic. It wasn’t just about the food—it was about the love she kneaded into every single one.
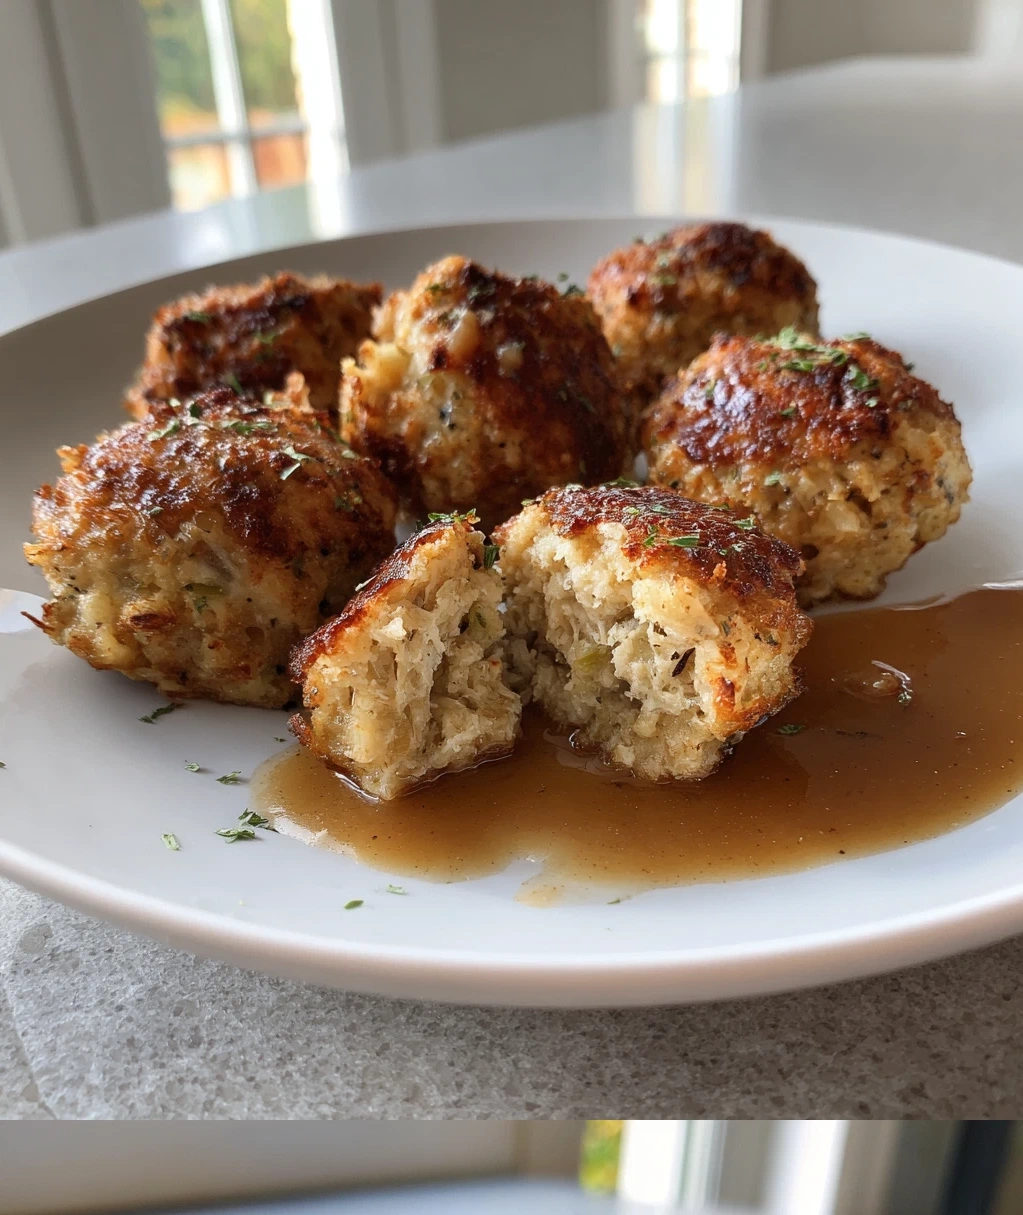
Now, I make them every year for my own family, and let me tell you, they disappear faster than you can say “seconds please!” They’re crisp on the outside, tender and moist inside, packed with all those cozy flavors that make a holiday meal special. And the best part? They’re surprisingly simple to make. You don’t need fancy ingredients or professional chef skills—just good bread, some herbs, and a bit of patience. Trust me, once you try them, you’ll never go back to plain old stuffing from a box again.
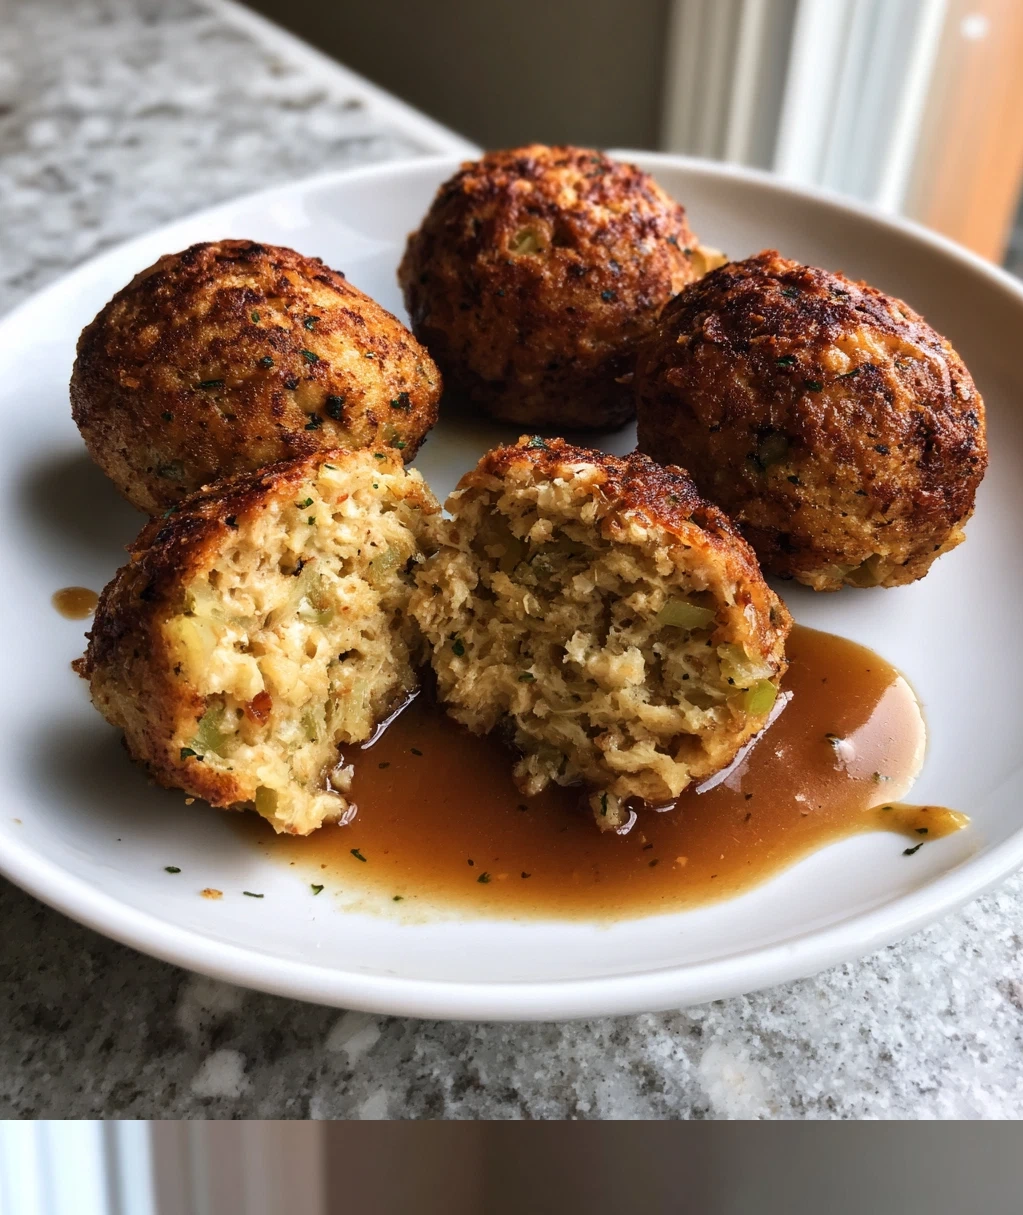
What makes Grandma Dots stuffing balls so special is their texture. They hold together beautifully but still have that perfect crumbly interior that soaks up gravy like a dream. They’re the perfect little package of comfort food, and they look gorgeous on a holiday platter. So grab your apron and let’s get cooking—I promise this recipe will become a new family tradition in your home too.
Why You'll Fall in Love With Grandma Dots Stuffing Balls
Let me tell you why these stuffing balls are going to be your new holiday obsession. First off, they’re incredibly versatile—you can serve them with turkey, chicken, ham, or even as a standalone appetizer. They’re perfect for feeding a crowd because you can make them ahead of time and just pop them in the oven when you’re ready. Plus, they’re way more impressive looking than regular stuffing in a baking dish!
Here are my top reasons you’ll love them:
- Perfect texture every time: The outside gets beautifully crisp while the inside stays moist and tender.
- Portion control made easy: No more fighting over the crispy edges—everyone gets their own perfect little ball.
- Make-ahead magic: You can prepare them a day in advance and just bake when needed.
- Endless customization: Add your favorite herbs, nuts, or dried fruits to make them your own.
- Kid-friendly fun: Little hands love helping shape the balls—it’s a great family cooking activity.
The beauty of Grandma Dots stuffing balls is how forgiving they are. Don’t worry if they’re not perfectly round—that rustic, homemade look is part of their charm. And they reheat beautifully, so you can enjoy leftovers for days (if they last that long!).

Gathering Your Ingredients for Perfect Grandma Dots Stuffing Balls
Alright, let’s talk ingredients. The secret to amazing Grandma Dots stuffing balls is starting with good bread. You’ll want day-old bread that’s slightly stale—it absorbs the liquid better without getting mushy. I usually use a combination of white and whole wheat bread, but you can use whatever you have on hand. Just make sure it’s not fresh from the bakery—give it a day to dry out a bit.
Here’s what you’ll need for about 20-24 stuffing balls:
- 8 cups day-old bread, cut into ½-inch cubes (about 1 pound)
- 1 large onion, finely chopped
- 3 celery stalks, finely chopped
- 4 tablespoons unsalted butter
- 2 large eggs, beaten
- 1 ½ cups chicken or vegetable broth
- 1 teaspoon dried sage
- 1 teaspoon dried thyme
- ½ teaspoon dried rosemary
- 1 teaspoon salt (adjust to taste)
- ½ teaspoon black pepper
- ½ cup chopped fresh parsley
A quick note about the broth—I prefer low-sodium so I can control the saltiness. If you’re using regular broth, you might want to reduce the added salt. And don’t skip the fresh parsley! It adds such a bright, fresh flavor that balances all those warm herbs beautifully.
You can find all these ingredients at any grocery store, and most are pantry staples. The bread is the only thing that requires a bit of planning—I usually cut my bread cubes the night before and leave them out on a baking sheet to dry. It makes all the difference in texture!
Step-by-Step Guide to Making Grandma Dots Stuffing Balls
Ready to make magic happen? Let’s walk through this together. I’ll share all my little tricks along the way—the same ones my grandma taught me. This recipe comes together in about an hour from start to finish, with most of that time being hands-off baking.
Here’s how to create your perfect Grandma Dots stuffing balls:
- Prep your bread: Start by cutting your day-old bread into ½-inch cubes. Spread them out on a baking sheet and let them sit for a few hours if they’re not already stale. You want them dry but not rock-hard.
- Sauté the veggies: In a large skillet, melt the butter over medium heat. Add the chopped onion and celery and cook for 8-10 minutes until they’re soft and fragrant. You’ll know they’re ready when the onion turns translucent and the celery loses its raw crunch.
- Combine everything: In a large mixing bowl, combine the bread cubes, sautéed vegetables, all the herbs, salt, and pepper. Mix gently with your hands or a wooden spoon—you don’t want to crush the bread cubes.
- Add the wet ingredients: Pour in the beaten eggs and broth. Mix until everything is evenly moistened. Let this mixture sit for 10 minutes so the bread can really soak up all that flavorful liquid.
- Shape your balls: Now for the fun part! Scoop about ¼ cup of the mixture and gently shape it into a ball with your hands. Don’t pack it too tightly—you want them to hold together but still be light. Place them on a parchment-lined baking sheet about an inch apart.
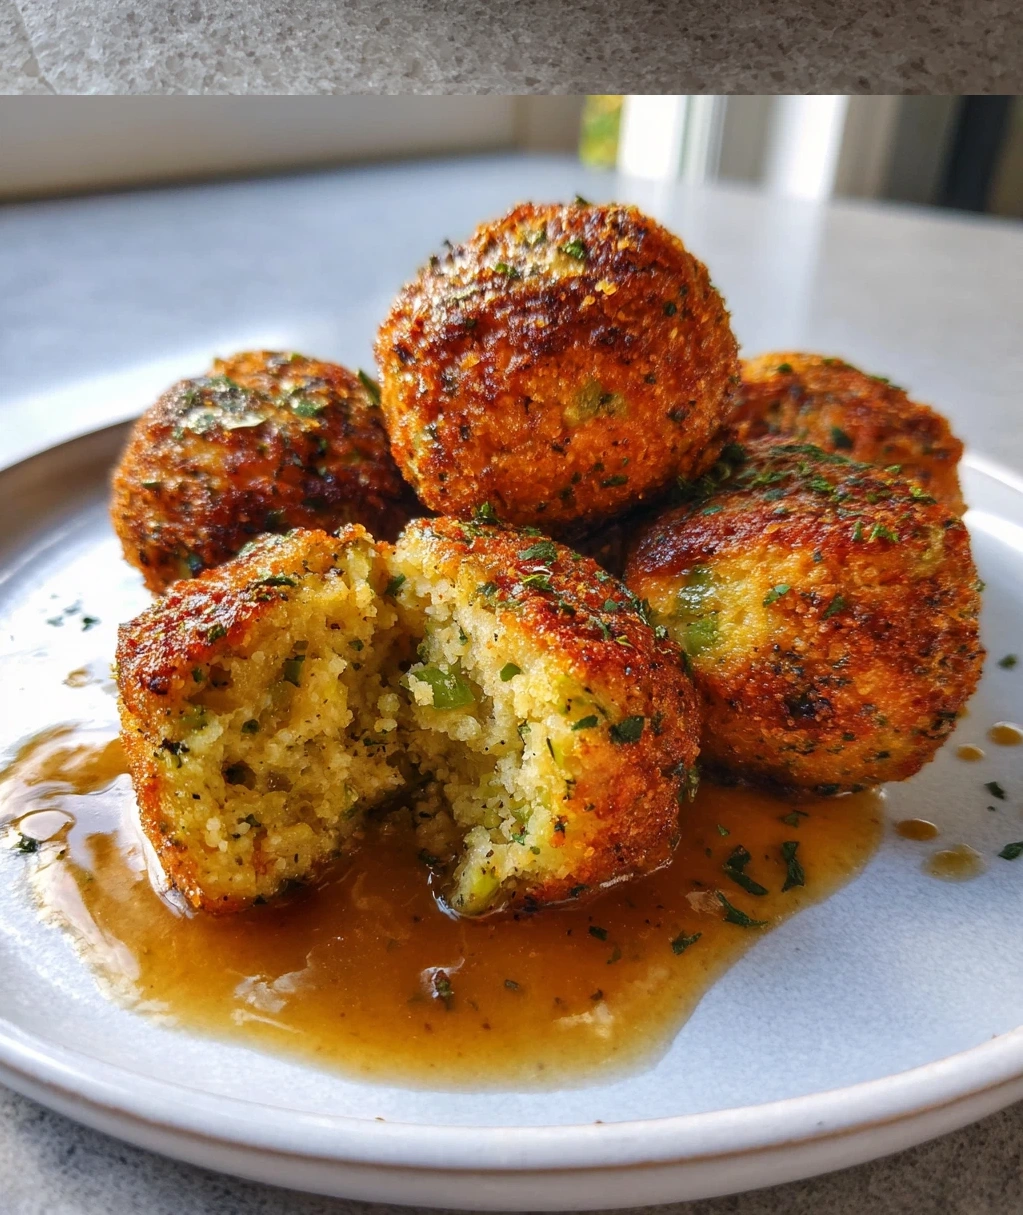
- Bake to perfection: Bake at 375°F (190°C) for 25-30 minutes. You’ll know they’re done when they’re golden brown all over and crisp on the outside. Let them cool for 5 minutes before serving—they’ll firm up a bit as they cool.
My favorite part is watching them transform in the oven. They start out pale and soft, then gradually turn that beautiful golden-brown color. The smell that fills your kitchen is absolutely heavenly—all those herbs releasing their oils, the bread toasting, that savory aroma that just screams “holidays.”
A quick safety tip: Make sure your eggs are fully cooked. The stuffing balls should reach an internal temperature of 165°F (74°C) to be safe. If you’re unsure, you can always check one by breaking it open—the inside should be steaming hot and the egg should be fully set.
Creative Variations for Your Grandma Dots Stuffing Balls
One of the best things about Grandma Dots stuffing balls is how easily you can customize them. My grandma had her classic version, but over the years, I’ve played around with different add-ins. Here are some of my favorite variations that always get rave reviews:
Savory Additions:
- Add ½ cup cooked and crumbled sausage for extra richness
- Mix in ½ cup chopped toasted pecans or walnuts for crunch
- Stir in ½ cup dried cranberries or cherries for a sweet-tart contrast
- Include ½ cup chopped mushrooms sautéed with the onions
- Add ½ cup grated Parmesan cheese for extra umami flavor
Herb Variations:
- Swap the sage for poultry seasoning if that’s what you have
- Add a tablespoon of fresh chopped rosemary for a piney note
- Include some chopped fresh tarragon for a slightly licorice flavor
- Try marjoram instead of thyme for a sweeter herb profile
Bread Options:
- Use cornbread instead of regular bread for Southern-style stuffing balls
- Try sourdough for a tangy twist
- Mix in some rye bread for deeper flavor
- Add some stuffing mix along with your bread cubes for extra texture
Don’t be afraid to experiment! The basic recipe is very forgiving. Just remember that if you add a lot of extra ingredients, you might need a bit more broth or another egg to help everything bind together. And always taste your mixture before shaping—you can adjust the seasoning to your preference.
My personal favorite variation is adding sausage and apples. I cook the sausage first, then sauté diced apples with the onions. The sweet apples balance the savory sausage perfectly, and it makes the stuffing balls feel extra special.
Serving and Storing Your Grandma Dots Stuffing Balls
Now that you’ve made these beautiful Grandma Dots stuffing balls, let’s talk about how to serve and store them. Presentation matters, especially for holiday meals, and these little gems deserve to shine!
Serving Suggestions:
- Arrange them on a pretty platter with fresh herbs scattered around
- Serve them in a warm bowl with extra gravy on the side
- Place them around your roasted turkey or chicken like a crown
- Serve as appetizers with cranberry sauce for dipping
- Add them to leftover turkey sandwiches for next-level deliciousness
They’re best served warm, right out of the oven. The contrast between the crisp exterior and soft interior is at its peak when they’re fresh. But don’t worry if you need to keep them warm—you can hold them in a 200°F (95°C) oven for up to an hour. Just cover them loosely with foil so they don’t dry out.
Storage Tips:
- Refrigerator: Store leftover stuffing balls in an airtight container for up to 4 days. They’ll lose some crispness but will still taste amazing.
- Freezer: You can freeze unbaked stuffing balls! Shape them, place on a baking sheet to freeze solid, then transfer to freezer bags. They’ll keep for 3 months. Bake from frozen, adding 5-10 minutes to the baking time.
- Reheating: To bring back that crisp texture, reheat in a 350°F (175°C) oven for 10-15 minutes. The microwave will make them soft, so I don’t recommend it unless you’re in a real hurry.
A little nutritional note: These are a holiday treat, so enjoy them in moderation. But they’re made with real ingredients—no preservatives or artificial flavors. You can make them a bit healthier by using whole grain bread and reducing the butter, but honestly, for special occasions, I say go for the full version. Life’s too short for boring stuffing!
One last tip: If you’re making these for a potluck or taking them to someone else’s house, transport them in a insulated container to keep them warm. They’re such a hit that you’ll want to share them with everyone!
Conclusion
Well, there you have it—my treasured recipe for Grandma Dots stuffing balls, passed down through generations and now shared with you. Making these every year connects me to my family’s past while creating new memories with the people I love today. There’s something so special about food that carries stories with it, and these little balls are packed with more than just herbs and bread—they’re filled with love, tradition, and the warmth of home.
I hope you give this recipe a try this holiday season. Don’t stress about making them perfect—the beauty is in their homemade charm. Whether you follow the classic version or add your own creative twist, I know they’ll become a beloved part of your family traditions too. The smell alone is worth the effort, but wait until you see everyone’s faces when they take that first bite!
Remember, cooking is about more than just feeding people—it’s about sharing joy, creating comfort, and building connections. These Grandma Dots stuffing balls have done all that for my family for decades, and I’m so excited to think about them doing the same in your kitchen. So roll up your sleeves, get your hands a little messy, and create some delicious memories. Your future self will thank you when you’re enjoying these year after year, remembering when you first learned to make them.
Frequently Asked Questions
Q: Can I make Grandma Dots stuffing balls ahead of time?
Absolutely! You have a couple of options. You can prepare the mixture up to a day in advance and store it covered in the refrigerator, then shape and bake when ready. Or, you can shape the balls and freeze them unbaked on a baking sheet, then transfer to freezer bags. Bake from frozen, adding 5-10 extra minutes. They also reheat beautifully if you make them completely ahead.
Q: What if my stuffing balls fall apart when I shape them?
Don't worry—this happens sometimes! The mixture might be too dry. Try adding another tablespoon or two of broth and letting it sit for 5 more minutes. Also, make sure you're not packing them too tightly—gentle shaping works best. If they're still not holding, you can add another beaten egg to help bind everything together.
Q: Can I make these stuffing balls gluten-free or vegan?
Yes to both! For gluten-free, use your favorite gluten-free bread—just make sure it's day-old so it holds up. For vegan, use vegetable broth, substitute the butter with olive oil or vegan butter, and replace the eggs with a flax egg (1 tablespoon ground flax mixed with 3 tablespoons water per egg). You might need to adjust the liquid slightly for the vegan version.
Q: How do I get my stuffing balls extra crispy?
For maximum crispiness, make sure your oven is fully preheated before baking. Space the balls at least an inch apart on the baking sheet so air can circulate. You can also brush them lightly with melted butter before baking, or for the last 5 minutes of baking, turn on the broiler (watch them carefully!). Using bread that's properly dried helps too.
Q: What's the best bread to use for stuffing balls?
Day-old white, whole wheat, or a combination works great. The bread should be slightly stale but not rock-hard. Avoid fresh bakery bread as it gets too mushy. Some people love using cornbread for a Southern twist, or sourdough for tangy flavor. You can even use a mix of different breads for more complex texture.
PrintGrandma Dots Stuffing Balls
- Total Time: 50
- Yield: 24 stuffing balls 1x
Description
Hearty, savory stuffing balls packed with herbs, vegetables, and sausage, baked to golden perfection for a comforting holiday side dish.
Ingredients
1 lb ground pork sausage
1 cup finely chopped onion
1 cup finely chopped celery
2 cloves garlic, minced
8 cups dry bread cubes
1/2 cup chopped fresh parsley
1 tsp dried sage
1 tsp dried thyme
1/2 tsp black pepper
2 large eggs, beaten
1 cup chicken broth
1/2 cup melted butter
Instructions
Step 1: Preheat oven to 375°F (190°C) and line a baking sheet with parchment paper.
Step 2: In a large skillet over medium heat, cook sausage until browned, breaking it into small pieces.
Step 3: Add onion, celery, and garlic to the skillet and cook until vegetables are softened, about 5-7 minutes.
Step 4: In a large mixing bowl, combine bread cubes, parsley, sage, thyme, and black pepper.
Step 5: Stir in the cooked sausage mixture until well distributed.
Step 6: Mix in beaten eggs, chicken broth, and melted butter until the mixture holds together when pressed.
Step 7: Using damp hands, form mixture into 2-inch balls and place on prepared baking sheet.
Step 8: Bake for 25-30 minutes until golden brown and crispy on the outside.
- Prep Time: 20
- Cook Time: 30
- Category: Side Dish
Nutrition
- Calories: 180
- Fat: 10g
- Carbohydrates: 15g
- Protein: 7g