
Irresistible Amish White Bread: Amazingly Simple and Absolutely Delicious
You know that feeling when you walk into a kitchen and the air is thick with the warm, comforting smell of freshly baked bread? That’s exactly what happens every time I make this irresistible Amish white bread. I can’t even count how many times I’ve baked this loaf over the years—it’s become my go-to recipe whenever I need something reliably wonderful to serve to friends or just enjoy with my morning coffee.
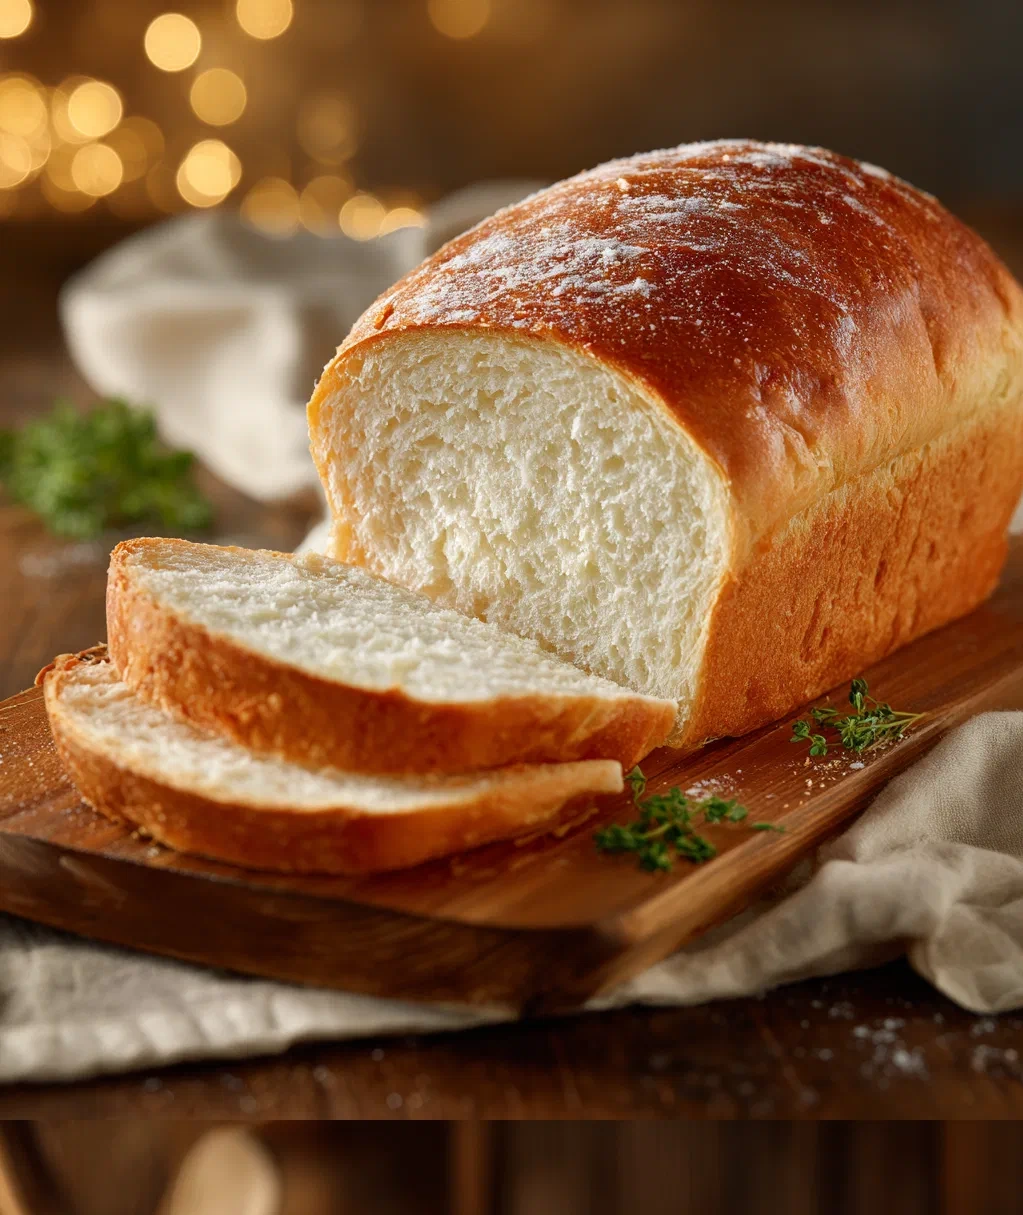
This isn’t just any bread recipe. This is the kind of bread that makes people stop what they’re doing and come running to the kitchen. The crust turns out golden and just slightly crisp, while the inside stays soft and pillowy. It slices beautifully for sandwiches, toasts up perfectly for breakfast, and honestly, sometimes I just tear off pieces and eat them plain while they’re still warm from the oven. There’s something magical about homemade bread that store-bought versions just can’t match.
What makes this irresistible Amish white bread so special is how straightforward it is. You don’t need any fancy equipment or hard-to-find ingredients. Just basic pantry staples and a little bit of patience while it rises. I remember the first time I made it—I was a bit nervous about the yeast, but it turned out so well that my family finished the whole loaf in one sitting. Now it’s a regular in my kitchen, and I’m excited to share it with you.
Why This Irresistible Amish White Bread Will Become Your Favorite
Let me tell you why this bread recipe has earned a permanent spot in my kitchen rotation. First, it’s incredibly forgiving. Don’t worry if you’re new to bread-making—this recipe walks you through every step. The texture is just perfect: soft enough for sandwiches but sturdy enough to hold up to spreads and toppings. My favorite part is how the house smells while it bakes. That warm, yeasty aroma makes everything feel cozier.
Here’s what you’ll love about this irresistible Amish white bread:
- Simple ingredients: You probably have everything you need right now
- No fancy equipment required: Just bowls, a spoon, and your hands
- Versatile: Makes amazing sandwiches, toast, or just eats plain with butter
- Freezes beautifully: Make an extra loaf for later
- Crowd-pleaser: Everyone asks for the recipe when they try it
Trust me, once you taste that first warm slice with a little butter melting into it, you’ll understand why I’m so enthusiastic about this bread. It’s the kind of recipe that makes you feel like a real baker, even if you’re just starting out.
Everything You Need for Perfect Irresistible Amish White Bread
Gathering your ingredients is the first step toward amazing homemade bread. Here’s what you’ll need—nothing complicated, I promise. I like to set everything out on my counter before I start so I don’t forget anything halfway through.
- 6 to 7 cups all-purpose flour: Start with 6 cups—you’ll add more as needed
- 2 cups warm water: About 110°F—warm to the touch but not hot
- 2/3 cup white sugar: This gives the bread its signature slightly sweet taste
- 1 1/2 tablespoons active dry yeast: Make sure it’s fresh and not expired
- 1/4 cup vegetable oil: Any neutral oil works—I usually use canola
- 2 teaspoons salt: Don’t skip this—it balances the sweetness
That’s it! See? Nothing fancy. Just make sure your yeast is fresh—if it’s been sitting in your pantry for years, it might not work properly. I always check the expiration date before I start. The warm water temperature is important too. If it’s too hot, it can kill the yeast; if it’s too cold, the yeast won’t activate properly. I test it on my wrist like you would a baby’s bottle—it should feel comfortably warm, not hot.
Step-by-Step Guide to Baking Your Irresistible Amish White Bread
Ready to get your hands floury? Here’s exactly how to make this wonderful bread. I’ve broken it down into simple steps so you can follow along easily. Set aside about 3 hours from start to finish, but most of that is waiting time while the dough rises.
- Activate the yeast: In a large bowl, combine the warm water, sugar, and yeast. Give it a gentle stir and let it sit for 5-10 minutes until it gets foamy on top. This tells you the yeast is alive and ready to work.
- Mix the dough: Add the oil and salt to the yeast mixture. Start adding flour one cup at a time, mixing well after each addition. After about 5 cups, you’ll need to start kneading by hand. Add just enough flour until the dough isn’t sticky anymore—usually 6 to 6 1/2 cups total.
- Knead it well: Turn the dough out onto a lightly floured surface and knead for 8-10 minutes. You want it to become smooth and elastic. If it sticks to your hands, add a little more flour, but don’t overdo it—too much flour makes dense bread.
- First rise: Place the dough in a greased bowl, turning once to coat. Cover with a clean kitchen towel and let it rise in a warm spot for 1 hour, or until doubled in size. I like to put mine in my oven with just the light on—it creates the perfect warm environment.
- Shape and second rise: Punch down the dough and divide it in half. Shape each half into a loaf and place in greased 9×5 inch loaf pans. Cover and let rise again for 30 minutes, until the dough rises about an inch above the pan rims.
- Bake to perfection: Preheat your oven to 350°F. Bake the loaves for 30-35 minutes until they’re golden brown and sound hollow when tapped on the bottom. Remove from pans immediately and let cool on wire racks.
My best tip? Don’t slice the bread until it’s completely cool—it’s tempting, I know, but it slices much better when it’s cooled down. If you absolutely can’t wait, tear off pieces instead of slicing.
Creative Ways to Enjoy Your Fresh Irresistible Amish White Bread
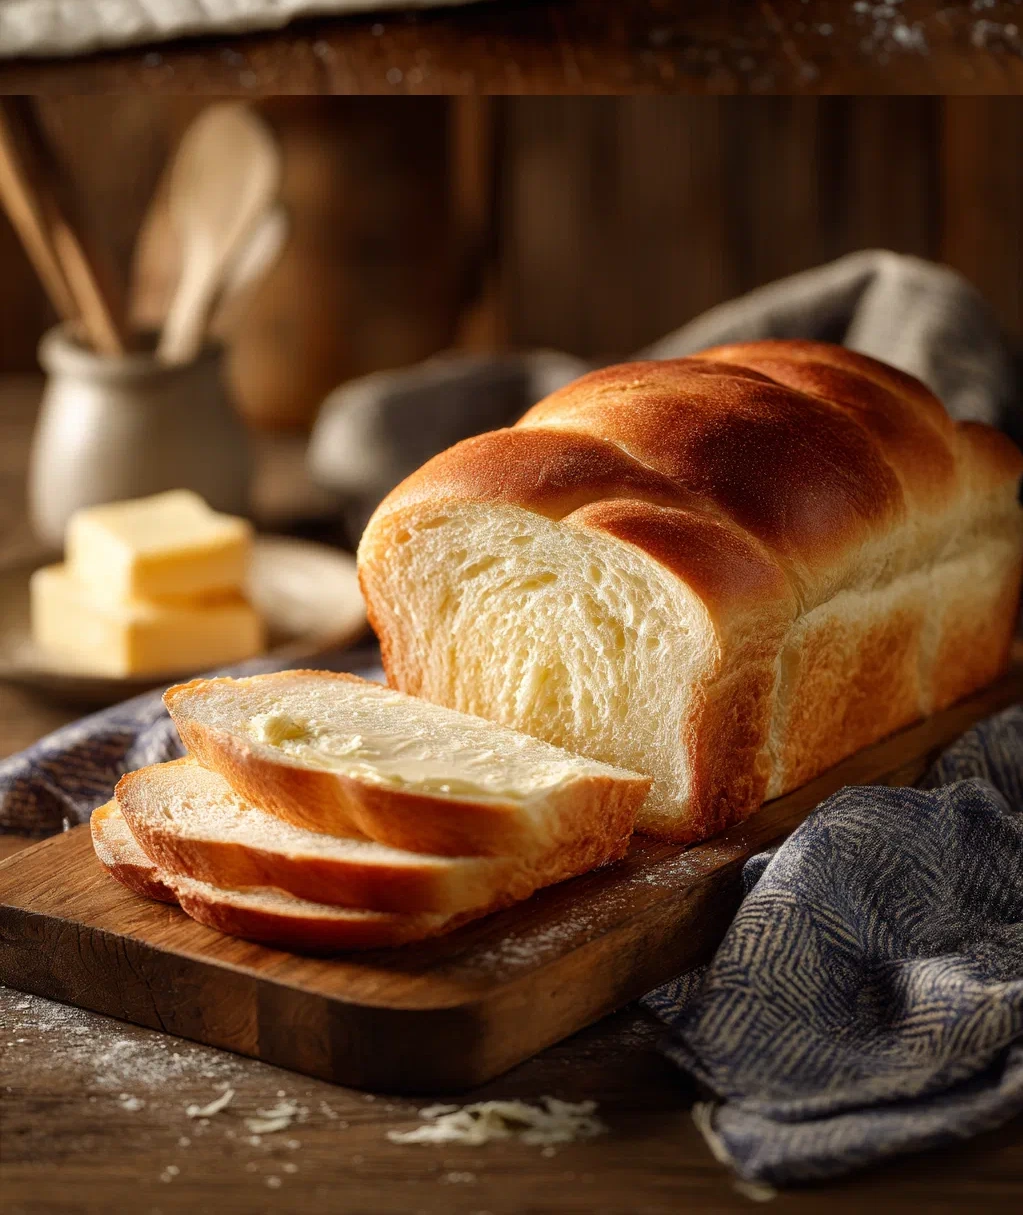
Now for the fun part—eating your amazing homemade bread! This irresistible Amish white bread is fantastic in so many ways. My absolute favorite is still warm from the oven with a generous smear of good butter. The butter melts right into those warm, soft slices and it’s pure heaven.
Here are some of my favorite ways to serve it:
- Breakfast toast: Thick slices toasted and topped with jam, honey, or cinnamon sugar
- Sandwich bread: Makes the best turkey and cheese or peanut butter and jelly sandwiches
- French toast: Stale bread works perfectly for this—soak in egg mixture and fry up
- Bread pudding: Cube leftover bread and make a sweet or savory bread pudding
- Bread bowls: Hollow out small rounds and fill with soup or chili
Don’t be afraid to get creative! I’ve used this bread for everything from croutons (just cube, toss with oil and seasonings, and bake) to breadcrumbs (let slices dry out, then pulse in a food processor). The slightly sweet flavor works well in both sweet and savory dishes. One of my family’s favorite weekend treats is when I make French toast with this bread—the slices soak up the egg mixture beautifully and get that perfect golden crust.
Storing and Freezing Your Irresistible Amish White Bread
Homemade bread doesn’t have preservatives, so it doesn’t last as long as store-bought—but it tastes so much better that it usually disappears quickly anyway! Here’s how to keep your irresistible Amish white bread fresh.
For short-term storage, let the bread cool completely first. Then wrap it tightly in plastic wrap or store it in a bread box or airtight container at room temperature. It will stay fresh for about 3-4 days this way. If your kitchen is particularly warm or humid, you might want to store it in the refrigerator, though this can make it dry out faster.
For longer storage, freezing is your best friend. I often make a double batch and freeze one loaf for later. Here’s how:
- Let the bread cool completely
- Wrap tightly in plastic wrap, then in aluminum foil
- Label with the date—it keeps well for up to 3 months
- To thaw, leave at room temperature for a few hours or overnight
You can also slice the bread before freezing. That way you can take out just a slice or two as needed. Pop frozen slices right into the toaster—they toast up perfectly from frozen. If your bread does get a little stale, don’t throw it out! Stale bread makes excellent French toast, bread pudding, or croutons. Just cube it, let it dry out completely, and store in an airtight container until you’re ready to use it.
Conclusion
There you have it—everything you need to make the most wonderful homemade bread. This irresistible Amish white bread has brought so much joy to my kitchen over the years, and I hope it does the same for yours. There’s something truly special about taking simple ingredients and turning them into something so comforting and delicious. The process itself is almost as rewarding as eating the finished bread. That feeling when you pull those golden loaves from the oven? Pure happiness.
Don’t be intimidated if this is your first time making bread. Every baker starts somewhere, and this recipe is forgiving enough to give you great results even as a beginner. The most important thing is to enjoy the process. Put on some music, get your hands in the dough, and don’t stress about making it perfect. Even if your loaves aren’t bakery-perfect the first time, they’ll still taste amazing. And with practice, you’ll get better each time you make it.
I’d love to hear how your baking turns out. Did your family love it as much as mine does? Did you discover a favorite way to serve it? Once you get comfortable with the basic recipe, try adding your own twists—maybe a sprinkle of herbs in the dough, or a brush of garlic butter on top before baking. The possibilities are endless with this versatile irresistible Amish white bread. Happy baking!
Frequently Asked Questions
Q: Can I use whole wheat flour instead of all-purpose flour?
You can substitute up to half of the all-purpose flour with whole wheat flour. If you use all whole wheat, you'll likely need to add a bit more water since whole wheat flour absorbs more liquid. The texture will be denser and the flavor more nutty. For best results, I recommend starting with a 50/50 blend of whole wheat and all-purpose flour.
Q: My dough didn't rise—what went wrong?
This usually happens for one of three reasons: your yeast was old or expired, your water was too hot and killed the yeast, or your rising spot wasn't warm enough. Make sure your yeast is fresh and your water is warm but not hot (about 110°F). If your kitchen is cool, try letting the dough rise in your oven with just the light on—it creates a perfect warm environment.
Q: How do I know when the bread is fully baked?
The bread should be golden brown on top, and when you tap the bottom of the loaf, it should sound hollow. You can also check with an instant-read thermometer—the internal temperature should be between 190°F and 200°F. If you're unsure, it's better to bake a few minutes longer than to underbake. Underbaked bread can be gummy inside.
Q: Can I make this bread without a stand mixer?
Absolutely! I make this irresistible Amish white bread by hand most of the time. After mixing the initial ingredients, you'll need to knead the dough on a floured surface for about 8-10 minutes until it becomes smooth and elastic. It's a great workout and honestly, there's something satisfying about feeling the dough transform under your hands.
Q: How long does homemade bread stay fresh?
Without preservatives, homemade bread stays fresh for about 3-4 days at room temperature when stored in an airtight container or plastic bag. After that, it starts to stale. For longer storage, freeze it. You can freeze whole loaves or individual slices. Frozen bread keeps well for 2-3 months and thaws beautifully at room temperature or right in the toaster.
PrintIrresistible Amish White Bread
- Total Time: 145
- Yield: 2 loaves 1x
Description
A simple, soft, and delicious homemade white bread with a tender crumb and golden crust, perfect for sandwiches or toast.
Ingredients
2 cups warm water (110°F)
2 tablespoons granulated sugar
1 tablespoon active dry yeast
2 teaspoons salt
2 tablespoons vegetable oil
5–6 cups all-purpose flour
Instructions
Step 1: In a large bowl, dissolve sugar in warm water. Sprinkle yeast over the mixture and let sit for 5 minutes until foamy.
Step 2: Stir in salt and vegetable oil. Gradually add 5 cups of flour, mixing until a soft dough forms.
Step 3: Turn dough onto a floured surface and knead for 8-10 minutes, adding remaining flour as needed until smooth and elastic.
Step 4: Place dough in a greased bowl, cover with a damp cloth, and let rise in a warm place for 1 hour until doubled in size.
Step 5: Punch down dough, divide in half, and shape into loaves. Place in two greased 9×5-inch loaf pans.
Step 6: Cover and let rise for 30 minutes until dough reaches the top of the pans. Preheat oven to 375°F.
Step 7: Bake for 30-35 minutes until golden brown and bread sounds hollow when tapped. Remove from pans and cool on a wire rack.
- Prep Time: 20
- Cook Time: 35
- Category: Bread
Nutrition
- Calories: 120
- Fat: 2g
- Carbohydrates: 22g
- Protein: 3g