
Scalloped Potatoes: Effortless Comfort Food Perfection
If you’re looking for a dish that feels like a warm hug on a plate, you’ve come to the right place. Let me tell you about my absolute favorite side dish: scalloped potatoes. I’m talking about those creamy, cheesy, golden-brown layers that make everyone at the table go quiet for a moment before the compliments start flowing. My grandma used to make them for every holiday gathering, and now I’ve made them my own little tradition too.
What I love about scalloped potatoes is how they manage to be both fancy and completely approachable. You don’t need fancy ingredients or complicated techniques—just good potatoes, some cream, cheese, and a little patience. They’re the kind of dish that makes a regular Tuesday dinner feel special, and they’re always the first thing to disappear at potlucks. Trust me, once you master this recipe, you’ll find yourself making it more often than you’d expect.
The best part? They’re actually easier than they look. I used to be intimidated by the idea of making them from scratch, thinking they required some secret chef knowledge. But after a few tries (and a couple of delicious mistakes), I realized they’re really just about layering and timing. Now I want to share everything I’ve learned with you, so you can create your own scalloped potato memories.
Why Scalloped Potatoes Are the Ultimate Comfort Food
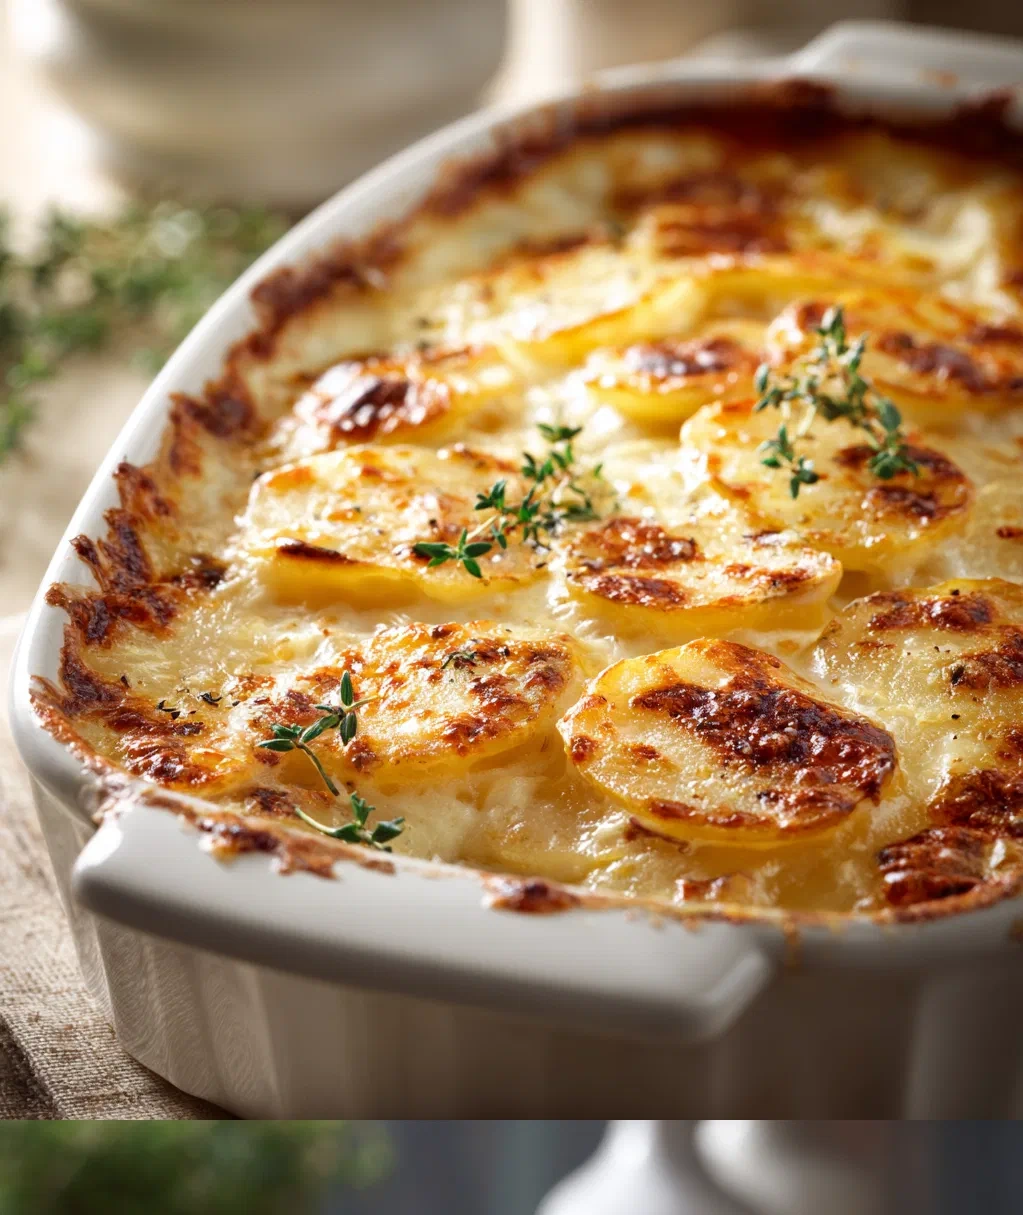
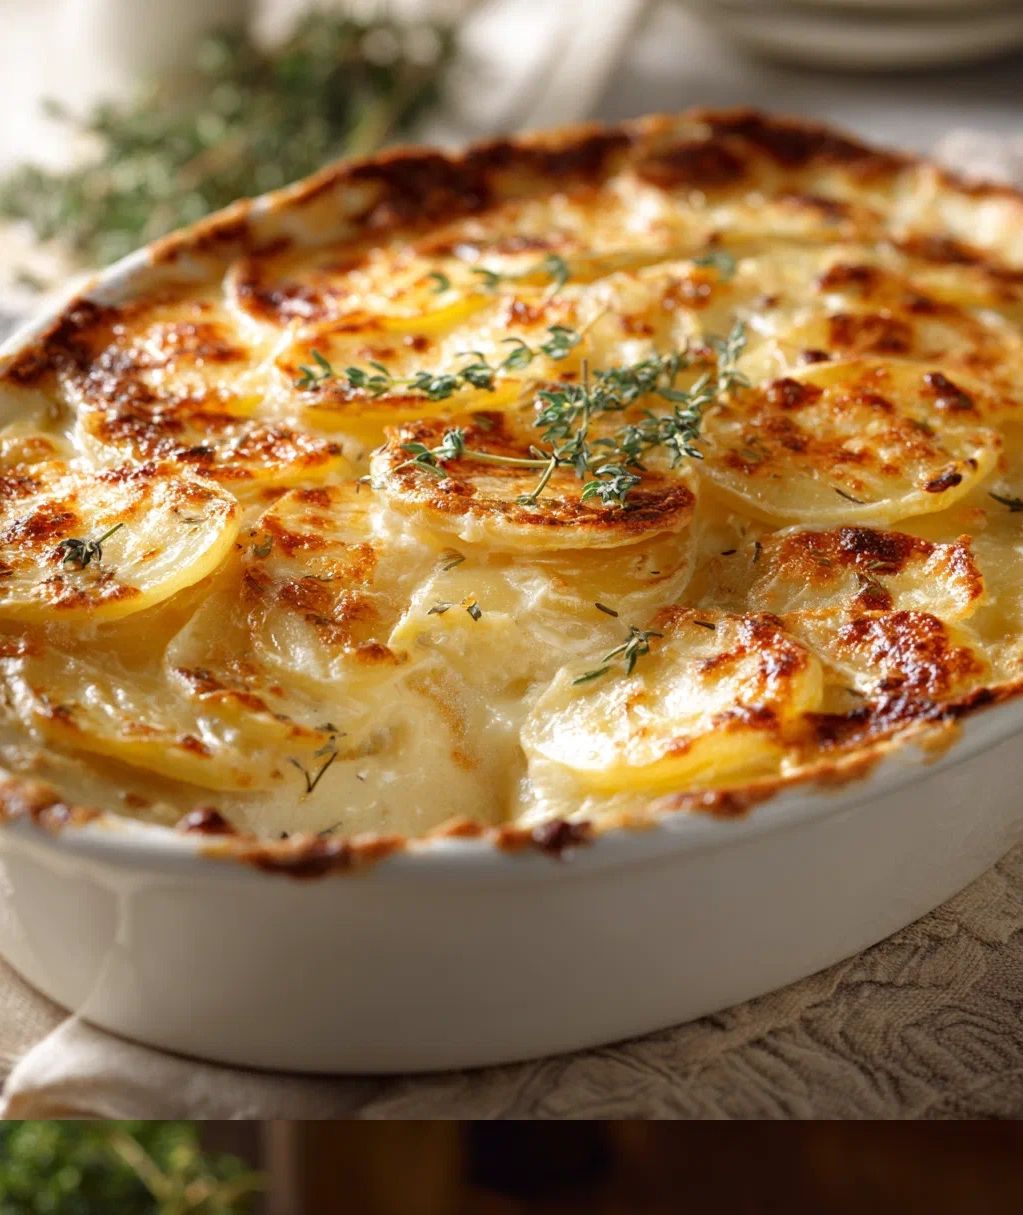
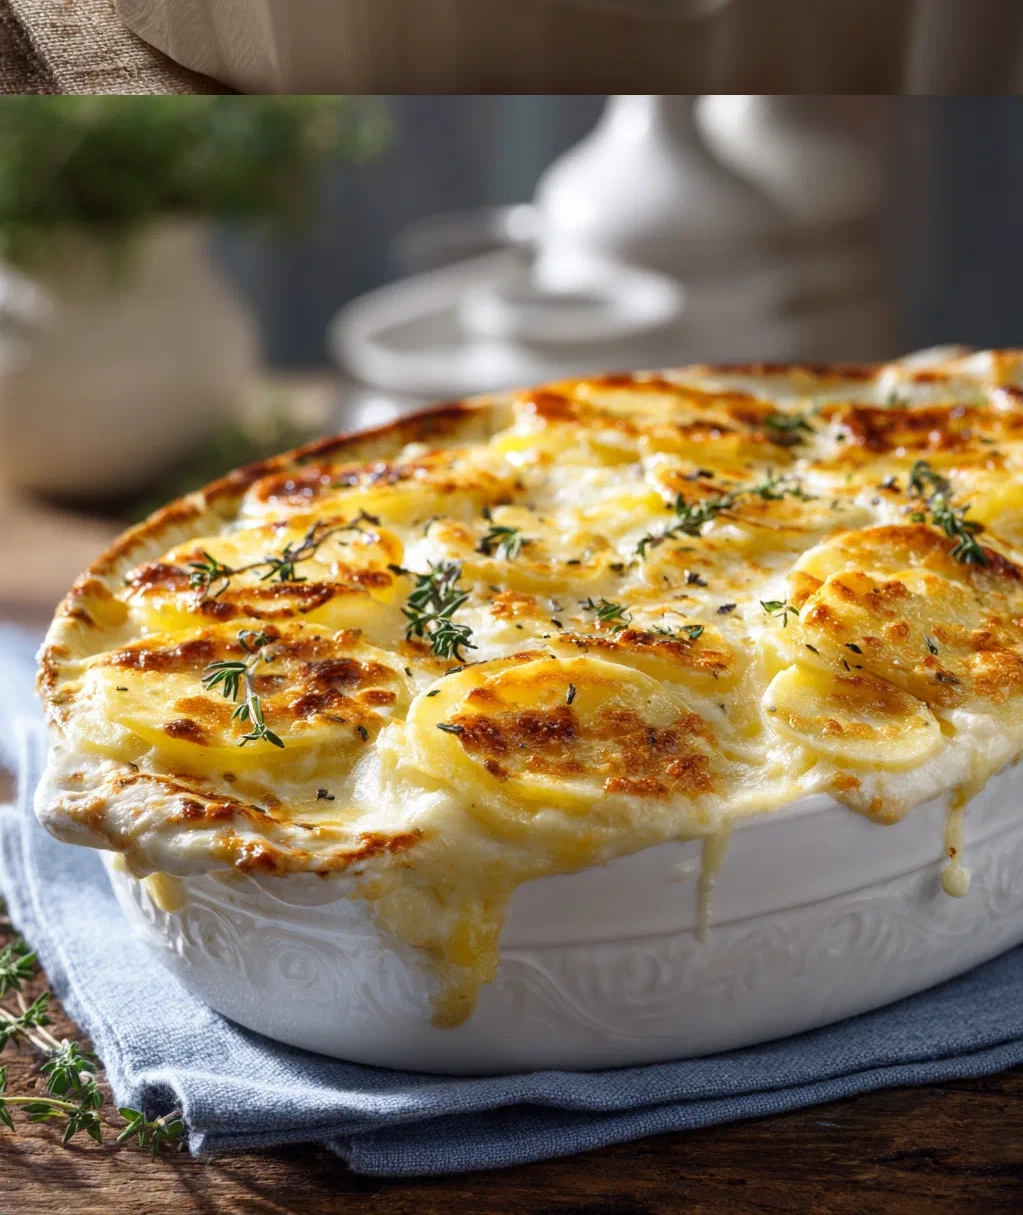
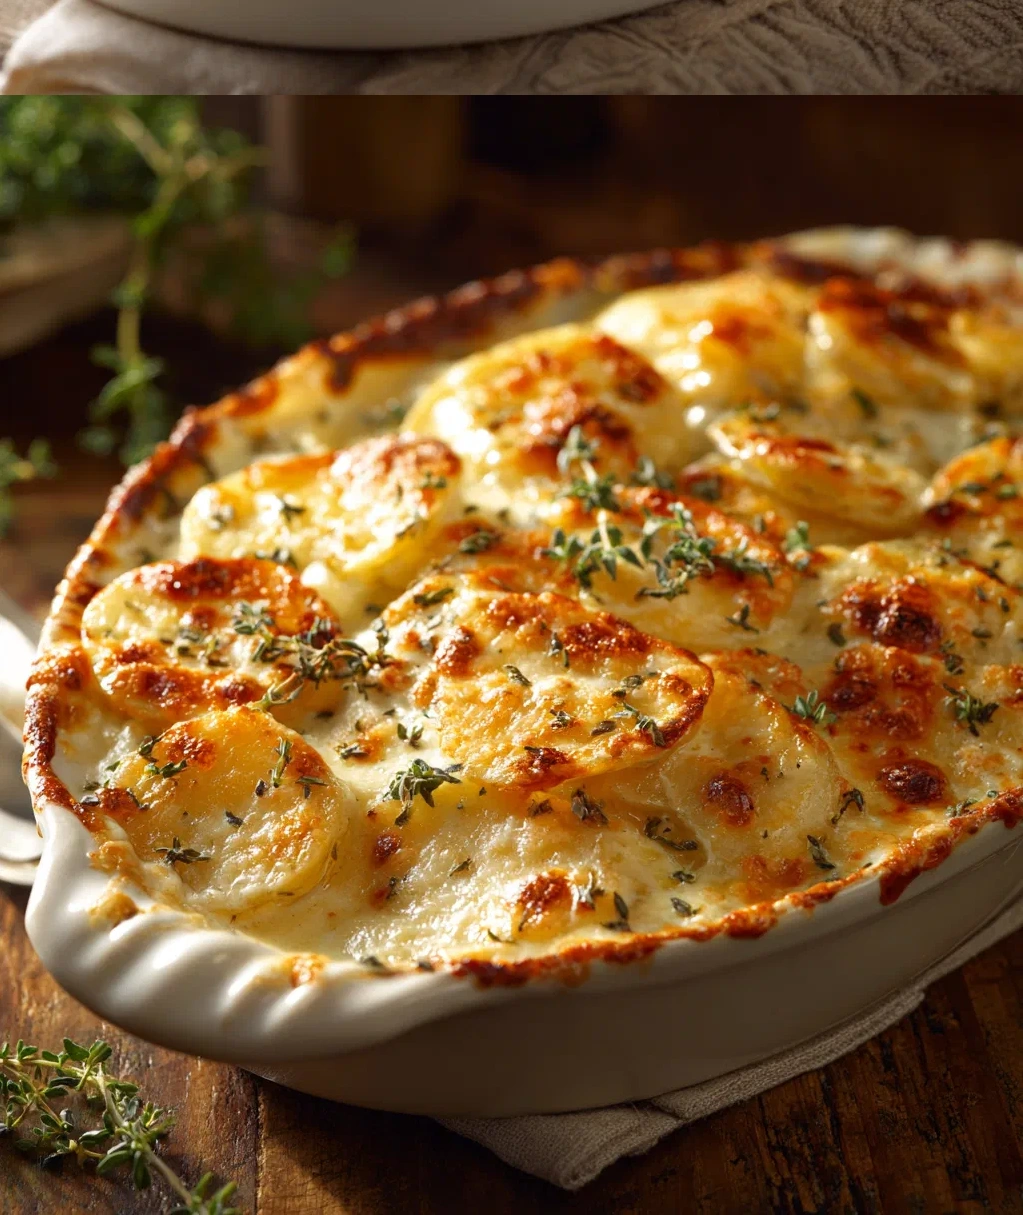
Let’s talk about why these potatoes deserve a spot on your table. First, the texture is just magical—you get that perfect balance of creamy and firm. Each bite has that slight resistance before giving way to all that rich flavor. Then there’s the golden-brown top that gets slightly crispy in spots while the inside stays tender. It’s like potato heaven.
Here’s what makes scalloped potatoes so special:
- They feed a crowd: This dish scales up beautifully. Whether you’re cooking for four or fourteen, you can adjust the amounts easily.
- They’re versatile: Serve them with roast chicken, ham, steak, or even as the main event with a big green salad.
- They make amazing leftovers: Honestly, they’re almost better the next day when the flavors have really settled in.
- They feel special: There’s something about that beautiful layered presentation that makes any meal feel like a celebration.
My favorite part is watching people’s faces when they take that first bite. There’s always this little pause, then a smile, then usually someone asking for the recipe. It’s the kind of dish that creates food memories, and isn’t that what cooking is all about?
Everything You Need for Perfect Scalloped Potatoes
Here’s what you’ll need to gather before you start. Don’t worry if you don’t have exactly these brands or types—I’ll give you some easy swaps too.
Main Ingredients:
- 3 pounds russet potatoes (about 6 medium-sized ones)
- 2 cups heavy cream
- 1 cup whole milk
- 2 cups shredded Gruyère cheese (sharp cheddar works great too)
- 1/2 cup grated Parmesan cheese
- 1 medium yellow onion, thinly sliced
- 3 cloves garlic, minced
Seasonings & Extras:
- 2 teaspoons salt (I like kosher salt best)
- 1 teaspoon freshly ground black pepper
- 1/2 teaspoon ground nutmeg (trust me on this one)
- 3 tablespoons butter for greasing the dish
- Fresh thyme or rosemary for garnish (optional but pretty)
A quick note about potatoes: Russets are my go-to because they hold their shape well, but Yukon Golds work beautifully too—they’ll give you a slightly creamier result. As for the cheese, don’t stress about finding Gruyère if it’s not in your budget. A good sharp cheddar mixed with a little Swiss gives you similar flavor. The key is using a cheese that melts well and has some personality.
How to Make Scalloped Potatoes Step by Step
Ready to get cooking? Let’s walk through this together. I promise it’s easier than it looks—just take it one step at a time.
- Prep your tools and ingredients: Preheat your oven to 375°F (190°C). Grab a 9×13 inch baking dish and butter it generously. This helps prevent sticking and adds flavor. Wash your potatoes thoroughly—you can peel them if you prefer, but I often leave the skins on for extra texture and nutrients.
- Slice everything evenly: Using a sharp knife or mandoline, slice the potatoes about 1/8 inch thick. Try to keep them uniform so they cook evenly. Slice your onion thinly too. Safety tip: If using a mandoline, always use the guard! I learned this the hard way with a sliced thumb.
- Create your creamy mixture: In a medium saucepan, combine the cream, milk, minced garlic, salt, pepper, and nutmeg. Heat this over medium heat until it’s just starting to simmer—you’ll see little bubbles around the edges. Don’t let it boil hard. Remove from heat.
- Layer with love: Arrange a single layer of potato slices in your buttered dish, slightly overlapping them like shingles. Scatter some onion slices and about 1/3 of your shredded cheese over the potatoes. Repeat this layering until you’ve used all your potatoes, ending with cheese on top. Pour the warm cream mixture over everything—it should come about halfway up the sides.
- Bake to perfection: Cover the dish with aluminum foil and bake for 45 minutes. Then remove the foil and bake for another 30-40 minutes, until the top is golden brown and bubbly, and a knife slides easily through the potatoes. Let it rest for 15 minutes before serving—this helps everything set up nicely.
The waiting is the hardest part! Your kitchen will smell amazing, and that golden top will be calling your name. But that rest time really does make a difference in how the scalloped potatoes hold together when you serve them.
Creative Scalloped Potato Variations to Try
Once you’ve mastered the basic recipe, have some fun with it! Here are my favorite ways to mix things up.
For meat lovers: Add thinly sliced ham or cooked bacon between the layers. I like to do one layer of potatoes, then ham, then cheese, repeating. It turns the dish into a complete meal.
Herb-infused version: Add fresh thyme, rosemary, or sage to your cream mixture. Just tie a bundle with kitchen twang and let it steep in the warm cream for 10 minutes before removing.
Cheese swaps: Try different cheese combinations. Smoked Gouda gives a wonderful depth, or mix in some fontina for extra creaminess. Blue cheese crumbles between layers add a bold twist.
Vegetable additions: Layer in some sautéed mushrooms, spinach, or leeks. Just make sure any watery veggies are cooked first to remove excess moisture.
Gluten-free note: This recipe is naturally gluten-free as written! Just check your cheese labels if you’re strictly gluten-free, as some pre-shredded cheeses contain anti-caking agents with gluten.
My personal favorite variation is adding a layer of caramelized onions. It takes a bit more time, but that sweet, deep flavor against the creamy potatoes is absolutely worth it. I save this version for when I really want to impress someone.
Serving and Storing Your Scalloped Potatoes
Now for the best part: enjoying your creation! Here’s how to make the most of your scalloped potatoes.
Serving suggestions: These potatoes pair beautifully with so many things. For a classic combo, serve alongside roasted chicken or ham. They’re also fantastic with beef—think Sunday pot roast or holiday prime rib. For a vegetarian meal, pair them with roasted vegetables and a big green salad. The acidity of the salad dressing cuts through the richness perfectly.
Presentation tip: Use a large spoon or spatula to serve, and try to get some of each layer in each portion. That beautiful cross-section shows off all your hard work! Garnish with fresh herbs right before serving for a pop of color.
Storage: Let any leftovers cool completely, then cover tightly and refrigerate for up to 4 days. You can also freeze scalloped potatoes for up to 3 months—just thaw in the refrigerator overnight before reheating.
Reheating: My favorite method is in the oven. Place leftovers in an oven-safe dish, cover with foil, and bake at 350°F (175°C) for 20-25 minutes until heated through. You can add a splash of milk or cream if they seem dry. The microwave works in a pinch—just use a lower power setting and stir occasionally to prevent rubbery spots.
One more tip: If you’re making scalloped potatoes for a party, you can prepare them up to a day ahead. Just assemble everything in the baking dish, cover tightly, and refrigerate. Add about 10-15 minutes to the baking time since you’re starting with cold ingredients.
Conclusion
There you have it—everything I’ve learned about making truly amazing scalloped potatoes. From that first slice of potato to that golden-brown top coming out of the oven, it’s a process that feels like cooking magic every single time. What I love most about this dish is how it brings people together. Whether it’s a holiday table surrounded by family or a simple weeknight dinner with your favorite people, these potatoes have a way of making the moment feel special.
Don’t be afraid to make this recipe your own. Maybe you’ll discover you love extra garlic, or maybe you’ll find the perfect cheese combination that becomes your signature. That’s the beauty of cooking—it’s personal. The scalloped potatoes I make today aren’t exactly like my grandma’s, and that’s okay. They’re mine, with all my little tweaks and preferences mixed in.
So go ahead—grab those potatoes, turn on your oven, and get ready to make something delicious. I promise the effort is worth it when you see those happy faces around your table. And who knows? Maybe this will become your new tradition too. Happy cooking!
Frequently Asked Questions
Q: Can I make scalloped potatoes ahead of time?
Absolutely! You can assemble the dish completely, cover it tightly, and refrigerate it for up to 24 hours before baking. Just add about 10-15 minutes to the baking time since you're starting with cold ingredients. This makes them perfect for holiday meals when oven space is precious.
Q: Why are my scalloped potatoes watery?
Watery scalloped potatoes usually happen for a few reasons. First, make sure you're using starchy potatoes like russets—they absorb liquid better. Second, slice your potatoes evenly so they cook at the same rate. Third, let the dish rest for at least 15 minutes after baking—this allows the cream to thicken and be absorbed. If adding vegetables, cook them first to remove excess moisture.
Q: What's the difference between scalloped potatoes and au gratin potatoes?
Great question! Traditionally, scalloped potatoes are baked in a cream sauce without cheese (though many modern recipes include it), while au gratin potatoes always have cheese and often breadcrumbs on top. In practice today, the terms are often used interchangeably, especially in the US. My version includes cheese because, well, cheese makes everything better!
Q: Can I use different types of potatoes?
Yes! Russet potatoes are classic because they hold their shape well, but Yukon Golds make wonderfully creamy scalloped potatoes. Sweet potatoes work too for a different flavor—just pair them with savory herbs and maybe a little maple syrup in the cream. Avoid waxy potatoes like red potatoes as they don't absorb the cream as well.
Q: How do I know when my scalloped potatoes are done baking?
Your scalloped potatoes are ready when the top is golden brown and bubbly, and a sharp knife slides easily through the layers with little resistance. The potatoes should be tender but not mushy. If the top is browning too quickly before the potatoes are cooked through, cover it loosely with foil. The resting time after baking is crucial—it helps everything set up properly.
PrintClassic Creamy Scalloped Potatoes
- Total Time: 100
- Yield: 6 servings 1x
Description
A rich and comforting dish of thinly sliced potatoes baked in a creamy cheese sauce until golden and bubbly.
Ingredients
2 lbs Yukon Gold potatoes, thinly sliced
2 cups heavy cream
1 cup whole milk
3 cloves garlic, minced
1 tsp salt
1/2 tsp black pepper
1/4 tsp ground nutmeg
2 cups shredded Gruyère cheese
1/2 cup grated Parmesan cheese
2 tbsp unsalted butter, softened
1 tbsp fresh thyme leaves (optional)
Instructions
Step 1: Preheat oven to 375°F (190°C). Grease a 9×13 inch baking dish with softened butter.
Step 2: In a medium saucepan, combine heavy cream, milk, minced garlic, salt, pepper, and nutmeg. Heat over medium until just simmering, then remove from heat.
Step 3: Arrange half of the potato slices in the prepared baking dish, overlapping slightly. Pour half of the cream mixture over the potatoes.
Step 4: Sprinkle half of the Gruyère and Parmesan cheeses evenly over the potatoes.
Step 5: Repeat layers with remaining potatoes, cream mixture, and cheeses.
Step 6: Cover dish tightly with aluminum foil and bake for 45 minutes.
Step 7: Remove foil and bake uncovered for another 20-25 minutes until potatoes are tender and top is golden brown.
Step 8: Let rest for 10 minutes before serving. Garnish with fresh thyme if desired.
- Prep Time: 20
- Cook Time: 70
- Category: Side Dish
Nutrition
- Calories: 420
- Fat: 28g
- Carbohydrates: 32g
- Protein: 14g