
Banoffee Pie: Irresistibly Easy Recipe for Blissful Indulgence

Oh, banoffee pie! Just saying it makes me smile. If you’ve never tried this magical dessert, you’re in for such a treat. I remember the first time I made one—it was for my friend’s birthday, and honestly, I was a bit nervous. But let me tell you, this pie won over everyone at the table. It’s the kind of dessert that makes people close their eyes and sigh with happiness.
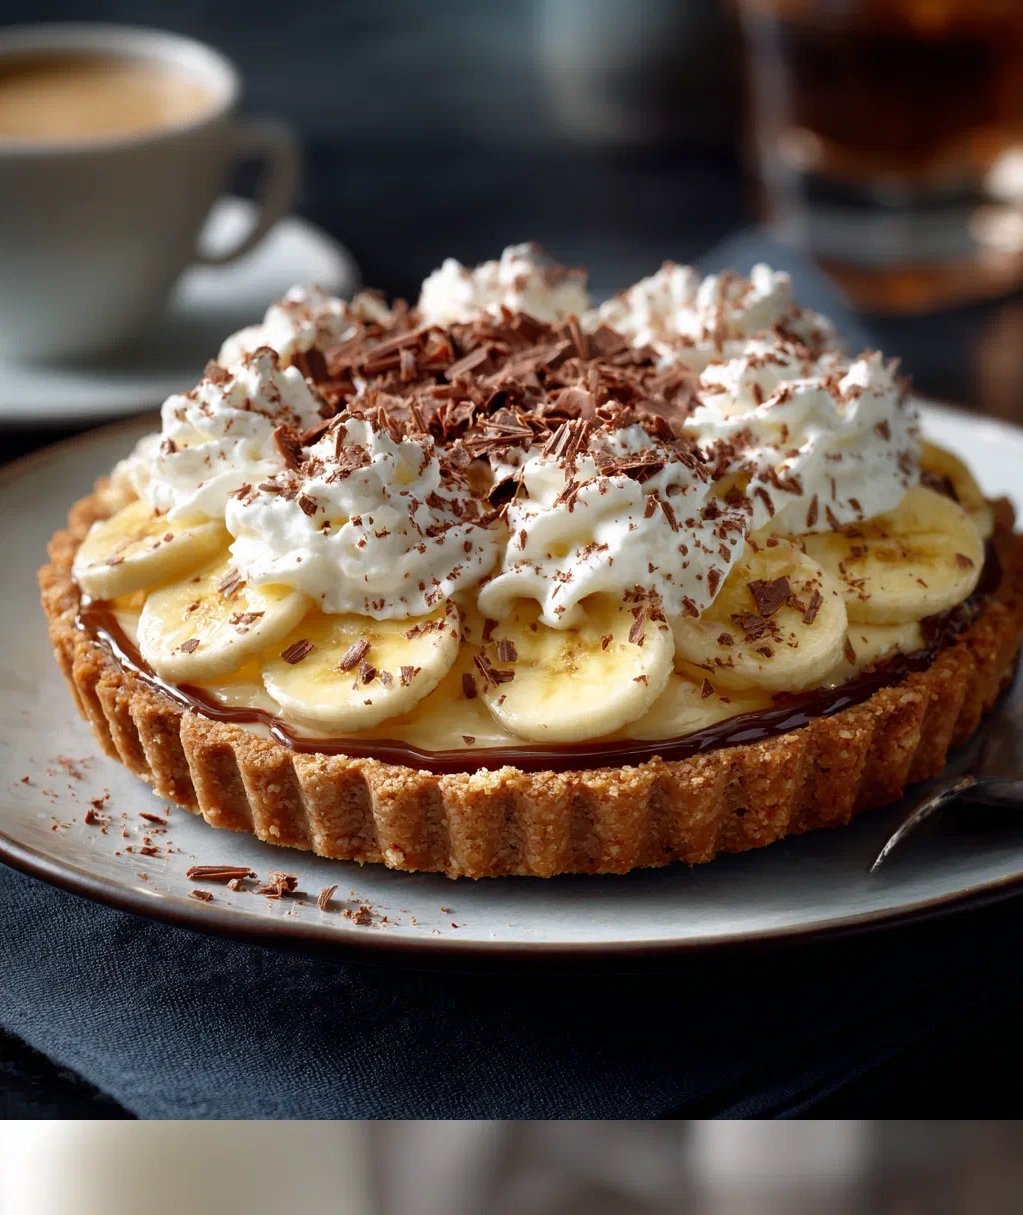
What is banoffee pie, you ask? It’s a British classic that combines bananas, toffee (or dulce de leche), and whipped cream on a buttery biscuit crust. The name comes from blending “banana” and “toffee”—clever, right? It sounds fancy, but it’s actually one of the easiest pies you’ll ever make. No baking required for the filling, just some simple assembly. Perfect for when you want something impressive without spending hours in the kitchen.
I love making this when I have ripe bananas sitting on the counter. Instead of turning them into yet another banana bread (though I do love that too!), they become the star of this show-stopping dessert. The contrast of sweet, gooey toffee with fresh bananas and light cream is just heavenly. Trust me, once you try this banoffee pie, it’ll become your go-to for parties, potlucks, or just a really good Tuesday night.
Why You'll Love This Banoffee Pie Recipe
Let me count the ways! First, it’s ridiculously easy. I mean it—if you can crush biscuits and slice bananas, you’re halfway there. No fancy equipment needed, just basic kitchen tools. Second, it’s a crowd-pleaser. I’ve never met anyone who didn’t adore this dessert. Kids love it, adults swoon over it, and it always disappears fast at gatherings.
Here’s what makes this banoffee pie so special:
- Minimal effort, maximum wow factor: It looks like you spent hours, but really it comes together in about 30 minutes of active time.
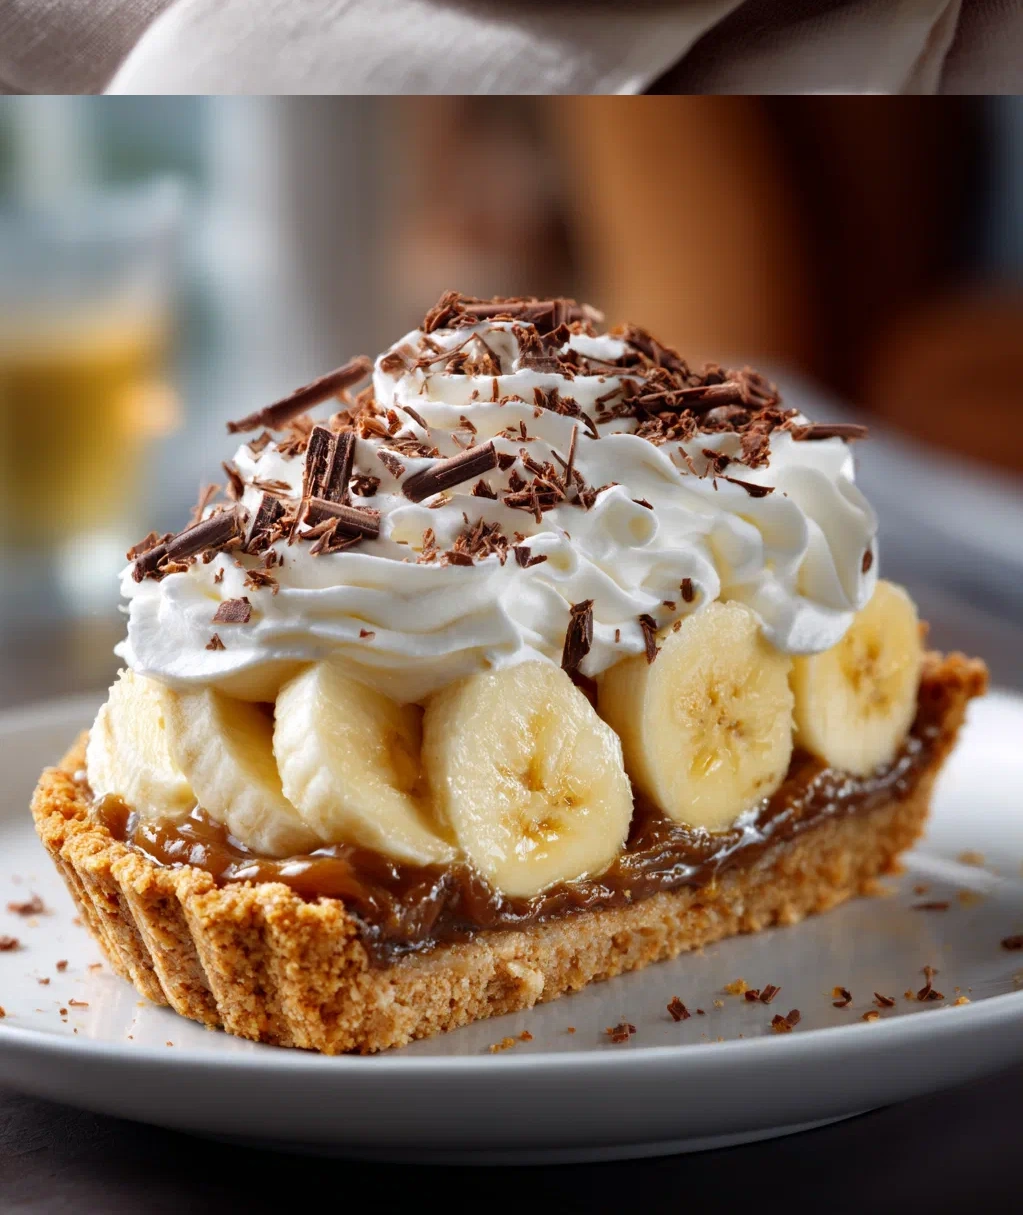
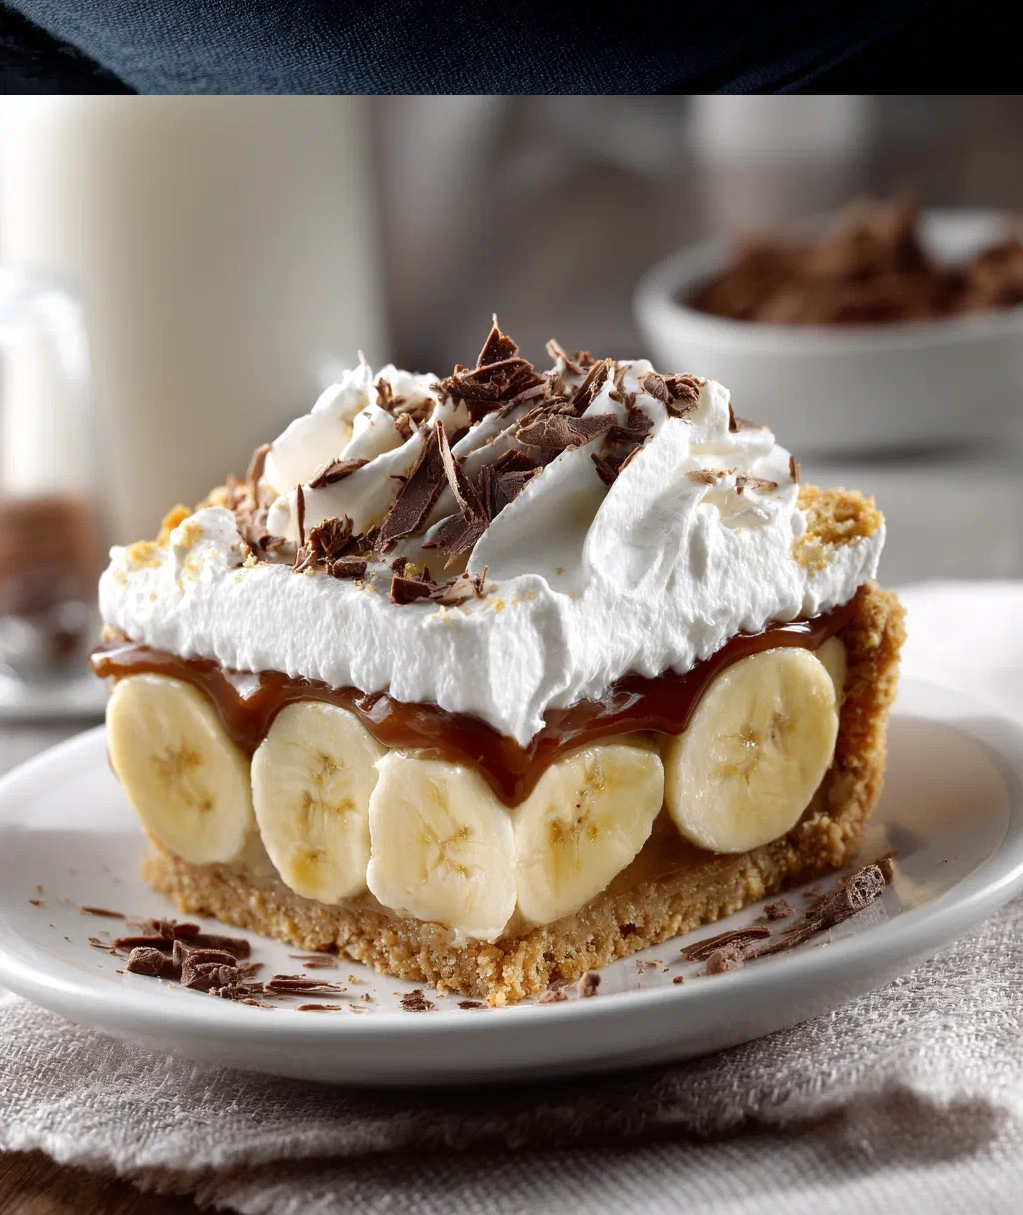
- Perfect texture combination: You get that crunchy biscuit base, creamy toffee layer, fresh banana slices, and fluffy whipped cream all in one bite.
- Make-ahead friendly: You can prepare it hours before serving, or even the day before. Just wait to add the whipped cream until you’re ready to serve.
- Customizable: Don’t like something? Swap it out! I’ll share variations later that let you make this pie your own.
My favorite part is when you cut that first slice and see all those beautiful layers. The golden toffee against the white cream, with little banana peeks here and there—it’s just so satisfying. And the taste? Pure comfort. Sweet but not too sweet, with that caramel flavor that feels like a warm hug.
Everything You Need for Your Perfect Banoffee Pie
Gathering your ingredients is the first step to banoffee pie success. Here’s what you’ll need—most of these are pantry staples or easy to find at any grocery store. I like to measure everything out before I start. It makes the process so much smoother!
For the crust:
- 200g digestive biscuits or graham crackers (about 1½ cups when crushed)
- 100g unsalted butter, melted (that’s about 7 tablespoons)
- A pinch of salt if your biscuits aren’t salted
For the toffee layer:
- 1 can (397g) of dulce de leche or caramel sauce (look for the thick kind, not the runny ice cream topping)
- ½ teaspoon vanilla extract (optional but nice)
For the banana layer:
- 3-4 ripe but firm bananas (not too mushy!)
- A squeeze of lemon juice to prevent browning
For the topping:
- 300ml heavy whipping cream (that’s about 1¼ cups)
- 2 tablespoons powdered sugar
- 1 teaspoon vanilla extract
- Chocolate shavings or cocoa powder for garnish (optional but pretty)
Equipment you’ll need:
- A 9-inch pie dish or springform pan
- Food processor or plastic bag and rolling pin for crushing biscuits
- Mixing bowls
- Electric mixer or whisk (you can whisk by hand, but an electric mixer makes the cream whipping much easier)
- Spatula
Quick tip: Make sure your bananas are just ripe—yellow with maybe a few brown spots, but not completely brown. They should still have some firmness so they hold their shape in the pie.
Step-by-Step: How to Make Banoffee Pie Like a Pro
Ready to make magic? Let’s do this step by step. Don’t worry if you’re new to pie-making—this banoffee pie is forgiving and fun to put together.
Step 1: Make the crust
First, crush those biscuits. You can use a food processor if you have one, or put them in a plastic bag and go at them with a rolling pin. I actually find the rolling pin method therapeutic—great for getting out any frustration! You want fine crumbs, not big chunks. Mix the crumbs with melted butter until they look like wet sand. Press this mixture firmly into your pie dish, going up the sides a bit. Use the bottom of a glass or measuring cup to press it down evenly. Pop it in the fridge for 15 minutes to set.
Step 2: Add the toffee layer
Take your dulce de leche or caramel and give it a good stir. If it’s very thick, you can warm it slightly to make it easier to spread. Take the crust out of the fridge and spread the toffee evenly over the bottom. Be gentle so you don’t disturb the crust. Smooth it out with a spatula. Back in the fridge it goes for another 15 minutes.
Step 3: Prepare the bananas
Slice your bananas into rounds, about ¼-inch thick. Give them a quick toss with a little lemon juice—this keeps them from turning brown. When the toffee layer is set, arrange the banana slices over it in a single layer. You can do circles or just scatter them—both look lovely.
Step 4: Whip the cream
This is where you need to pay a little attention. Make sure your bowl and beaters are clean and cold—it helps the cream whip better. Pour the cold cream into the bowl, add the powdered sugar and vanilla. Start mixing on low, then increase to medium-high. Watch for soft peaks—when you lift the beaters, the cream should hold its shape but the tip will curl over. Don’t overbeat or you’ll get butter!
Step 5: Assemble and serve
Spread the whipped cream over the banana layer. Be generous! Use a spatula to create pretty swirls. If you’re using chocolate shavings or cocoa powder, sprinkle them on top now. Chill the whole banoffee pie for at least 2 hours before serving. This lets all the flavors meld and makes slicing cleaner.
When you’re ready to serve, use a sharp knife dipped in hot water for clean slices. Wipe the knife between cuts for the prettiest pieces.
Creative Twists on Your Banoffee Pie
Once you’ve mastered the classic banoffee pie, why not play around? Here are some variations I’ve tried and loved. Don’t be afraid to experiment—that’s half the fun of cooking!
Chocolate lover’s version: Add a layer of chocolate ganache between the toffee and bananas. Just melt 100g dark chocolate with 100ml cream, let it cool slightly, then spread it over the toffee before adding the bananas. It adds a rich, decadent twist.
Nutty crunch: Mix some chopped toasted pecans or walnuts into your biscuit crust. Or sprinkle them between the toffee and banana layers. The crunch contrasts beautifully with the creamy elements.
Coffee kick: Add a tablespoon of instant espresso powder to your whipped cream. It cuts through the sweetness and adds a sophisticated flavor note that adults especially love.
Individual servings: Make mini banoffee pies in mason jars or small glasses. Layer the crushed biscuits, toffee, bananas, and cream in individual portions. Perfect for parties when you don’t want to slice a whole pie.
Healthier option: Use coconut cream instead of dairy cream for the topping. The flavor pairs wonderfully with banana and toffee. You can also use date caramel instead of dulce de leche for a refined sugar-free version.
My personal favorite variation? Adding a sprinkle of sea salt on top. Just a tiny bit—it enhances all the sweet flavors and makes them pop. Try it, you’ll see what I mean!
Remember, the best banoffee pie is the one you enjoy making and eating. Don’t stress about perfection. Even if your layers aren’t perfectly even or your whipped cream peaks aren’t Instagram-worthy, it will still taste amazing. That’s the beauty of this dessert—it’s meant to be shared and enjoyed, not judged.
Serving and Storing Your Banoffee Pie
You’ve made your beautiful banoffee pie—now let’s talk about how to serve it and keep any leftovers (if there are any!).
Serving suggestions:
This pie is rich, so I recommend small slices. A little goes a long way! Serve it chilled straight from the fridge. It pairs wonderfully with:
- A cup of strong coffee or tea—the bitterness balances the sweetness perfectly
- A drizzle of extra caramel sauce for the truly indulgent
- Fresh berries on the side for a pop of color and tartness
If you’re serving it at a dinner party, you can garnish each slice with a thin banana slice or a mint leaf. So pretty!
Storage tips:
Banoffee pie is best eaten within 24 hours because the bananas can start to release liquid and get mushy. But if you need to store it:
- Keep it covered in the fridge
- If you have leftovers, they’ll keep for 2-3 days, though the bananas will darken a bit
- You can prepare the crust and toffee layer a day ahead, then add bananas and cream on the day you plan to serve
A quick safety note: Since this contains dairy and fresh fruit, don’t leave it out at room temperature for more than 2 hours. Keep it refrigerated until serving time.
One more thing—this banoffee pie doesn’t freeze well because the bananas get weird textures when thawed. It’s really a make-and-eat-soon kind of dessert. But honestly, that’s rarely a problem in my house!
Conclusion
Well, there you have it—everything you need to create your own fabulous banoffee pie. I hope you feel excited to give it a try! Remember, this isn’t about perfection. It’s about creating something delicious to share with people you care about.
The first time I served this to my family, my brother actually asked if I’d bought it from a fancy bakery. That made me laugh—and feel pretty proud. The truth is, anyone can make this. It just takes a little time and a lot of love.
So go grab those bananas sitting on your counter, crush some biscuits, and get ready for the compliments. Whether you make it for a special occasion or just because it’s Wednesday, this banoffee pie will bring smiles to your table. The combination of textures and flavors really is something special—crunchy, creamy, sweet, and just a tiny bit salty if you take my sea salt suggestion.
I’d love to hear how your pie turns out! What variations did you try? Did your family go back for seconds? Making food is about creating memories as much as creating meals. This banoffee pie has given me so many happy moments in the kitchen and at the table. I hope it does the same for you. Now go make some magic—you’ve got this!
Frequently Asked Questions
Q: Can I make banoffee pie ahead of time?
Yes, but with a little planning! You can prepare the crust and toffee layer up to a day in advance. Store them covered in the fridge. Add the bananas and whipped cream on the day you plan to serve to keep everything fresh and prevent the bananas from browning or getting soggy.
Q: What can I use instead of digestive biscuits for the crust?
Graham crackers work perfectly as a substitute—they're very similar in texture and flavor. You could also use vanilla wafers, shortbread cookies, or even ginger snaps for a spiced twist. Just make sure whatever you use is dry and crisp so it crushes well and holds together with the butter.
Q: My whipped cream won't thicken—what am I doing wrong?
A few things could be happening. First, make sure your cream is cold—warm cream won't whip properly. Second, your bowl and beaters should be clean and chilled too. Third, don't add too much sugar too early—start with just the cream, then add sugar once it starts to thicken. If all else fails, you can stabilize it with a teaspoon of cornstarch mixed with the sugar.
Q: Can I make a dairy-free banoffee pie?
Absolutely! For the crust, use dairy-free butter or coconut oil. For the toffee layer, look for dairy-free caramel sauce (many store-bought options exist). For the topping, whip chilled coconut cream instead of dairy cream. The bananas are naturally dairy-free, so you're good there! The texture and flavor will be slightly different but still delicious.
Q: How do I prevent the bananas from turning brown in the pie?
Tossing the banana slices with a little lemon or lime juice helps a lot—the acid slows down the browning. Also, make sure the toffee layer completely covers the crust so the bananas don't touch it directly. And don't assemble the pie too far in advance—the bananas will start to brown after several hours, even with lemon juice. If you do see some browning, don't worry—it won't affect the taste!
PrintClassic Banoffee Pie
- Total Time: 140
- Yield: 8 servings 1x
Description
A decadent no-bake dessert with a buttery biscuit base, rich caramel, fresh bananas, and whipped cream topping.
Ingredients
200g digestive biscuits
100g unsalted butter, melted
1 can (397g) sweetened condensed milk
3 medium bananas, sliced
300ml heavy cream
2 tablespoons powdered sugar
1 teaspoon vanilla extract
Dark chocolate shavings for garnish
Instructions
Step 1: Crush digestive biscuits into fine crumbs and mix with melted butter until well combined.
Step 2: Press the biscuit mixture firmly into a 9-inch pie dish to form an even base, then chill for 30 minutes.
Step 3: Place unopened can of condensed milk in a saucepan, cover with water, and boil for 2 hours to make caramel (toffee).
Step 4: Carefully open the cooled can and spread the thick caramel evenly over the chilled biscuit base.
Step 5: Arrange sliced bananas in a single layer over the caramel.
Step 6: Whip heavy cream with powdered sugar and vanilla until stiff peaks form, then spread over bananas.
Step 7: Garnish with dark chocolate shavings and chill for at least 2 hours before serving.
- Prep Time: 20
- Cook Time: 120
- Category: Dessert
Nutrition
- Calories: 420
- Fat: 25g
- Carbohydrates: 45g
- Protein: 6g