
Grandma’s Pie Crust: Unbeatable Flaky Perfection You’ll Absolutely Love
You know that feeling when you bite into a pie and the crust just melts in your mouth? That’s what my grandma’s pie crust does every single time. I’m not exaggerating when I say it’s the best thing I’ve ever tasted—flaky, buttery, and with just the right amount of crispness. I grew up watching her make it, her hands moving with this effortless grace that made it look so simple. She’d always say, “It’s not about fancy tricks, it’s about feeling the dough.” And she was right.
For years, I tried store-bought crusts or other recipes, but nothing came close. They were either too tough, too bland, or just fell apart. Then I finally got her to share her secret—and it wasn’t some complicated technique. It’s all in the ingredients and a few little tips that make all the difference. Trust me, once you try this grandma’s pie crust, you’ll never go back. It’s perfect for everything from apple pie to quiche, and it freezes beautifully too. So grab your rolling pin and let’s get started—I promise it’s easier than you think.
Why Grandma's Pie Crust Is Simply Irresistible
Let me tell you why this crust stands out. First, it’s incredibly flaky—like, melt-in-your-mouth flaky. That comes from using cold butter and handling the dough just right. You get these delicate layers that shatter when you bite into them. It’s buttery without being greasy, with a rich flavor that complements any filling. And the texture? Perfectly tender, never tough or chewy.
Here’s what you’ll love most:
- Versatility: Use it for sweet pies, savory tarts, or even hand pies. It works with everything.
- Easy to work with: Don’t worry if you’re new to pie-making. This dough is forgiving and rolls out smoothly.
- Freezer-friendly: Make a batch ahead and freeze it for up to three months. Just thaw and roll when you’re ready.
- That homemade taste: Nothing beats the smell of buttery pastry baking in your oven. It’s pure comfort.
My favorite part is how it holds up. Whether you’re baking a juicy fruit pie or a creamy custard, this grandma’s pie crust stays crisp and doesn’t get soggy. It’s the little things that make it special.
Ingredients for the Perfect Grandma's Pie Crust
You only need a few simple ingredients for this crust. The key is quality—use the best you can find. Here’s what you’ll need for one double crust (enough for a 9-inch pie):
- 2 ½ cups all-purpose flour (spooned and leveled, not packed)
- 1 teaspoon salt
- 1 tablespoon granulated sugar (optional, but it adds a hint of sweetness)
- 1 cup (2 sticks) cold unsalted butter, cut into small cubes
- 6 to 8 tablespoons ice water
Now, let’s talk about those ingredients. The flour should be all-purpose—no need for pastry flour. The salt balances the butter and brings out the flavor. If you’re making a savory pie, you can skip the sugar, but I like it even then for a subtle depth.
The butter is crucial. Use unsalted so you control the saltiness, and make sure it’s cold. I mean fridge-cold. This is what creates those flaky layers. And the water? It has to be ice-cold. I keep a glass of water with ice cubes nearby and measure from that. Don’t use tap water; it’s not cold enough. Trust me, these details make all the difference in your grandma’s pie crust.
Step-by-Step Guide to Making Grandma's Pie Crust
Ready to make magic? Follow these steps, and you’ll have perfect dough in no time. Set aside about 30 minutes for prep, plus chilling time.
- Mix the dry ingredients: In a large bowl, whisk together the flour, salt, and sugar (if using). Do this quickly so the butter stays cold.
- Cut in the butter: Add the cold butter cubes. Using a pastry cutter or your fingers, work the butter into the flour until it looks like coarse crumbs with some pea-sized pieces left. Don’t overmix—you want those butter bits for flakiness.
- Add the water: Sprinkle 6 tablespoons of ice water over the mixture. Gently stir with a fork until the dough starts to come together. If it’s too dry, add more water, 1 tablespoon at a time. The dough should hold together when pinched but not be sticky.
- Form the dough: Turn it out onto a clean surface. Divide into two equal balls, flatten into disks, and wrap each in plastic wrap. Chill for at least 1 hour, or up to 2 days. This relaxes the gluten and makes rolling easier.
- Roll it out: On a lightly floured surface, roll one disk into a 12-inch circle, about ⅛ inch thick. Lift and turn the dough as you roll to prevent sticking. Transfer to your pie dish, trim the edges, and fill as desired.
Tips: Keep everything cold. If the dough gets warm, pop it back in the fridge for 10 minutes. And don’t worry if it tears—just patch it up with extra dough. This grandma’s pie crust is very forgiving.
Tips for Baking and Storing Your Grandma's Pie Crust
Now for the baking part. Preheat your oven to 375°F (190°C). If your recipe calls for a pre-baked crust, prick the bottom with a fork, line with parchment paper and pie weights, and bake for 15 minutes. Then remove the weights and bake another 10 minutes until golden. For a filled pie, bake according to your recipe—usually 45 to 60 minutes.
Watch for that golden-brown color and a buttery smell. That’s how you know it’s done. Let it cool on a wire rack for at least 30 minutes before slicing. This helps the filling set and makes cutting easier.
Storing is simple. Baked crusts can be kept at room temperature, covered, for up to 2 days. For longer storage, freeze them. Wrap tightly in plastic wrap and foil, then freeze for up to 3 months. Thaw at room temperature before using. Unbaked dough disks freeze well too—just thaw in the fridge overnight before rolling.
One safety tip: Always let pies cool slightly before serving to avoid burns. And if you’re reheating, use a low oven (300°F) for 10-15 minutes to crisp it up without drying out. This grandma’s pie crust stays delicious days later.
Conclusion
There you have it—my grandma’s pie crust recipe, shared with all the love and tips I’ve gathered over the years. It’s more than just a crust; it’s a little piece of family tradition that brings people together. I still remember the first time I made it on my own, feeling that same joy my grandma had when she pulled a perfect pie from the oven.
Don’t be afraid to make this your own. Try adding a pinch of cinnamon for apple pie, or use whole wheat flour for a nuttier flavor. The basics stay the same, but you can tweak it to suit your taste. And if you run into trouble, just remember: keep things cold, handle the dough gently, and trust the process. You’ve got this.
So next time you’re craving something homemade, give this grandma’s pie crust a try. Whip up a batch, fill it with your favorite ingredients, and enjoy that first flaky bite. I promise it’ll become a staple in your kitchen, just like it is in mine. Happy baking!
Frequently Asked Questions
Q: Can I make grandma's pie crust ahead of time?
Absolutely! The dough disks can be refrigerated for up to 2 days or frozen for 3 months. Just thaw in the fridge overnight before rolling. Baked crusts also freeze well—wrap them tightly to prevent freezer burn.
Q: Why is my pie crust tough instead of flaky?
This usually happens if you overwork the dough or use warm ingredients. Make sure your butter and water are ice-cold, and mix just until the dough comes together. Chilling the dough before rolling also helps keep it tender.
Q: Can I use shortening instead of butter in this recipe?
You can, but the flavor and texture will be different. Butter gives that rich, flaky quality grandma's pie crust is known for. If you do substitute, use equal parts shortening and expect a slightly less flavorful, more crumbly result.
Q: How do I prevent a soggy bottom crust?
Try brushing the unbaked crust with an egg wash or a thin layer of melted butter before adding wet fillings. For fruit pies, sprinkle a tablespoon of flour or cornstarch over the crust to absorb excess juice. Pre-baking the crust for 10 minutes can also help.
Q: What's the best way to roll out pie dough without sticking?
Use a lightly floured surface and rolling pin. Lift and turn the dough frequently as you roll, adding a sprinkle of flour if needed. If it gets too warm, chill it for a few minutes. A silicone baking mat or parchment paper can also prevent sticking.
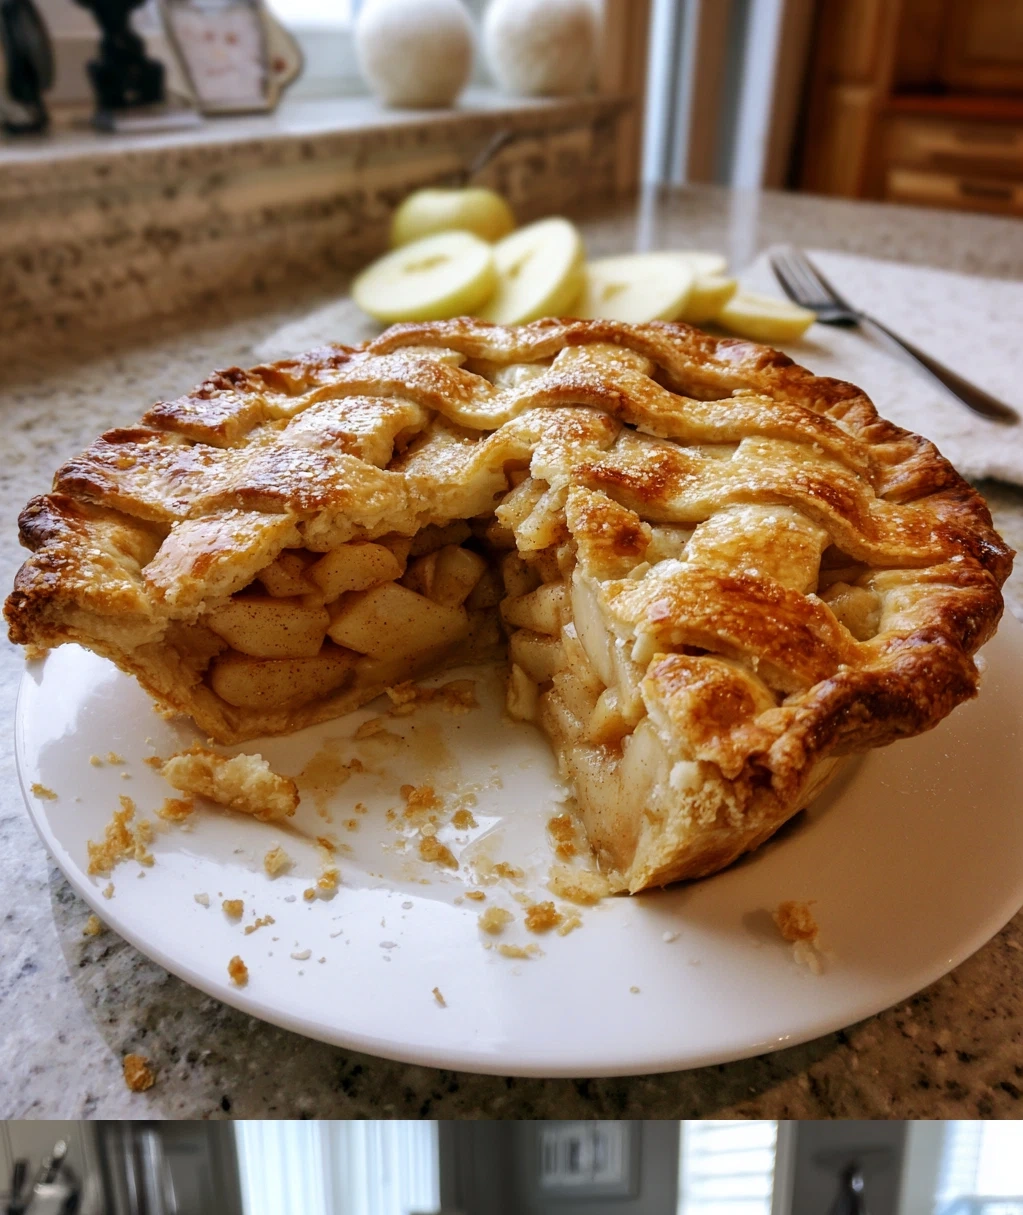
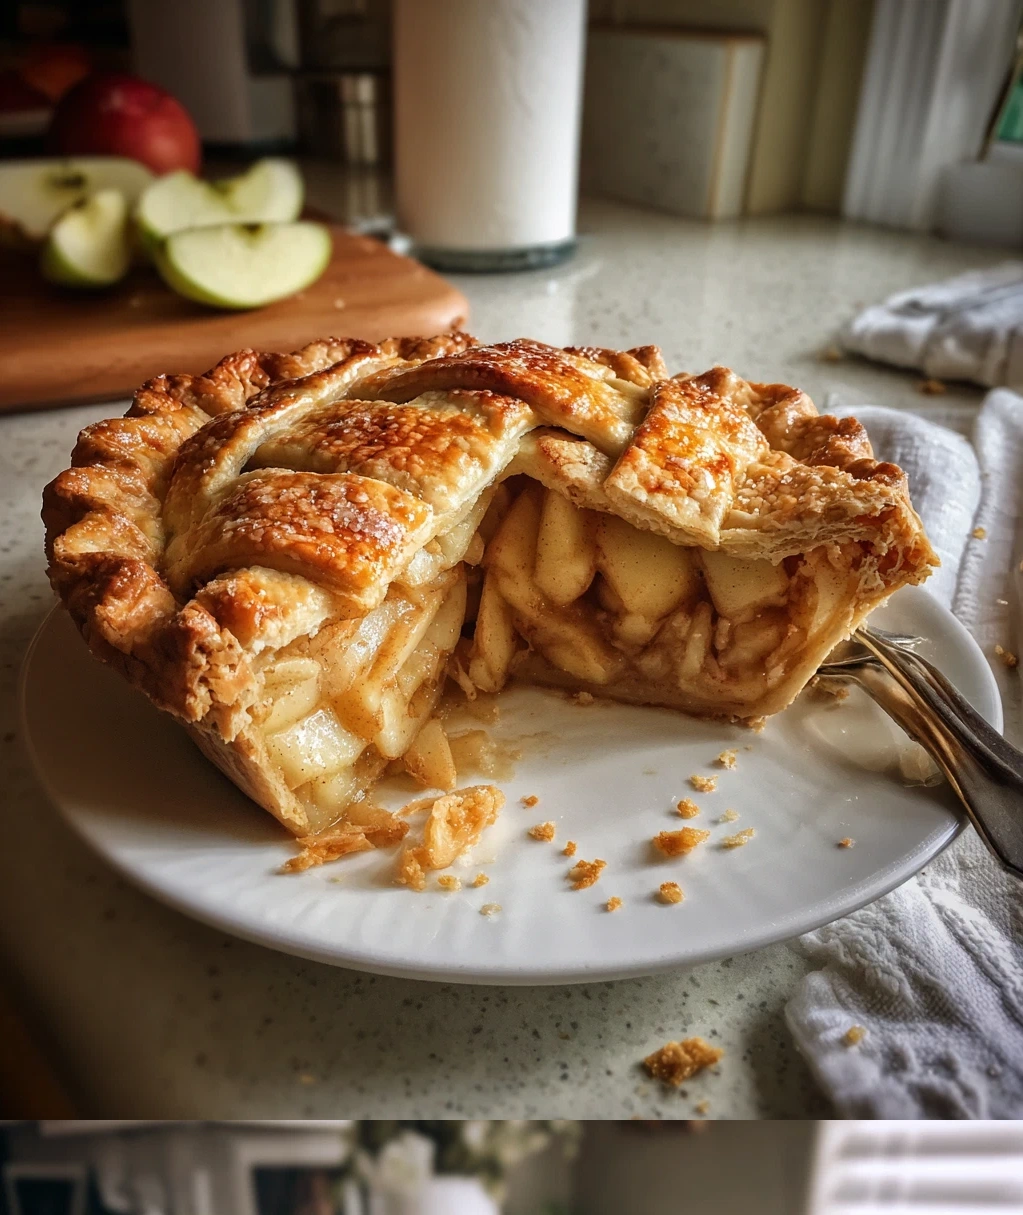
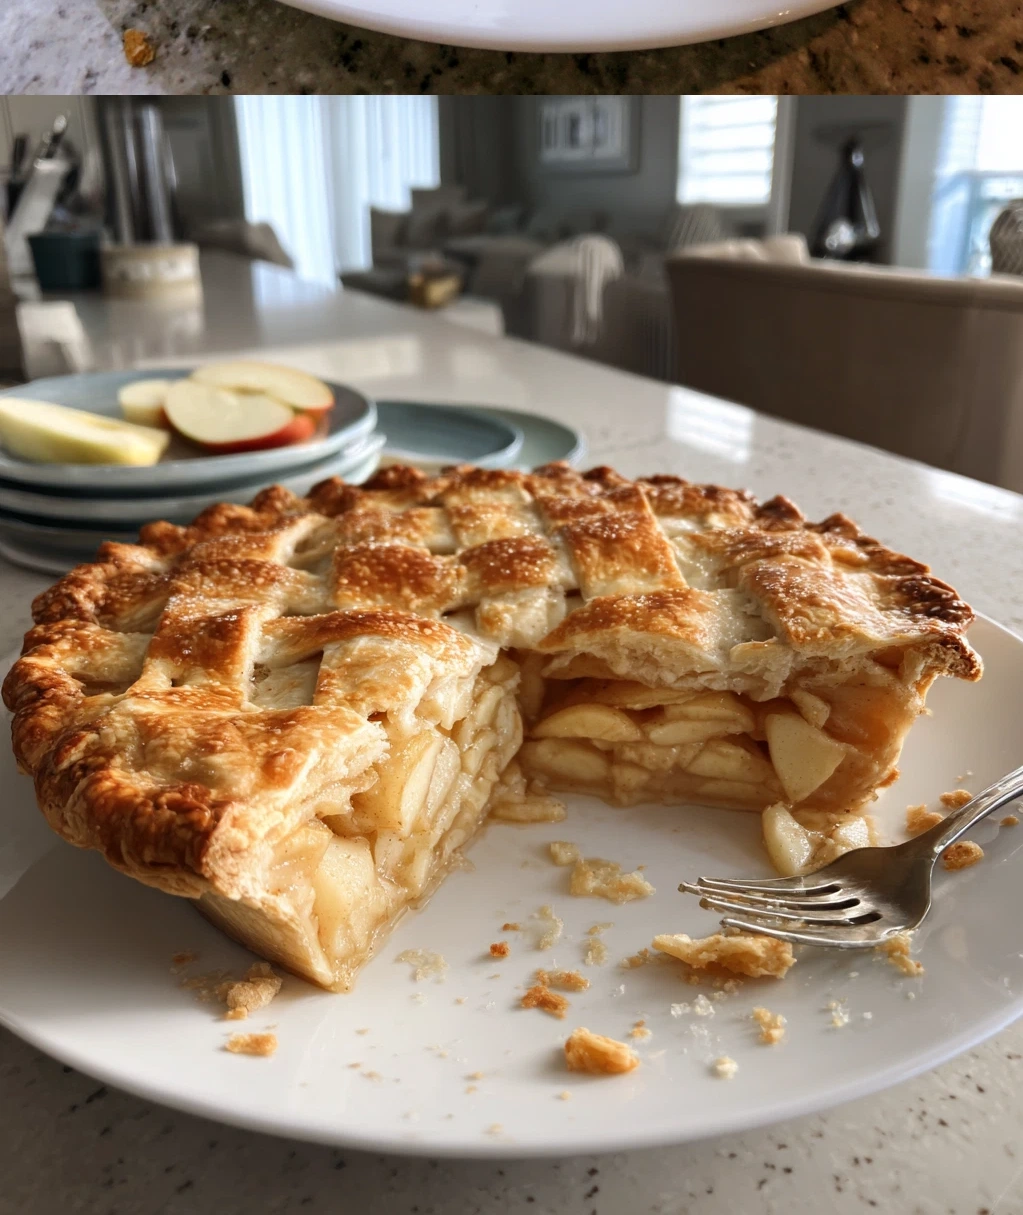
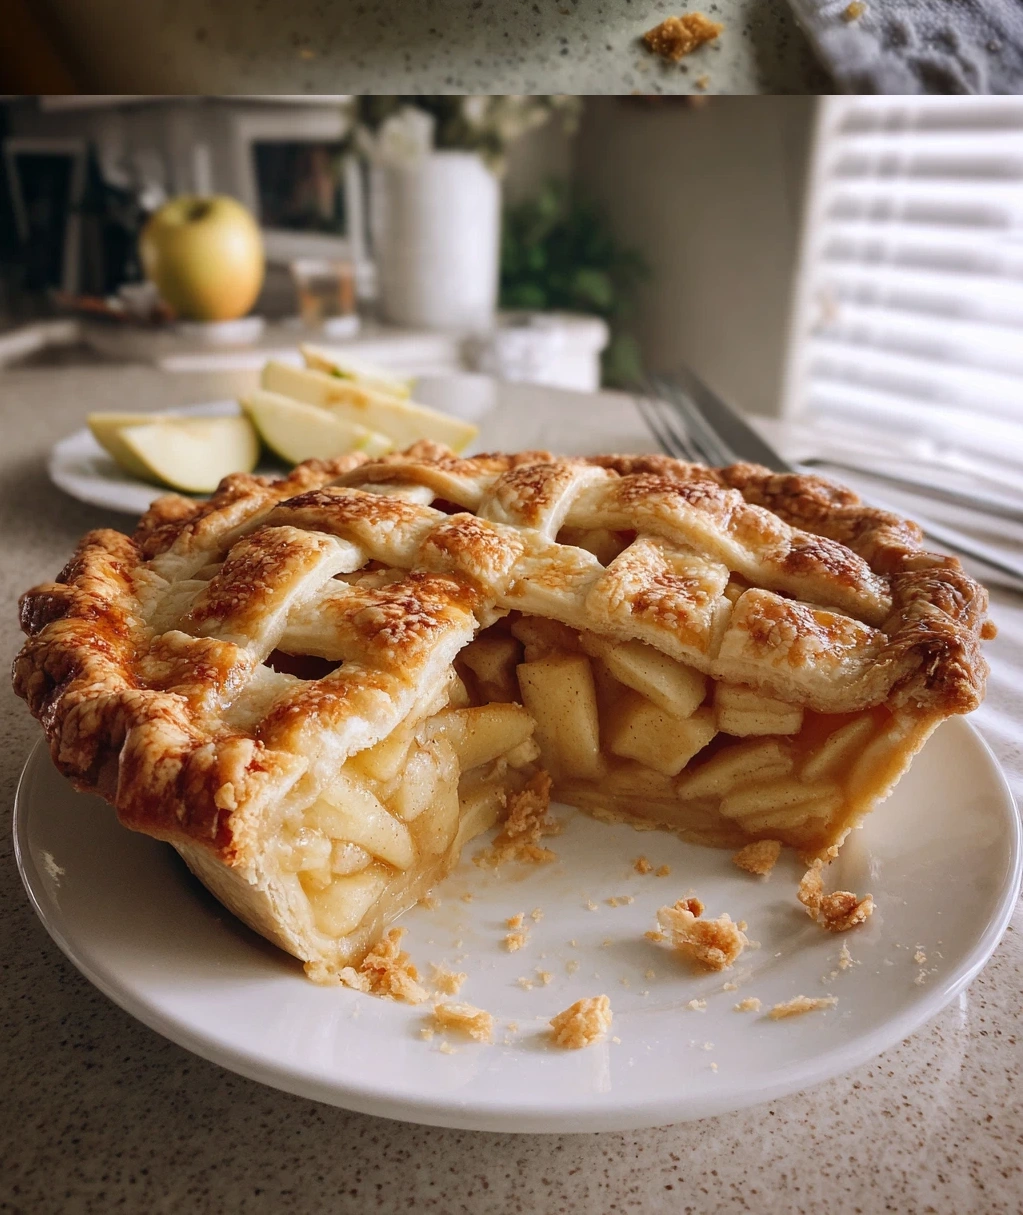
PrintGrandma’s Classic Apple Pie with Flaky Crust
- Total Time: 80
- Yield: 8 servings 1x
Description
A timeless apple pie featuring Grandma’s unbeatable flaky crust, filled with sweet cinnamon-spiced apples for a perfect homemade dessert.
Ingredients
For the Crust:
2 1/2 cups all-purpose flour
1 teaspoon salt
1 cup unsalted butter, cold and cubed
1/4 cup ice water
For the Filling:
6–7 medium apples (Granny Smith or Honeycrisp), peeled and sliced
3/4 cup granulated sugar
2 tablespoons all-purpose flour
1 teaspoon ground cinnamon
1/4 teaspoon ground nutmeg
1 tablespoon lemon juice
1 tablespoon unsalted butter, cubed
1 egg, beaten (for egg wash)
1 tablespoon coarse sugar (optional, for topping)
Instructions
Step 1: Make the crust. In a large bowl, whisk together flour and salt. Add cold cubed butter and use a pastry cutter or fork to cut it into the flour until pea-sized crumbs form.
Step 2: Gradually add ice water, 1 tablespoon at a time, mixing until the dough just comes together. Divide into two disks, wrap in plastic, and refrigerate for at least 30 minutes.
Step 3: Preheat oven to 375°F (190°C). In a large bowl, combine sliced apples, sugar, flour, cinnamon, nutmeg, and lemon juice. Toss to coat evenly.
Step 4: Roll out one dough disk on a floured surface to fit a 9-inch pie dish. Place in dish and trim edges. Add apple filling and dot with cubed butter.
Step 5: Roll out the second dough disk and place over filling. Crimp edges to seal, then cut slits in the top for venting. Brush with beaten egg and sprinkle with coarse sugar if using.
Step 6: Bake for 45-50 minutes, until crust is golden brown and filling is bubbly. Cool on a wire rack before serving.
- Prep Time: 30
- Cook Time: 50
- Category: Dessert
Nutrition
- Calories: 380
- Fat: 18g
- Carbohydrates: 52g
- Protein: 4g