
Brownie Bottom Mini Cheesecakes: Heavenly Bite-Sized Desserts You’ll Adore
You know those moments when you can’t decide between a fudgy brownie and a creamy cheesecake? I’ve been there so many times, staring at dessert menus and bakery displays, wishing I could have both. Well, guess what? You absolutely can, and I’m about to show you how with my all-time favorite treat: brownie bottom mini cheesecakes.
I first made these for my niece’s birthday party last year. She’s a brownie fanatic, her mom loves cheesecake, and I wanted something that would please everyone without being too fussy. These little beauties were the answer. They disappeared in minutes, and I’ve been making them ever since for everything from casual get-togethers to holiday dinners. Trust me, once you try them, you’ll understand why they’re my go-to dessert.
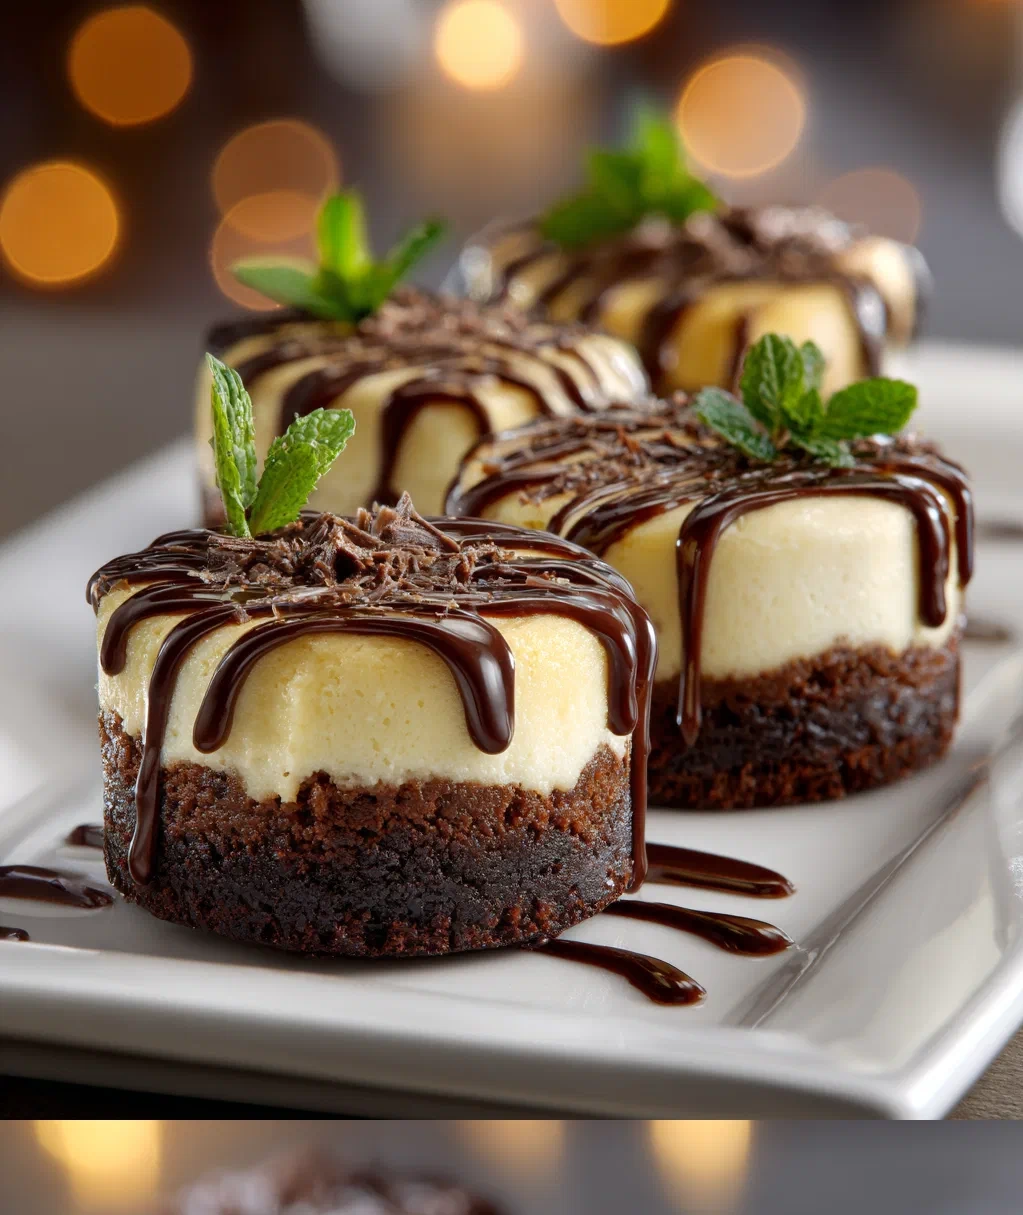
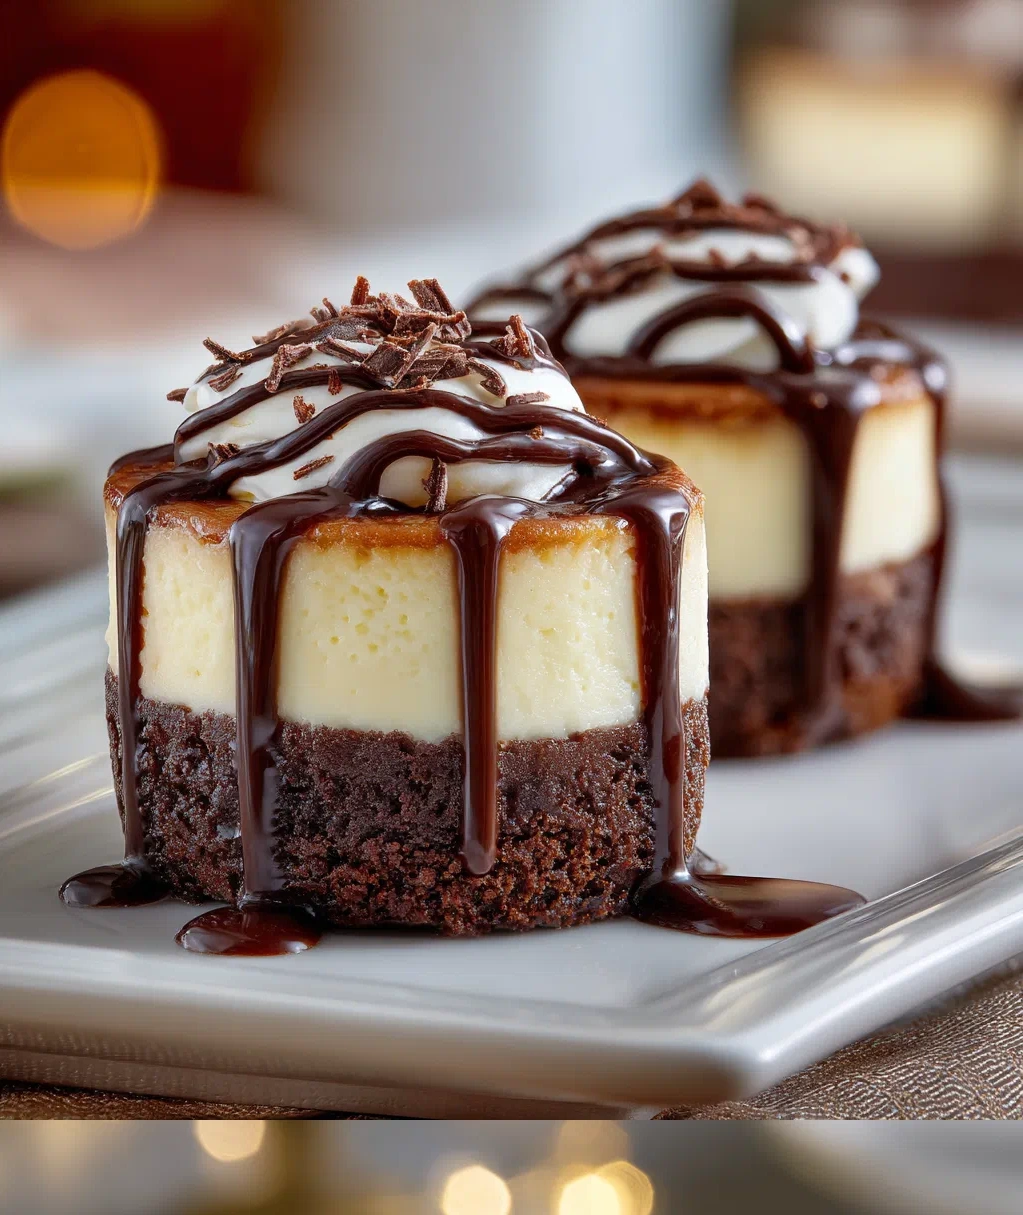
What makes brownie bottom mini cheesecakes so special is that perfect combination of textures and flavors. You get that rich, chocolatey brownie base that’s slightly chewy, topped with a smooth, tangy cheesecake layer that just melts in your mouth. They’re individual servings too, which means no messy slicing and everyone gets their own perfect little dessert. Plus, they look adorable on a platter—like something from a fancy bakery, but made right in your own kitchen.
Don’t worry if you’re not an experienced baker. These are actually pretty simple to make, and I’ll walk you through every step. The best part? You can customize them however you like. Add some chocolate chips to the brownie layer, swirl in some caramel, or top them with fresh berries. The possibilities are endless, and that’s what makes baking so much fun.
Why You'll Love These Brownie Bottom Mini Cheesecakes
Let me tell you why these little desserts have become a staple in my kitchen. First off, they’re incredibly versatile. Need something for a birthday? Brownie bottom mini cheesecakes. Hosting a book club? Brownie bottom mini cheesecakes. Just craving something sweet on a Tuesday night? You guessed it. They work for every occasion.
Here’s what makes them so wonderful:
- Perfect portion control: Each one is just the right size—satisfying but not overwhelming. No more fighting over who gets the bigger slice!
- Make-ahead friendly: You can prepare them a day or two in advance. Actually, they taste even better after chilling overnight.
- Customizable: Add your favorite mix-ins or toppings. I’ll share some of my favorite variations later.
- Great for sharing: They travel well and look beautiful on any dessert table.
- Beginner-friendly: If you can mix batter and fill muffin cups, you can make these. Seriously, it’s that easy.
The texture combination is what really wins people over. That brownie bottom stays slightly fudgy even after baking, while the cheesecake layer is light and creamy. When you take a bite, you get both experiences at once—it’s pure dessert heaven.
What You'll Need for Brownie Bottom Mini Cheesecakes
Gathering your ingredients is the first step to baking success. Here’s what you’ll need to make about 12 brownie bottom mini cheesecakes. Make sure everything is at room temperature before you start—it makes a huge difference in how smoothly everything mixes together.
For the Brownie Layer:
- 1/2 cup unsalted butter, melted and slightly cooled
- 1 cup granulated sugar
- 2 large eggs
- 1 teaspoon vanilla extract
- 1/2 cup all-purpose flour
- 1/3 cup unsweetened cocoa powder (I prefer Dutch-processed for richer flavor)
- 1/4 teaspoon salt
- 1/2 cup semi-sweet chocolate chips (optional but highly recommended)
For the Cheesecake Layer:
- 16 ounces cream cheese, softened (that’s two standard blocks)
- 1/2 cup granulated sugar
- 2 large eggs
- 1 teaspoon vanilla extract
- 1/4 cup sour cream (this adds wonderful tang and creaminess)
Equipment:
- Standard 12-cup muffin pan
- Paper liners (foil-lined work best—they peel off cleanly)
- Mixing bowls
- Electric mixer or stand mixer
- Measuring cups and spoons
- Rubber spatula
A quick note about the cream cheese: Don’t use the spreadable kind from a tub. Stick to the brick-style cream cheese for the best texture. And yes, you really do need to let it soften completely. I usually take mine out of the fridge about an hour before I plan to bake.
How to Make Brownie Bottom Mini Cheesecakes: Step-by-Step
Ready to bake? Let’s walk through this together. I promise it’s easier than it looks, and I’ll share all my little tricks along the way.
Step 1: Prepare Your Pan and Oven
First things first: Preheat your oven to 325°F (165°C). Line your muffin pan with paper liners. I like to give each liner a quick spritz of cooking spray—it helps prevent sticking, especially with the brownie layer.
Step 2: Make the Brownie Batter
In a medium bowl, whisk together the melted butter and sugar until well combined. Add the eggs one at a time, mixing well after each addition. Stir in the vanilla. In a separate bowl, sift together the flour, cocoa powder, and salt. Gradually add the dry ingredients to the wet mixture, stirring just until combined. Don’t overmix! Fold in the chocolate chips if you’re using them.
Step 3: Create the Brownie Bottoms
Spoon about 1 1/2 tablespoons of brownie batter into each muffin cup. Use the back of a spoon to spread it evenly across the bottom. You want a thin, even layer—about 1/4 inch thick. This will be your brownie bottom for the mini cheesecakes.
Step 4: Make the Cheesecake Filling
In a large bowl, beat the softened cream cheese until it’s smooth and creamy, about 2 minutes. Add the sugar and beat until well combined. Add the eggs one at a time, mixing well after each. Stir in the vanilla and sour cream until everything is smooth and lump-free.
Step 5: Assemble and Bake
Spoon the cheesecake filling over the brownie layer in each cup, filling them almost to the top. Leave just a tiny bit of space—they’ll puff up slightly while baking. Bake for 20-25 minutes, or until the edges are set but the centers still have a slight jiggle. That jiggle is important—it means they won’t overbake and become dry.
Step 6: Cool Completely
Let the brownie bottom mini cheesecakes cool in the pan for 30 minutes, then transfer them to a wire rack to cool completely. Once they’re at room temperature, refrigerate for at least 4 hours, preferably overnight. This chilling time is crucial for that perfect cheesecake texture.
My favorite part is peeling off the liners. The brownie bottom stays perfectly intact, and you get that beautiful layered look. They smell amazing while baking too—like a chocolate shop crossed with a cheesecake factory.
Delicious Variations for Your Brownie Bottom Mini Cheesecakes
Once you’ve mastered the basic recipe, it’s time to get creative! Here are some of my favorite ways to customize these treats. Feel free to mix and match—that’s half the fun.
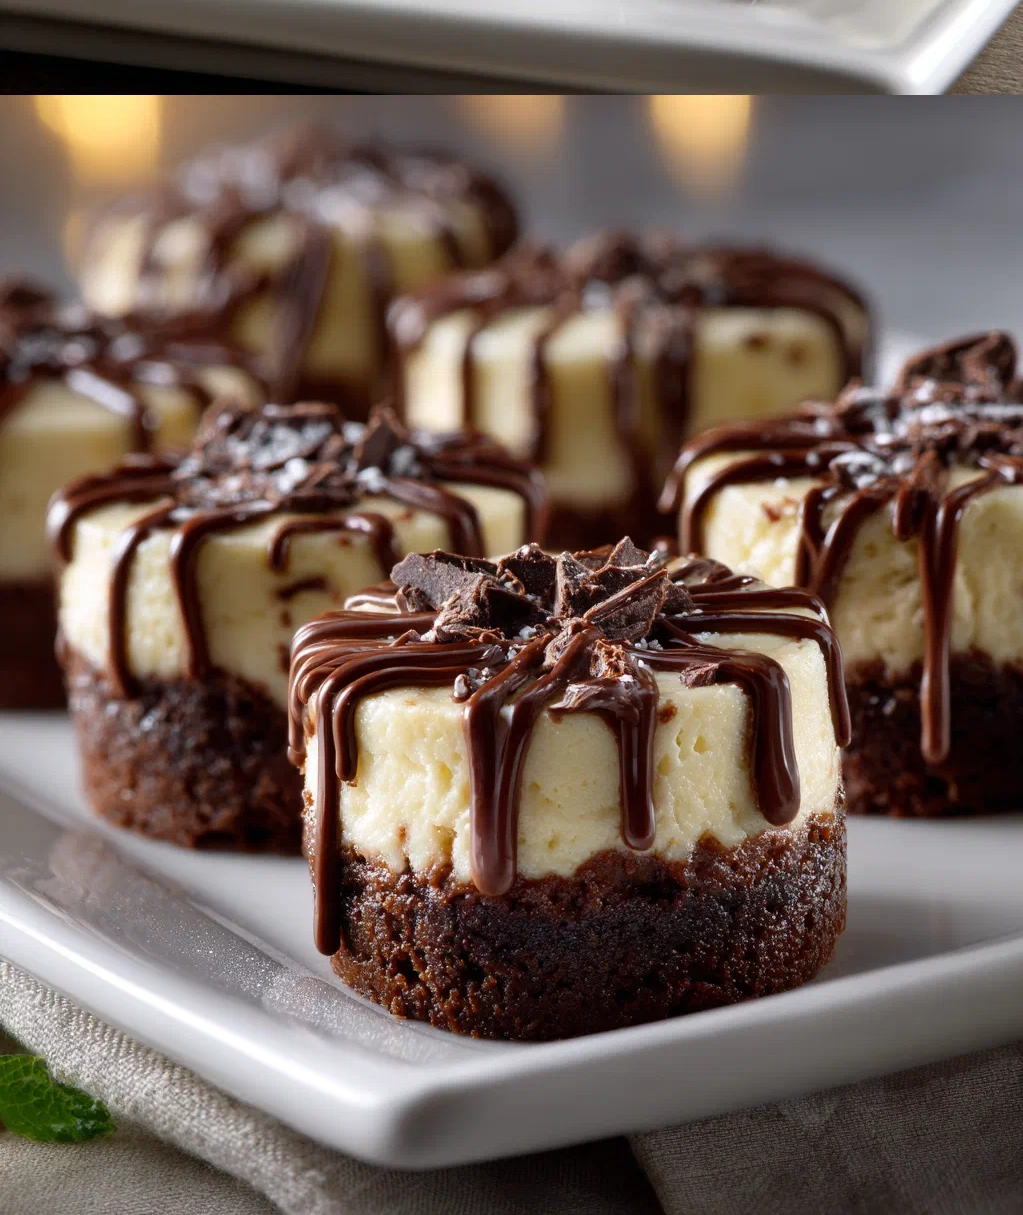
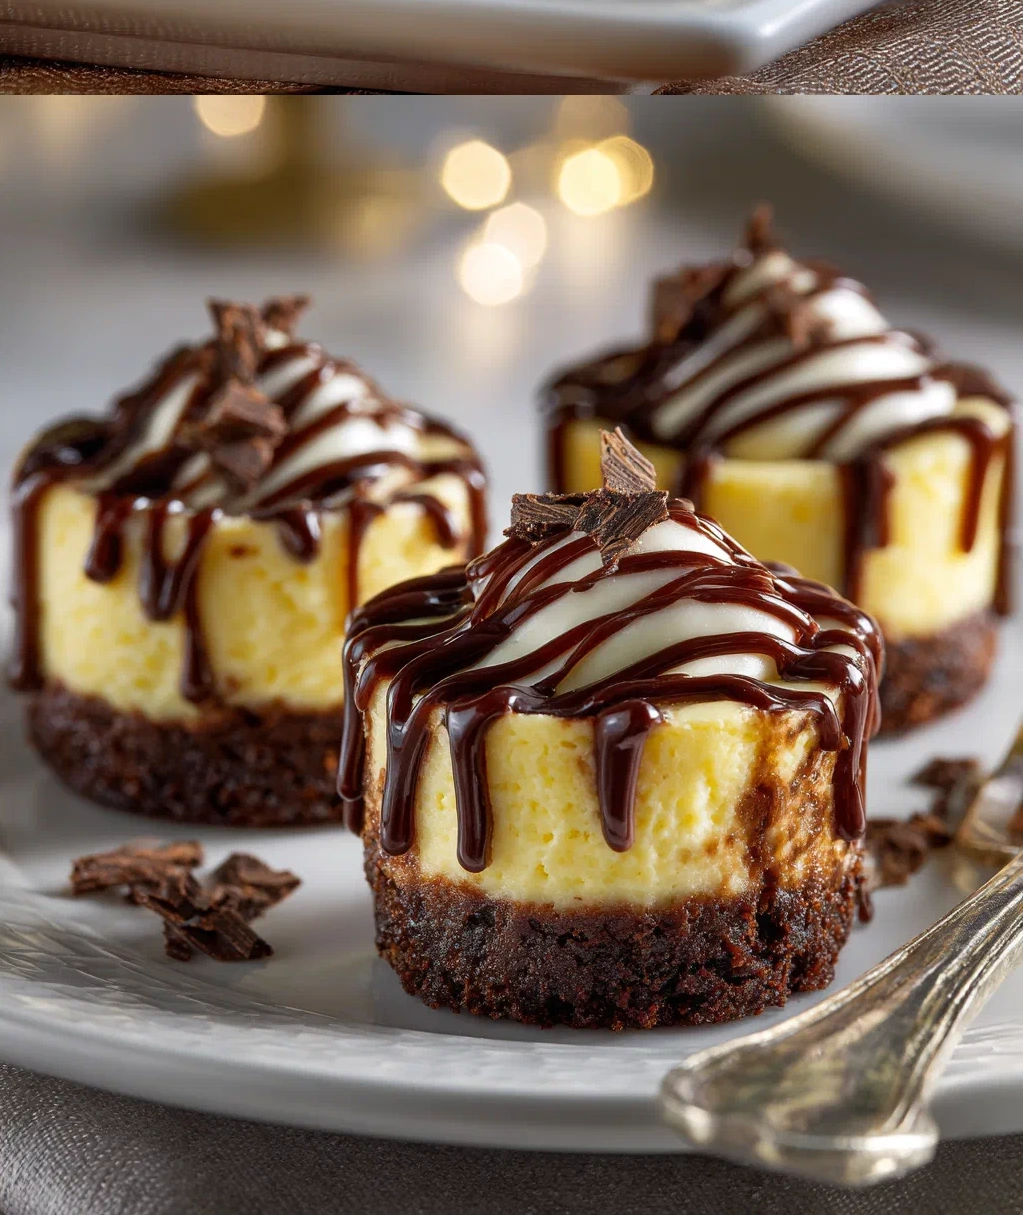
- Chocolate Lover’s Dream: Add 1/4 cup of cocoa powder to the cheesecake layer for double chocolate goodness. Top with chocolate shavings or a drizzle of melted chocolate.
- Caramel Swirl: Before baking, dollop caramel sauce over the cheesecake layer and use a toothpick to swirl it gently. The caramel bakes into the cheesecake and creates beautiful marbled patterns.
- Berry Bliss: Place a few fresh raspberries or chopped strawberries on top of the cheesecake layer before baking. The berries soften and release their juices, creating little pockets of fruity flavor.
- Peanut Butter Cup: Add 1/4 cup of peanut butter to the cheesecake layer and top with chopped peanut butter cups. It’s like your favorite candy in dessert form.
- Mint Chocolate: Add 1/2 teaspoon of peppermint extract to the cheesecake layer and top with crushed candy canes or Andes mints.
Don’t be afraid to experiment with different toppings too. Fresh whipped cream, a dusting of powdered sugar, or even a simple strawberry slice can transform your brownie bottom mini cheesecakes into something truly special. My neighbor adds a sprinkle of sea salt on top—it sounds strange, but that salty-sweet combination is incredible.
Remember: When adding mix-ins to the cheesecake layer, fold them in gently at the end. Overmixing can incorporate too much air and affect the texture.
Serving and Storing Your Mini Cheesecakes
You’ve baked them, you’ve chilled them, now it’s time to enjoy! Here’s how to get the most out of your brownie bottom mini cheesecakes.
Serving Suggestions
These little desserts are pretty perfect on their own, but here are some serving ideas:
- Arrange them on a pretty platter or cake stand for parties
- Serve with fresh berries on the side—the tartness balances the sweetness beautifully
- Add a dollop of whipped cream or a scoop of vanilla ice cream
- Drizzle with chocolate or caramel sauce just before serving
- For an elegant touch, garnish with edible flowers or mint leaves
I love how versatile they are. You can serve them at a fancy dinner party or just enjoy one with your afternoon coffee. They always feel like a special treat.
Storage Tips
Proper storage keeps your brownie bottom mini cheesecakes tasting fresh:
- Refrigerator: Store in an airtight container in the refrigerator for up to 5 days. Separate layers with parchment paper if stacking.
- Freezer: These freeze beautifully! Place them in a single layer on a baking sheet until frozen solid (about 2 hours), then transfer to a freezer bag or container. They’ll keep for up to 3 months. Thaw in the refrigerator overnight.
- Room temperature: They can sit out for up to 2 hours during serving, but I recommend keeping them refrigerated until just before you’re ready to eat them.
A quick safety note: Because of the cream cheese, these need to stay refrigerated when not being served. Don’t leave them out overnight—nobody wants spoiled dessert!
The texture actually improves after a day in the fridge. The flavors meld together, and the brownie bottom becomes even more fudgy. I often make them the day before I need them for this very reason.
Conclusion
There you have it—my complete guide to making the most delicious brownie bottom mini cheesecakes. From that first bite of rich chocolate brownie to the creamy cheesecake finish, these little desserts never fail to bring smiles. They’ve saved me countless times when I needed something impressive but didn’t have hours to spend in the kitchen.
What I love most about this recipe is how it brings people together. My family gathers around when I’m making them, my friends ask for the recipe, and even my picky nephew who ‘doesn’t like cheesecake’ devours them. There’s something about that perfect combination of textures and flavors that appeals to everyone.
Don’t be intimidated if you’re new to baking. Start with the basic recipe, follow the steps, and I promise you’ll end up with something wonderful. And once you’re comfortable, play around with the variations. That’s how you make a recipe truly your own.
So next time you’re planning a gathering or just want to treat yourself, remember these brownie bottom mini cheesecakes. They’re little bites of happiness that are sure to become a favorite in your home too. Happy baking!
Frequently Asked Questions
Q: Can I use a boxed brownie mix for the bottom layer?
Absolutely! If you're short on time, a boxed brownie mix works perfectly. Just prepare it according to package directions for 'fudgy' brownies (usually using oil instead of butter and adding an extra egg). Spoon about 1 1/2 tablespoons into each muffin cup as directed. The texture might be slightly different, but they'll still be delicious.
Q: Why did my brownie bottom mini cheesecakes crack on top?
Cheesecakes sometimes crack due to sudden temperature changes or overbaking. To prevent this: Don't open the oven door during baking, make sure your ingredients are at room temperature, and don't overmix the batter (which incorporates too much air). If they do crack, don't worry—they'll still taste amazing! You can cover cracks with whipped cream or fruit.
Q: How do I know when the mini cheesecakes are done baking?
They're done when the edges look set but the centers still have a slight jiggle when you gently shake the pan. The tops should be dry to the touch. They'll continue to set as they cool. It's better to slightly underbake than overbake—overbaked cheesecakes become dry and crumbly.
Q: Can I make these without a muffin pan?
Yes, but you'll need something similar. A mini cheesecake pan with removable bottoms works great. You can also use silicone muffin molds placed on a baking sheet. If using ramekins, reduce the baking time slightly since they're deeper. Just make sure whatever you use is oven-safe and properly greased or lined.
Q: How far in advance can I make brownie bottom mini cheesecakes?
They're actually better made in advance! You can make them up to 2 days before serving. Store them covered in the refrigerator—the flavors develop and meld together beautifully. You can also freeze them for up to 3 months. Thaw overnight in the refrigerator before serving.
PrintBrownie Bottom Mini Cheesecakes
- Total Time: 50
- Yield: 12 mini cheesecakes 1x
Description
Decadent mini cheesecakes with a rich brownie base and creamy cheesecake topping, perfect for parties or special occasions.
Ingredients
1 box (18.3 oz) fudge brownie mix
1/3 cup vegetable oil
1 large egg
1/4 cup water
16 oz cream cheese, softened
1/2 cup granulated sugar
2 large eggs
1 tsp vanilla extract
1/2 cup semi-sweet chocolate chips, melted and cooled
Instructions
Step 1: Preheat oven to 350°F (175°C). Line a 12-cup muffin tin with paper liners.
Step 2: In a medium bowl, combine brownie mix, oil, 1 egg, and water. Stir until just combined.
Step 3: Divide brownie batter evenly among the muffin cups, about 1 tablespoon each.
Step 4: Bake for 10 minutes until brownie bases are set but not fully cooked.
Step 5: While brownies bake, beat cream cheese and sugar in a large bowl until smooth.
Step 6: Add 2 eggs and vanilla extract, mixing until fully incorporated.
Step 7: Stir in cooled melted chocolate until cheesecake batter is uniform.
Step 8: Remove muffin tin from oven and spoon cheesecake batter over brownie bases, filling cups almost to the top.
Step 9: Return to oven and bake for 18-20 minutes until cheesecakes are set but still slightly jiggly in the center.
Step 10: Cool in pan for 30 minutes, then refrigerate for at least 2 hours before serving.
- Prep Time: 20
- Cook Time: 30
- Category: Dessert
Nutrition
- Calories: 280
- Fat: 18g
- Carbohydrates: 25g
- Protein: 5g